- Print
- DarkLight
- PDF
Upload Excel
- Print
- DarkLight
- PDF
Report Writer's Upload Excel is an optional utility that allows you to import a collection of comps stored within a Microsoft Excel file into your database. This is an effective means of adding comp data to your database if it was downloaded from a Multiple Listing Services (MLS) file export, or from another LightBox Report Writer user.
Installing Upload Excel
The installer for Upload Excel is named N1ExcelUploader.msi, and it can be found in the Report Writer installation folder (C:\Program Files (x86)\Narrative1 by default). Running the installer will create a desktop shortcut to the uploader.
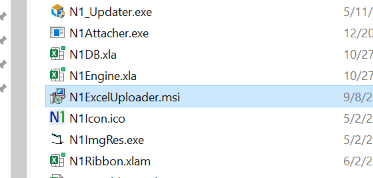
Use the updater to refresh the Upload Excel version after a Web release.
The Upload Excel version should match the Web version, found in the user profile menu in the upper right-hand corner of the web application.
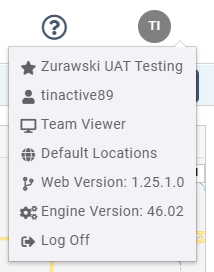
To update to a current version, you can uninstall the existing uploader in the Programs and Features control panel in Windows, and run the LightBox Updater to obtain the installer for the newest version (see Installing Upload Excel above).
File Requirements
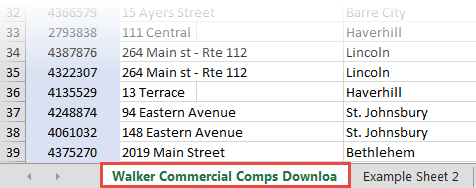
Please refer to the below image to learn if your Excel file is compatible with the Upload Excel tool.

- The Excel file should be formatted as a "flat file", meaning the top row should include data headers (Street Name, Town, State, Etc.), and each row under the header should be a comp record.
- Be sure the Excel file does not have blank rows or any cells with errors if there are calculations on the worksheet.
- Fields with numeric and date values should be free of text. For example, GBA should only have a number such as "65,000", and not "65,000 SF".
- The data must be on the first worksheet in the Excel workbook.
- The Appraisal Usage field is set to "comparable" by default.
- ReadyForUse is set to "note ready for use" by default. Toggle with 0 (not ready) or 1 (ready).
- Is Ground Lease is set to "False" by default. Toggle with0 (not a ground lease) or 1 (is a ground lease).
How to Upload a File Using Upload Excel
- Select File to Upload
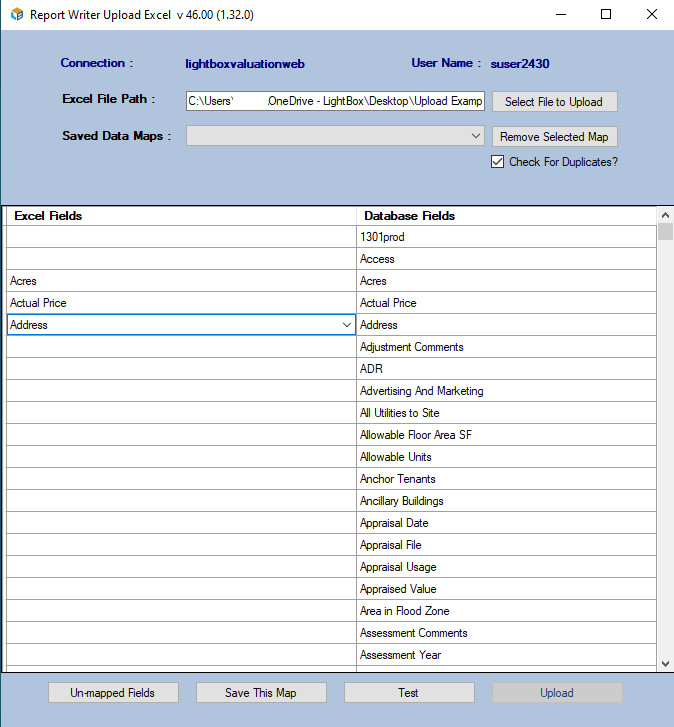
Begin by clicking Select File to Upload, and selecting the Excel file you wish to upload. Ensure that the selected file follows the guidelines depicted in the File Requirements section above. - Match Your Data Headers to the Database Fields
Once you select a Data Field Type, two columns will appear: the left-most column represents the column data headers in your Excel file, and the right-most column contains the database fields.
Click into the empty left-most fields and match them with the adjacent database fields. For example, if your Excel file had a column dedicated to Property Types, you would match it with the Property Type field. If the name of a field in your Excel file is already identical to the name of a database field, it will be mapped to it automatically.
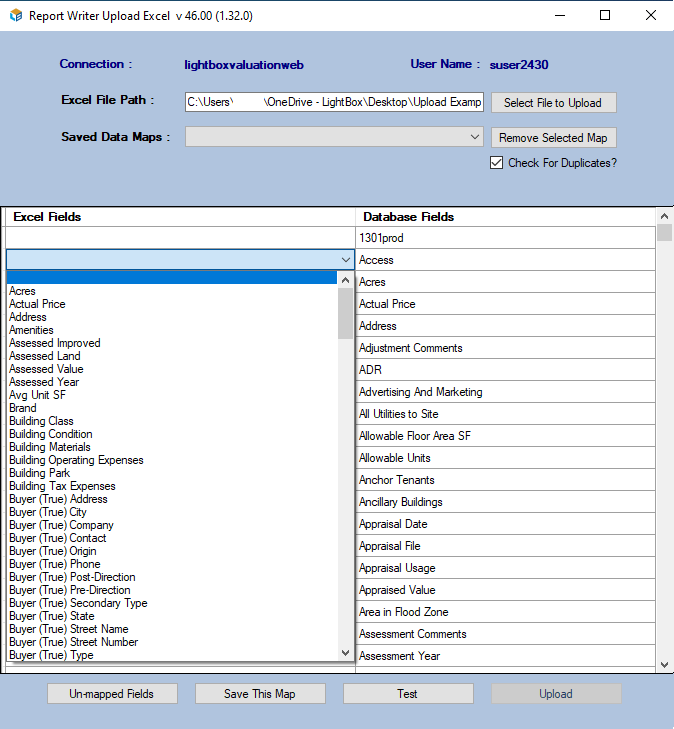
- Mapping Comm Lease and Unit Type Data
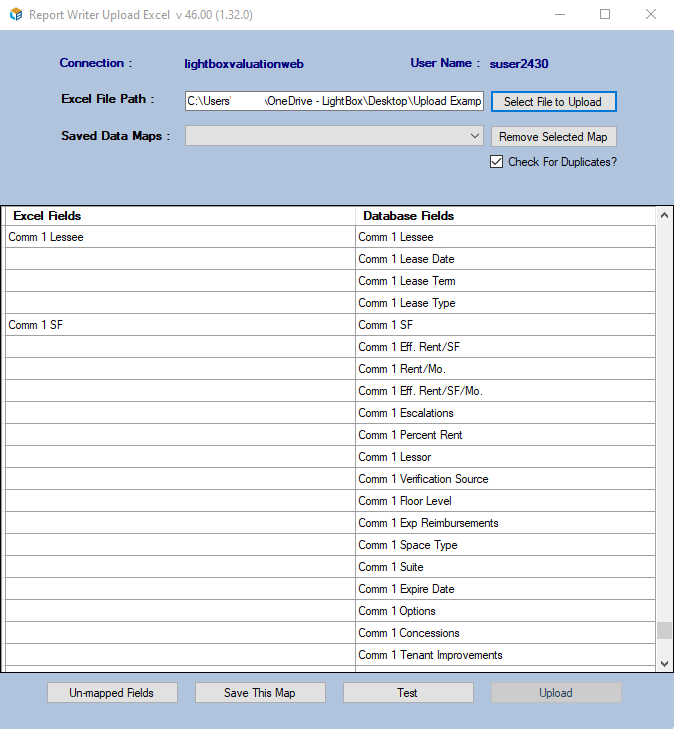
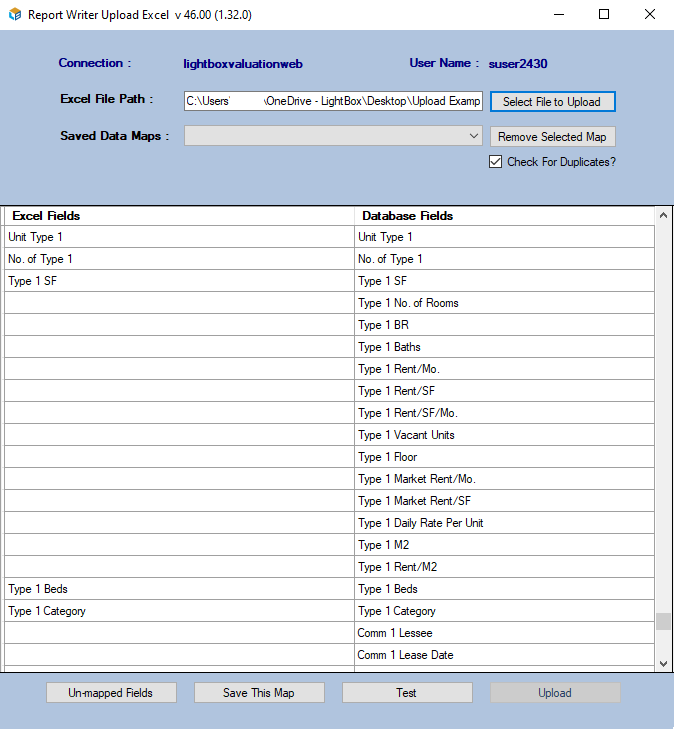
Unlike other fields, No. of Type and Comm X lessee fields need to correspond exactly to database fields. These fields are found at the bottom of the Upload Excel mapping screen.
Aside from the first iteration of each of these fields, the database fields will not appear in the Database Fields column of Upload Excel unless there is a corresponding header in your Excel file. For example, the Comm 1 Lease Date field will always appear in the Upload Excel Database Fields column, but Comm 2 Lease Date (and all other fields related to Comm 2) will only appear if there is a Comm 2 Lessee header in the Excel file.
- For the No. of Type fields to appear past 1, there must be a No. of Type # (such as No. of Type 2) header in the Excel file.
- Optional: Save This Map
After you've successfully mapped all of your fields, you can save the mapping to help expedite the process in the future.
Oftentimes, if you are repeatedly downloading information from a specific MLS vendor, it is likely that the column headers will be configured in the same way with each release. By saving the data map for a specific vendor's MLS file, you can refer to it again when working with that vendor's data.
Upon selecting Save This Map, the software will alert you of any fields you have not mapped. You may then specify a name for the map, that will be accessible from the Saved Data Maps drop-down. - Upload
When you're finished with the mapping process, you can finally upload your comp data to your database. The software will alert you of any unmapped fields.
You can view the progress bar from the bottom of the window.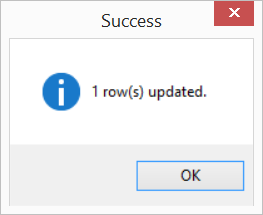
- Uploaded Comps and Duplicated notification
A message box will appear with the number of uploaded records and duplicate records found. Note that the system will not allow for a duplicate record to be uploaded if Check for Duplicates is enabled. The user can click yes to view the results in excel.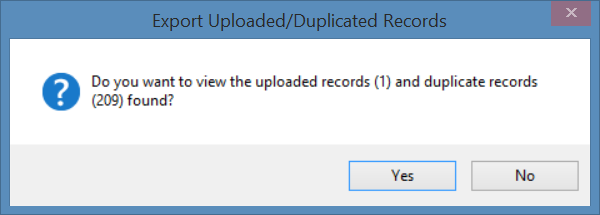
The second tab of the excel will allow for users to complete an analysis of where data may differ. Duplicates are checked via the following fields: Property Name, Address, City, and/or State.
Each record is separated by a blank row.
.png)

.png)