Search Results & Customization
- Print
- DarkLight
- PDF
Search Results & Customization
- Print
- DarkLight
- PDF
Article summary
Did you find this summary helpful?
Thank you for your feedback!
After you have completed a search, you can review and customize the results displayed in the search results table.

Select Records for Use in Report Writer Excel
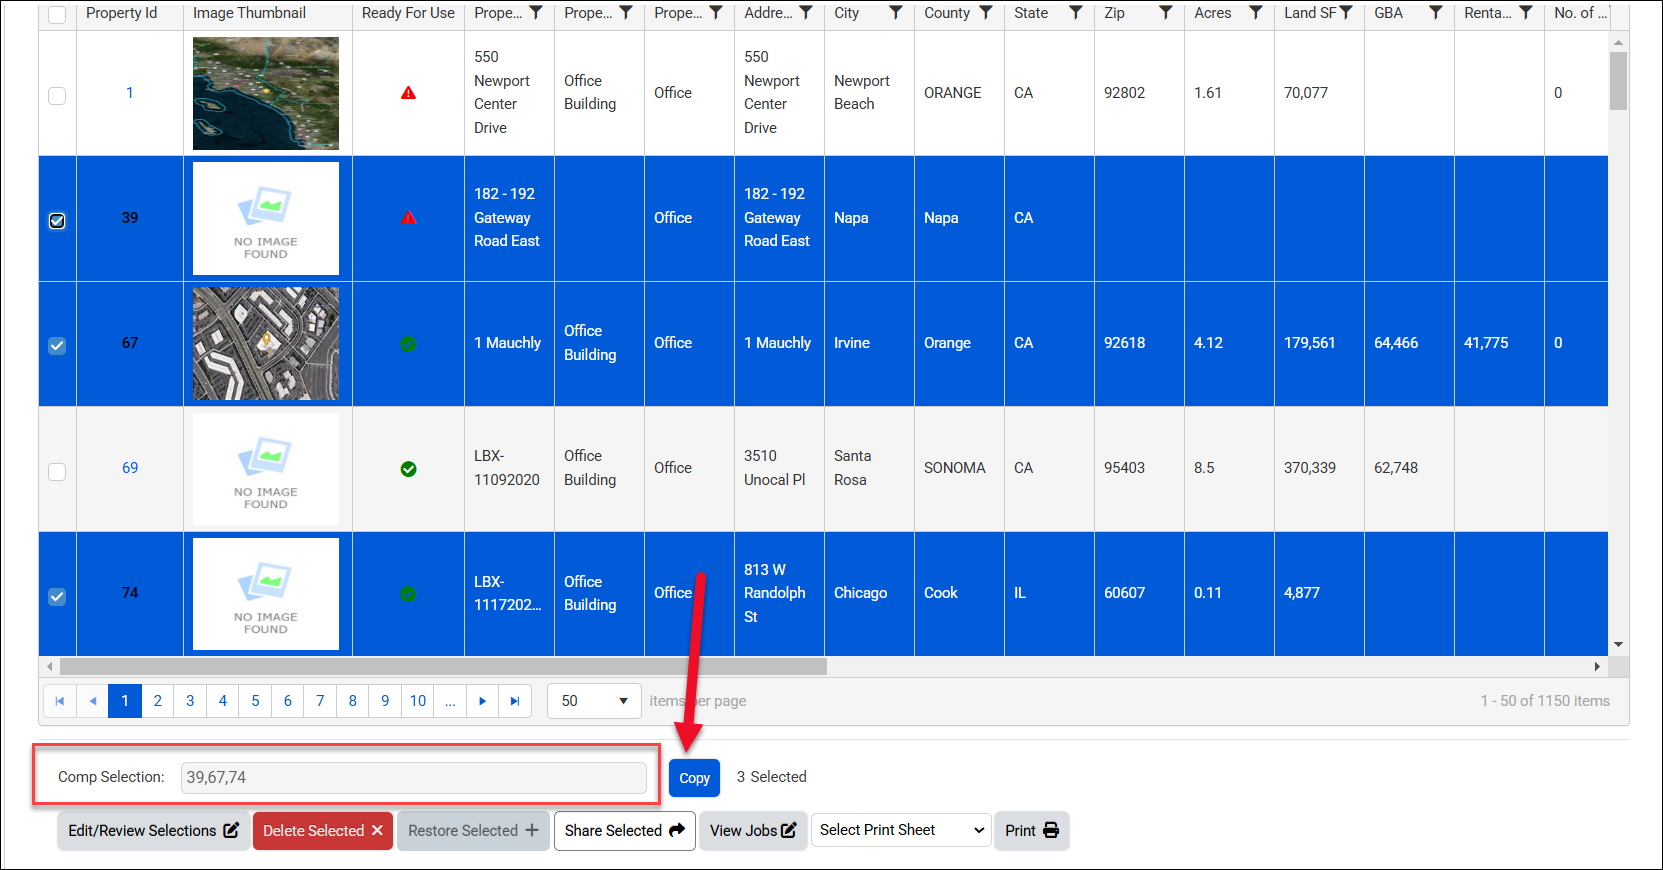
In the far left column of the search results table, there is a checkbox associated with each property record. With every additional selection, the Your Selection field becomes populated with the IDs of the selected property record(s).
Click Copy and use the IDs to import those property records into your Report Writer Microsoft Excel document as comparables.
Sort the Search Results Table
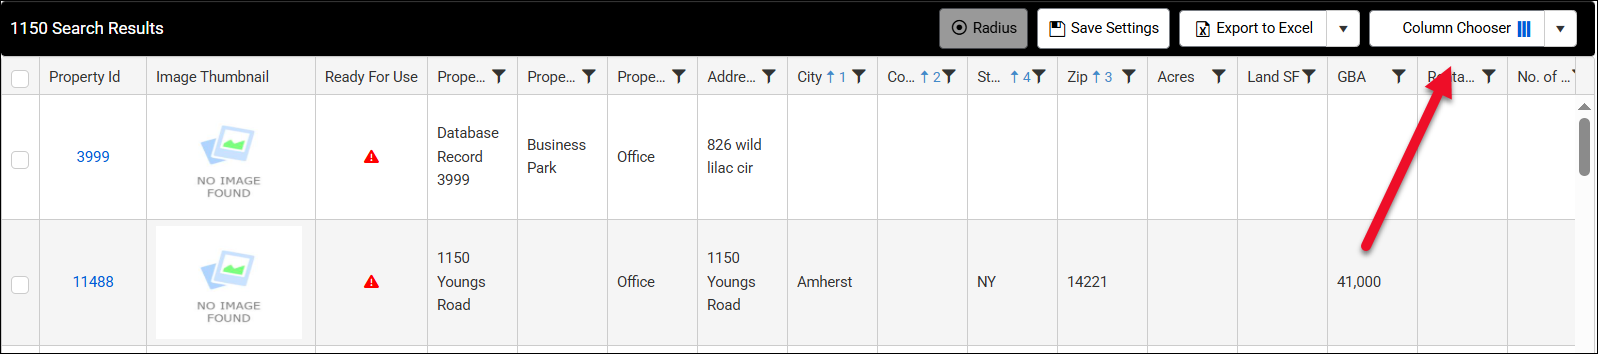
Click on a column header to sort the table by that column in ascending order. Click again to sort in descending order. Click a third time to remove the sorting from that column. The table can be sorted by multiple columns concurrently.

In the example above, the search results table is sorted by the City, County, and Zip columns. The City column sort has priority, followed by County, and finally Zip, indicated by the blue numerals in the column headers.
Filter the Search Results Table
Further filter your results by clicking on the filter icon at the top of a column. The filter menu will open for that column.
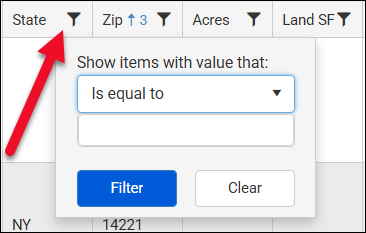
Select an operator (e.g., “is equal to” or “contains”) from the drop-down menu, then enter text in the field below. Click Filter to apply the filter to that column.
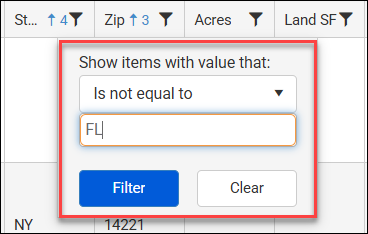
In the example above, the State column will be filtered - only entries that are not equal to “FL” will be displayed.
Add and Remove Columns from the Table
Columns can be added and removed from the search results table. To change which columns are displayed, click Column Chooser.
The Column Chooser menu opens:
| A. Add/remove columns by checking/unchecking boxes. | 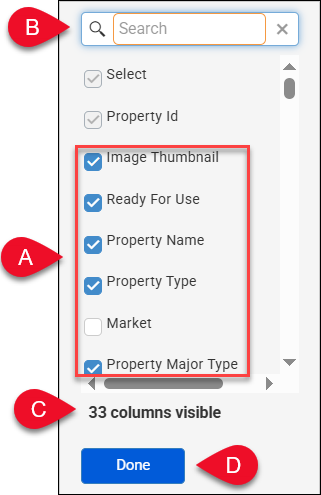 |
| B. Click Select All to select all columns. Click again to deselect all columns. Note: Only 50 columns can be displayed in the search grid at a time. | |
| C. Type a column name in the search box at the top of the menu to filter the menu items by that phrase. | |
| D. The number of columns currently displayed in the search grid is listed at the bottom of the menu. | |
| E. Click Done to apply the changes and close the menu. |
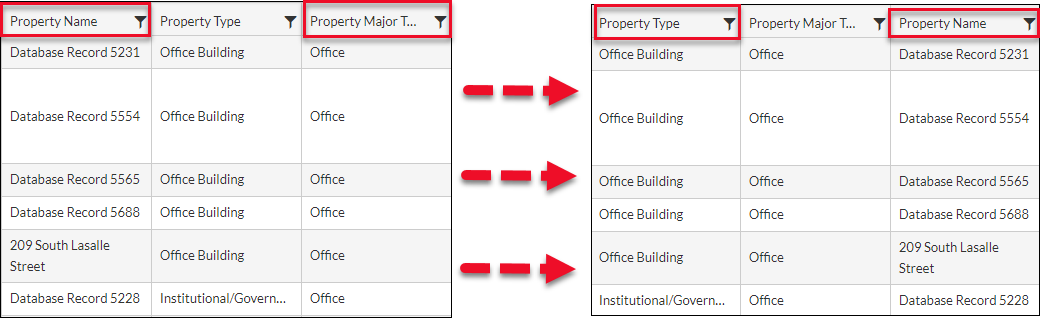
Customize Column Positions
Click and drag a column header to move that column.
Reset Grid
To reset all column sorts, filters, and Column Chooser selections, click the arrow next to Column Chooser, then click Reset Grid.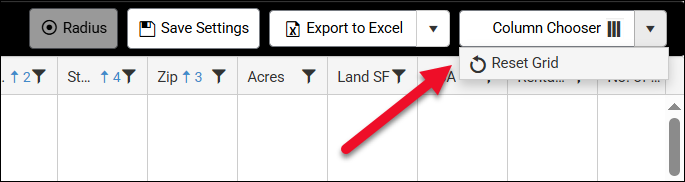
Save Settings
Click Save Settings to save the current column order and filter settings.
Radius Search
The radius allows you to select a property, specify a radius around that property, then search for other property records within that radius.
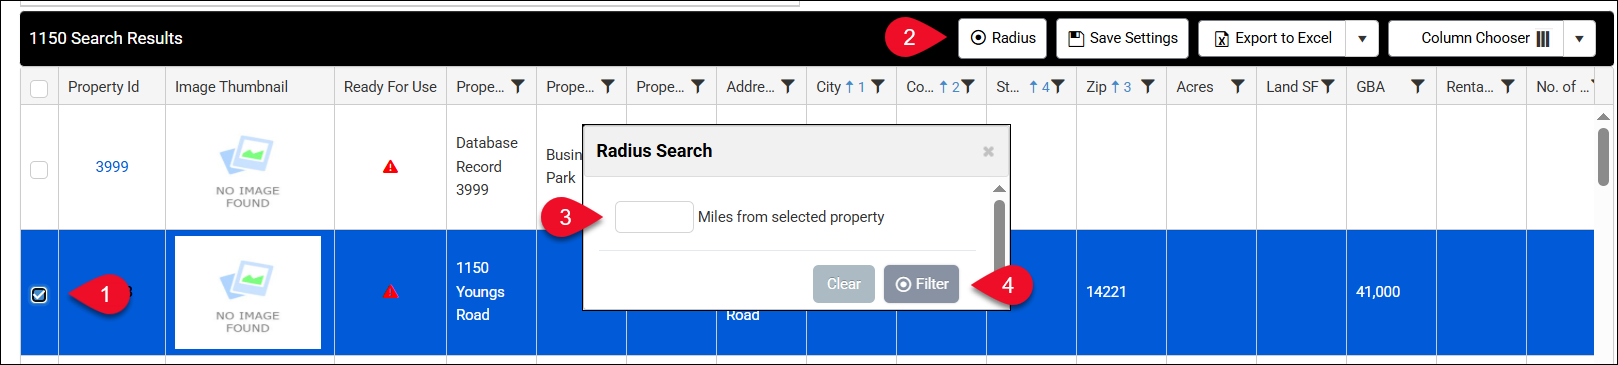
1. Select a property record from the grid.
2. Click Radius.
3. Enter a radius value (in miles) in the Radius Search popup.
4. Click Filter in the Radius Search popup.
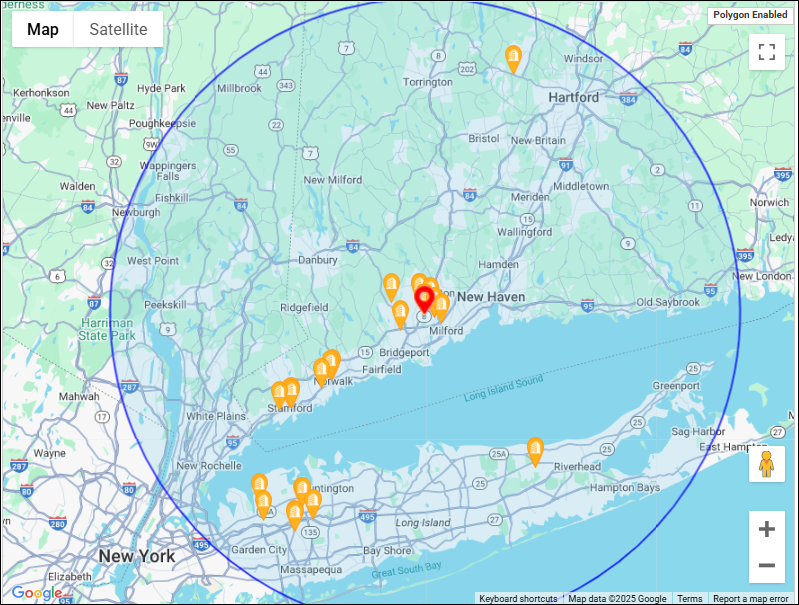
The selected property will appear on the web as a red pin. Any other property records in your database within the specified radius will appear as yellow pins.
Page Navigation
Click the numbers or backward/forward arrows at the bottom of the search results table to navigate through the results pages.

You can display more results per page by clicking the adjacent drop-down and selecting 50, 100, 200, 300, or All. 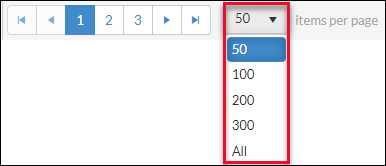
Search Results Tools
The row of buttons beneath the search results grid provides additional tools for viewing and managing the property records and associated information, such as Jobs data.

| Edit/Review Selections Select property records in the search results grid, then click Edit/Review Selections to open the Data Pages for those records. | 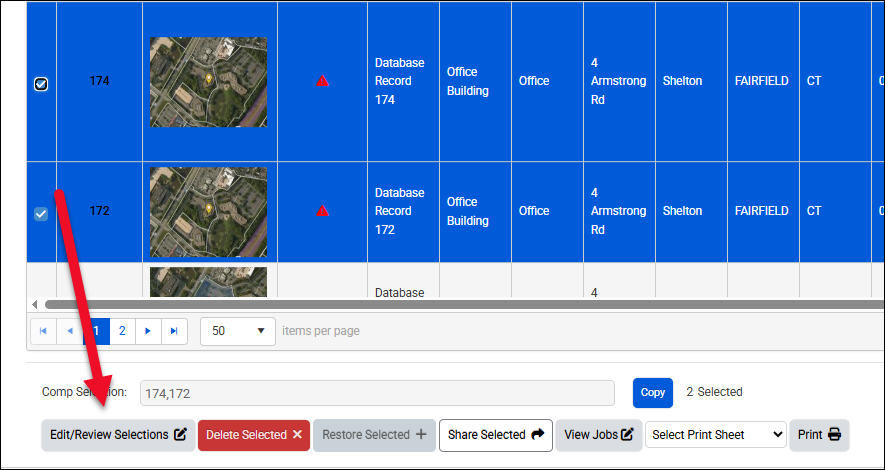 |
Delete Selected (admin users only) Select property records then click Delete Selected to delete those records. They will not appear in future search results unless the Only Deleted Records box is checked. | 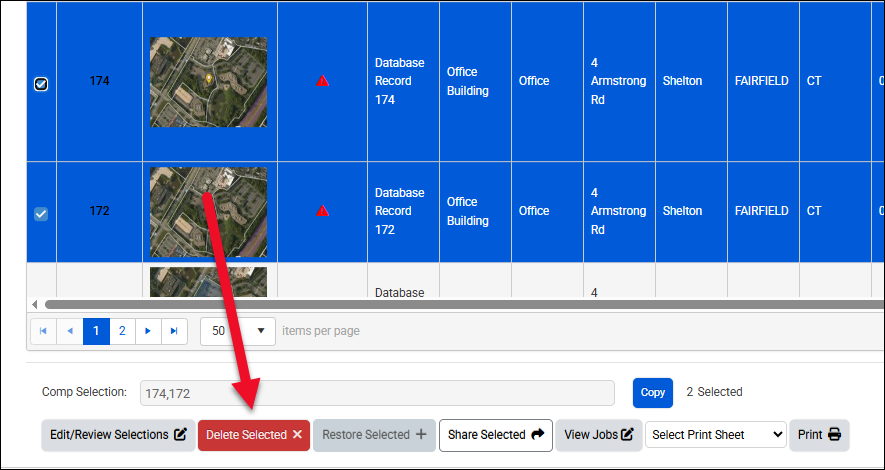 |
Restore Selected (admin users only) To see all deleted records, check the Only Deleted Records check box and then run a search. Select the deleted records you wish to restore, then click Restore Selected to restore them. Once restored, the records will once again appear in search results if they match the search criteria. | 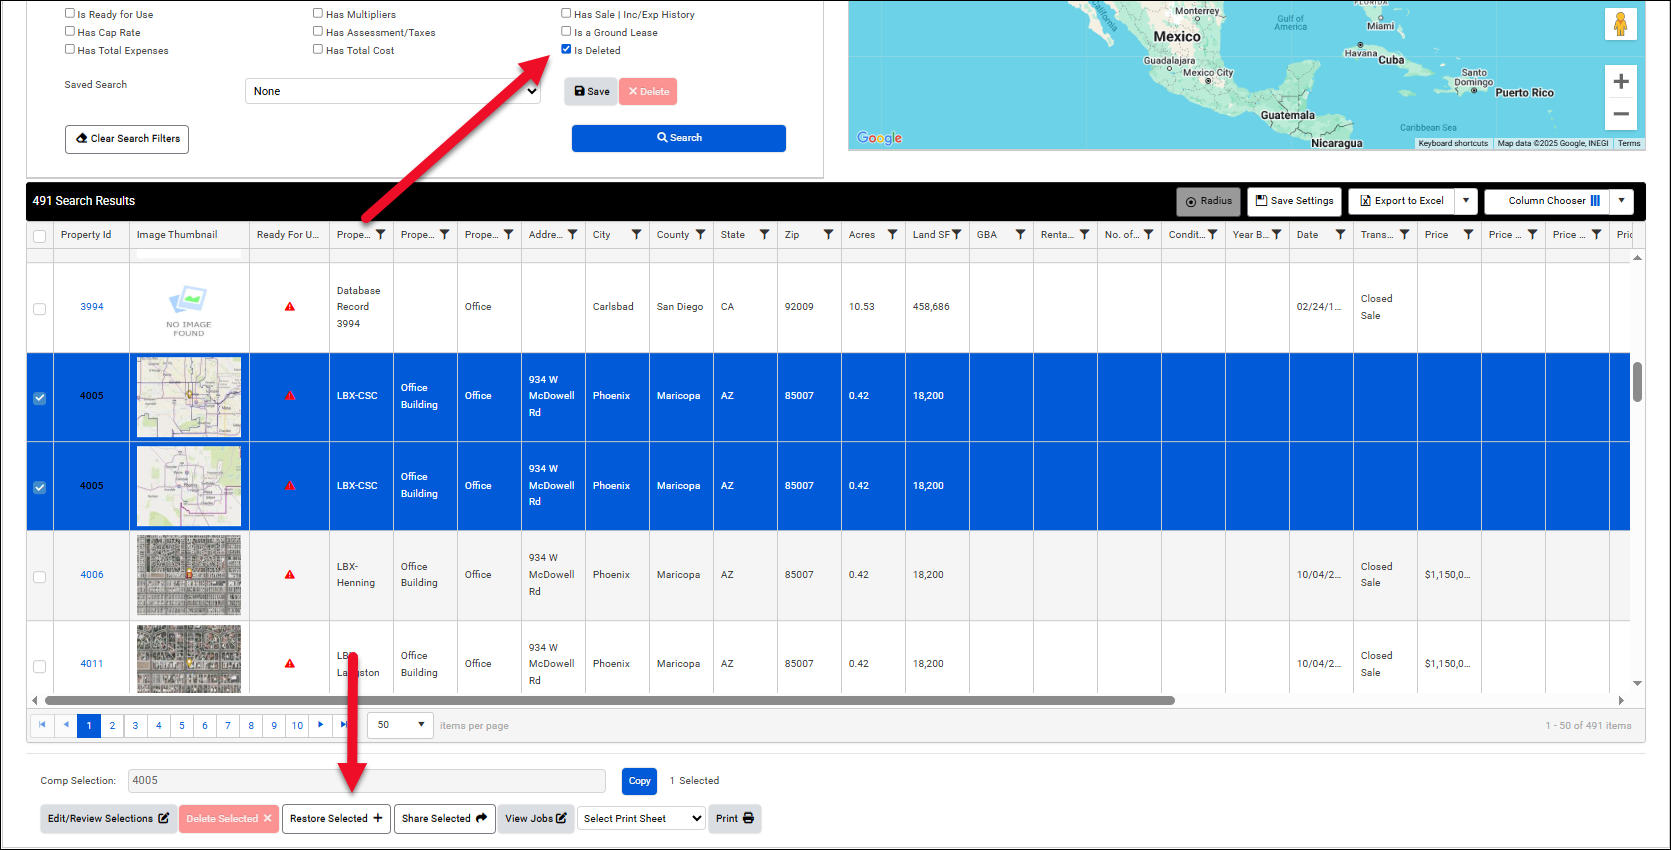 |
Share Selected Select records then click Share Selected. A modal opens listing the selected records and the companies with whom they can be shared. Click one or more companies, then click Share to share the record(s). Note: To add companies that records can be shared with, contact support or your account manager. | 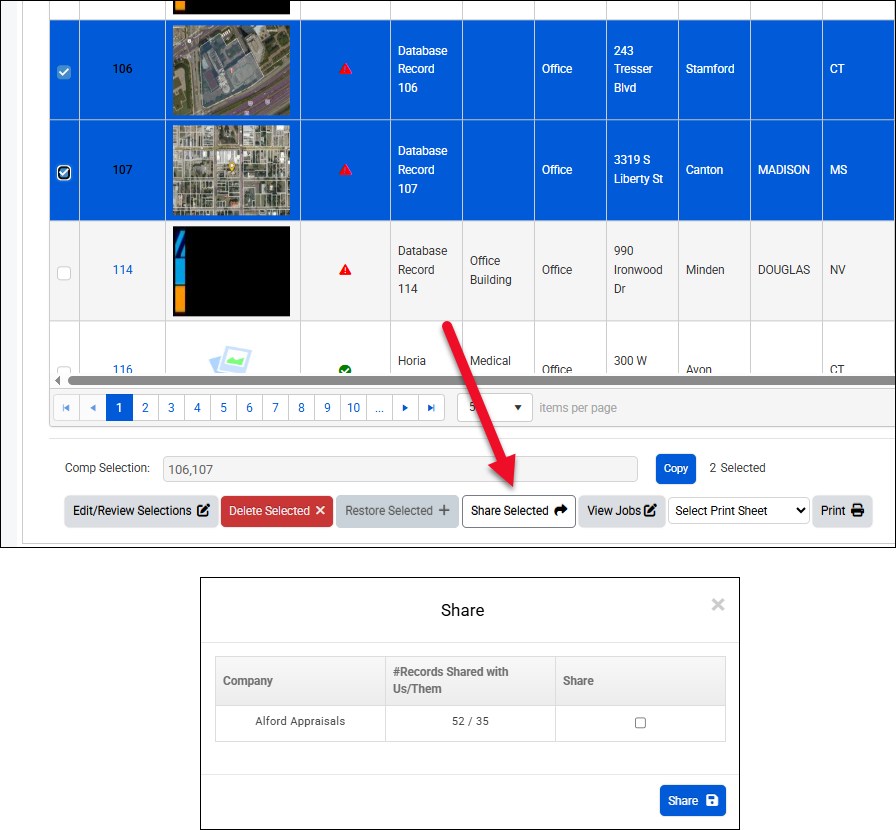 |
View Jobs Select records then click View Jobs to open the Jobs Manager in a new browser window and view any Jobs that used the selected properties as a subject property. |  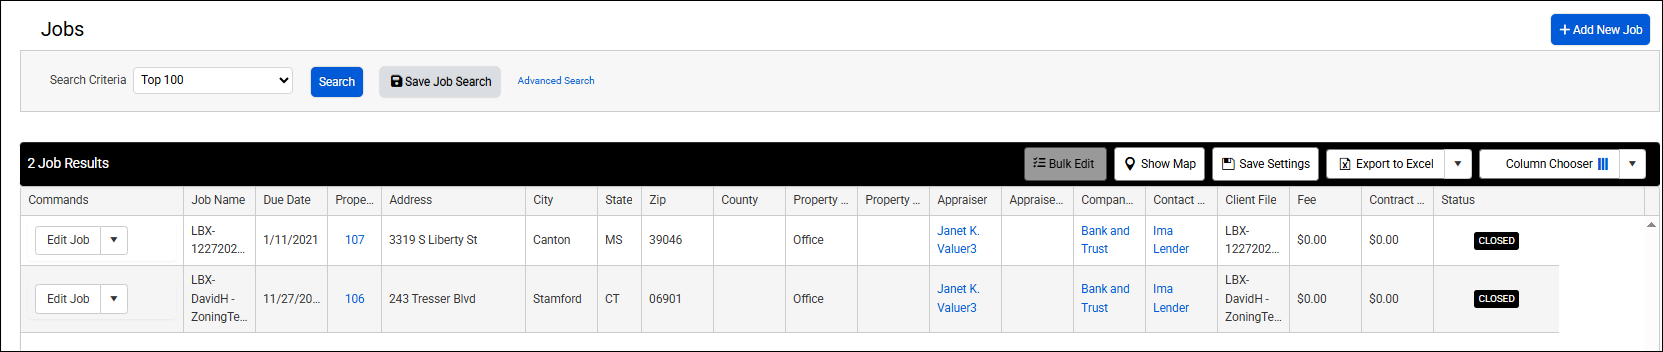 |
Select records, select a Print Sheet from the drop-down menu, then click Print. The record(s) will open in a new window. From there the sheet can be downloaded or printed. A Print Sheet defines what information is displayed in the printed sheet and is specific to the type of comparable. Example: The Multifamily Lease Print Sheet includes rent and unit information, while the Land Print Sheet has fields for topography and environmental issues. Note: Print Sheets can be customized. Refer to Print Comp Templates for instructions. | 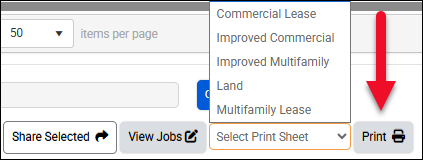 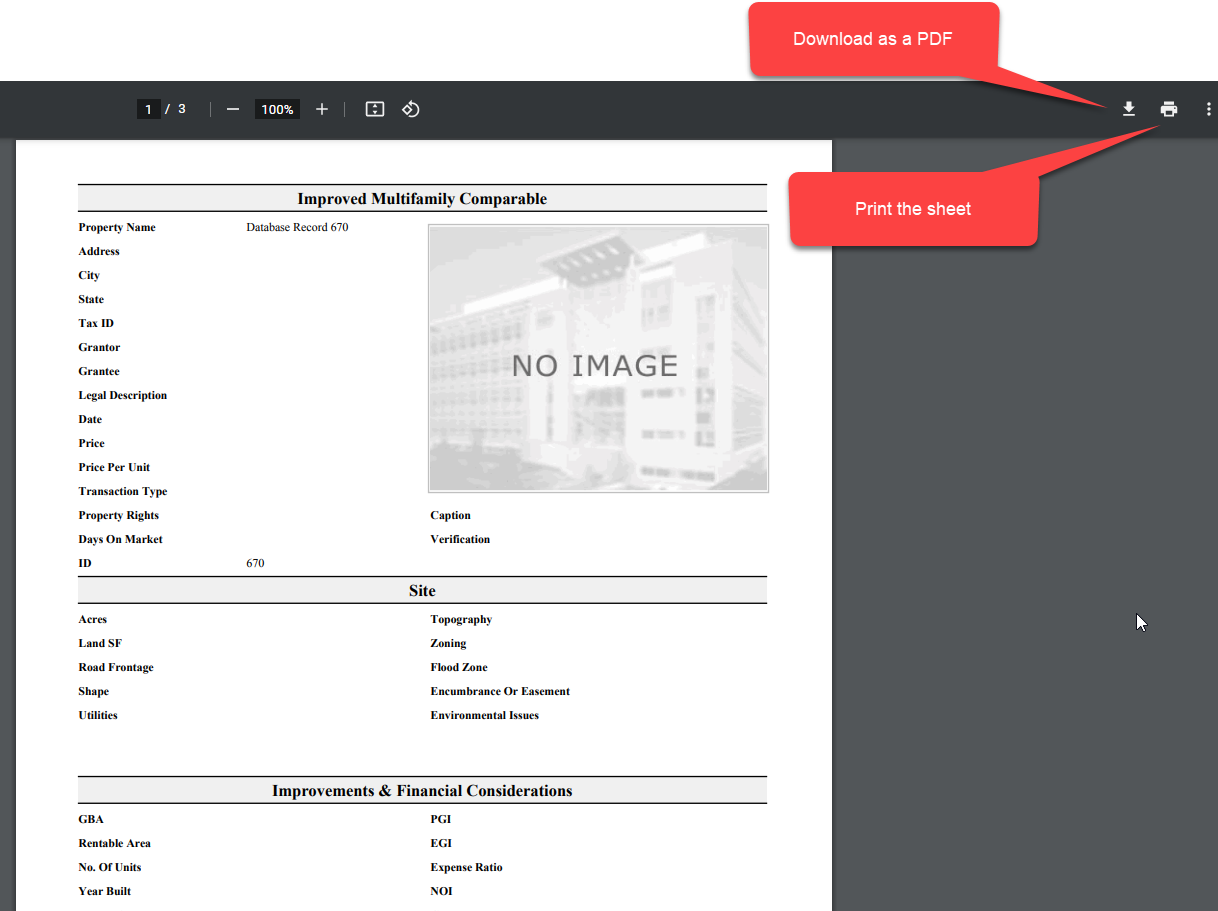 |
Grouping
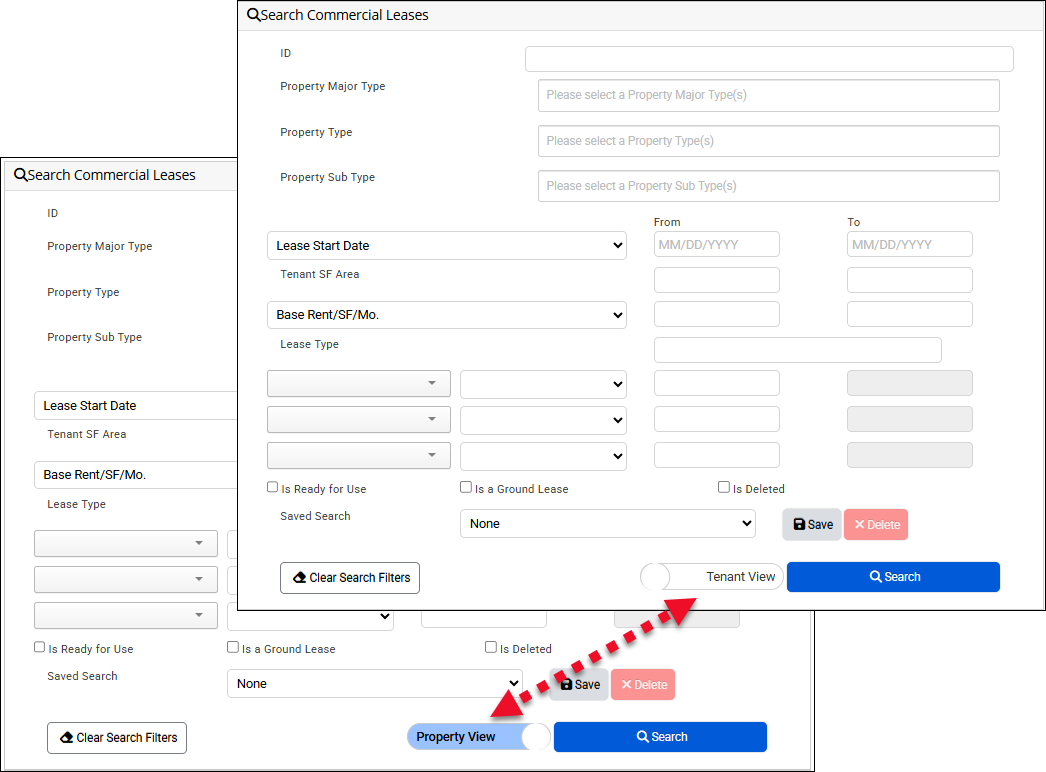
On the Commercial Lease and Multi-family Lease pages, the Search Results table includes a grouping feature. On the Commercial Lease page, this feature groups tenants. This feature can be enabled/disabled on the Commercial Lease page by toggling the Tenant View/Property View switch.
On the Multi-family Lease page, this feature can be enabled/disabled by toggling the Unit View/Property View.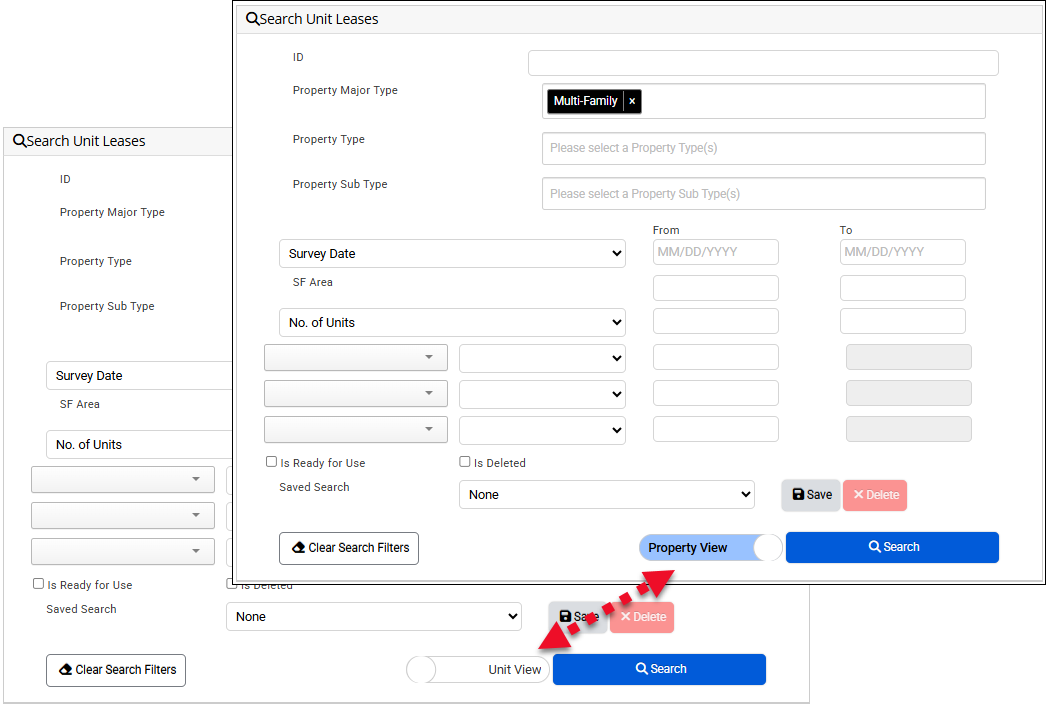
On the Commercial Lease page, choose the Tenant View for tenants to be grouped under the property. Choose Property View for each tenant to have their own row, duplicating the property information. You can use the Save Grid button to save your preferred view.
Tenant Data
Tenant View will show all tenants under a property, even if they do not match the tenant-level parameters.
Property View will only show the tenants that meet the tenant-level parameters.
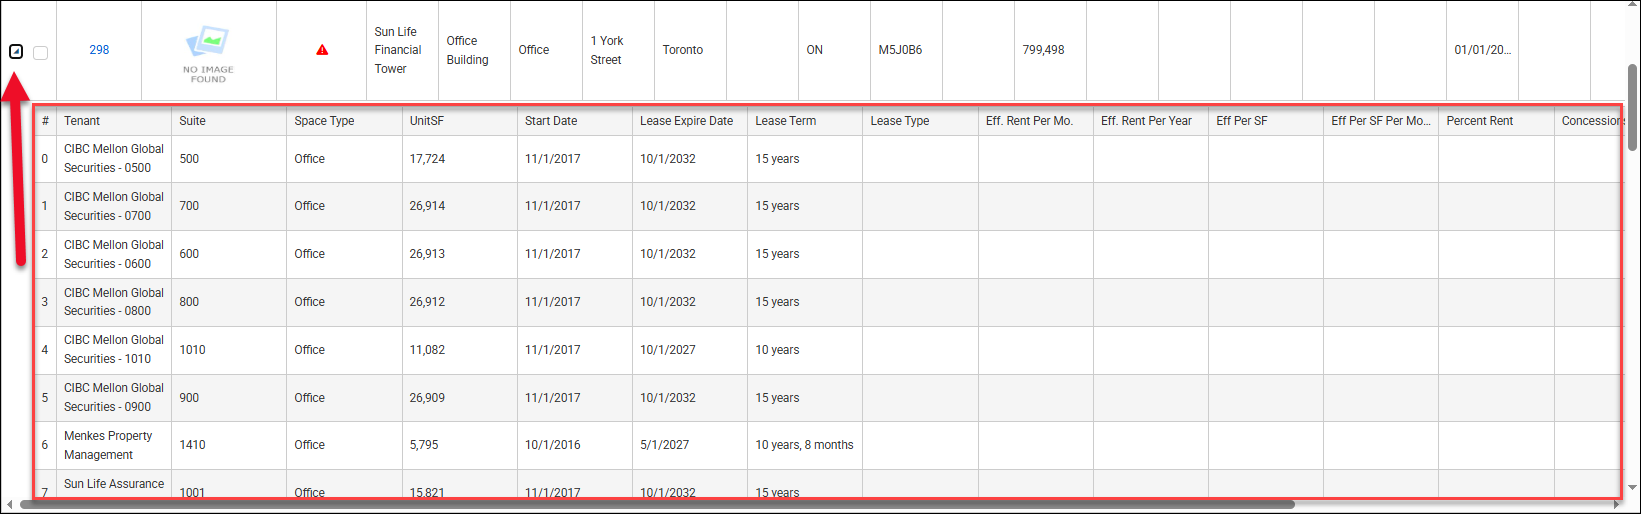
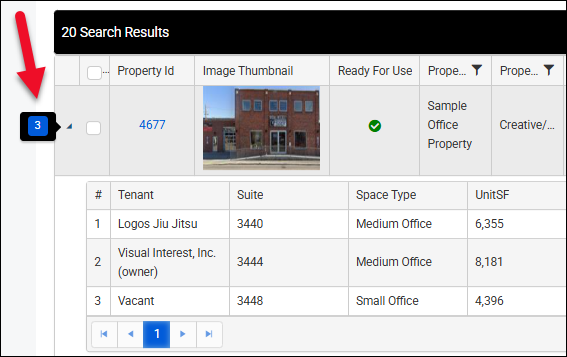
When the Tenant View is toggled, click the arrow in the left-most column to expose the tenants for a specific property.
On the Multi-family Lease search page, when Unit View is enabled, standard unit rent detail fields will be exposed. There is not a column chooser for the unit detail fields in this view.

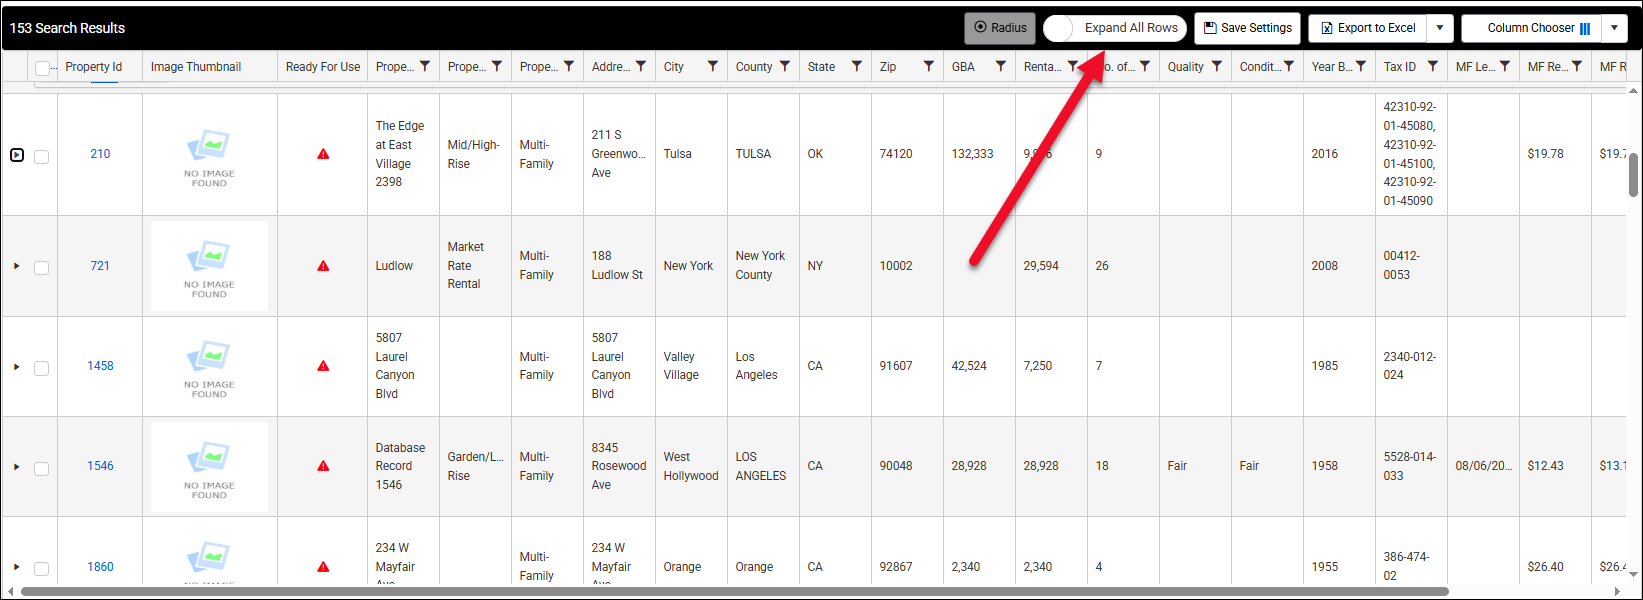
Click the Expand All Rows button on the Commercial Lease or Multi-family Lease search page to expand all rows.
All rows are expanded.
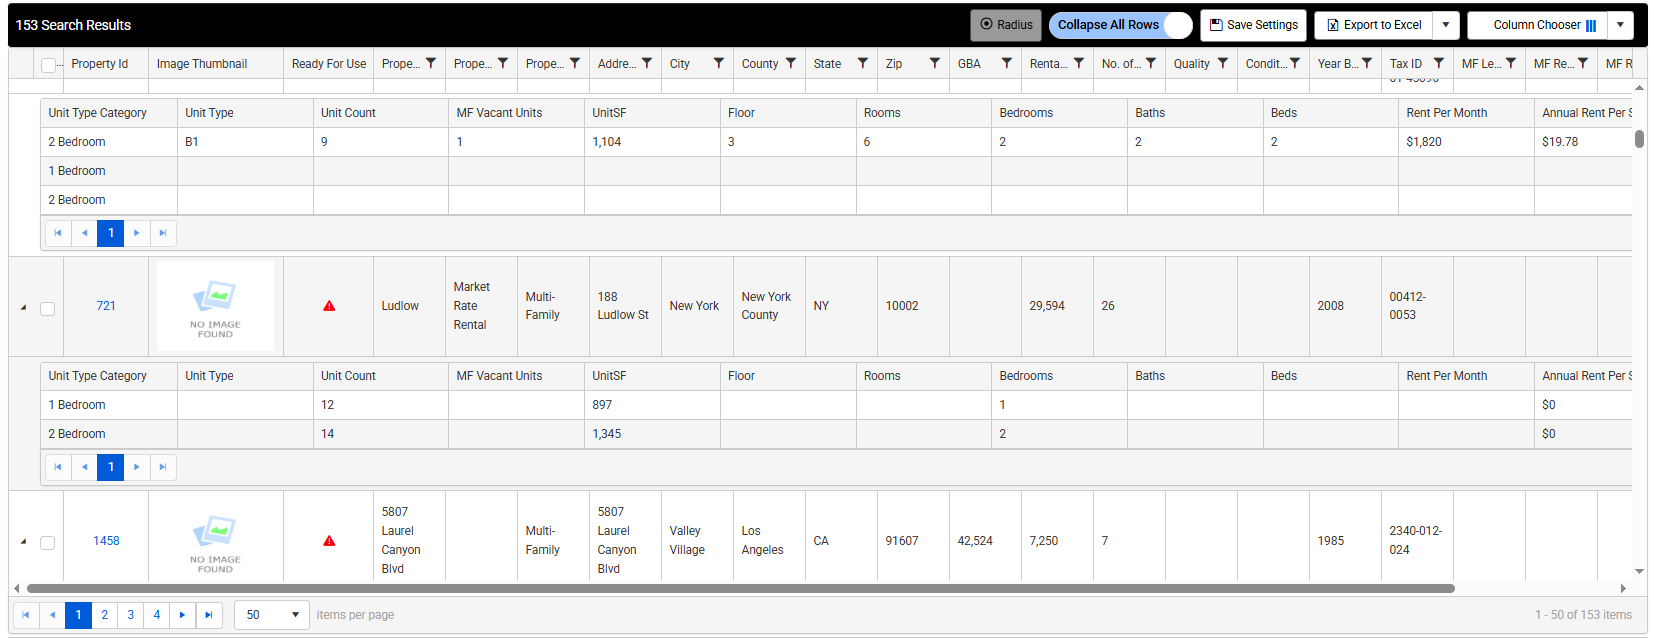
Click Collapse All Rows to collapse all rows.
Click Save Settings to save the expanded view or collapsed view as the default for the future.

Note the No. of Units field on the property-level row, indicating how many individual units are on the property.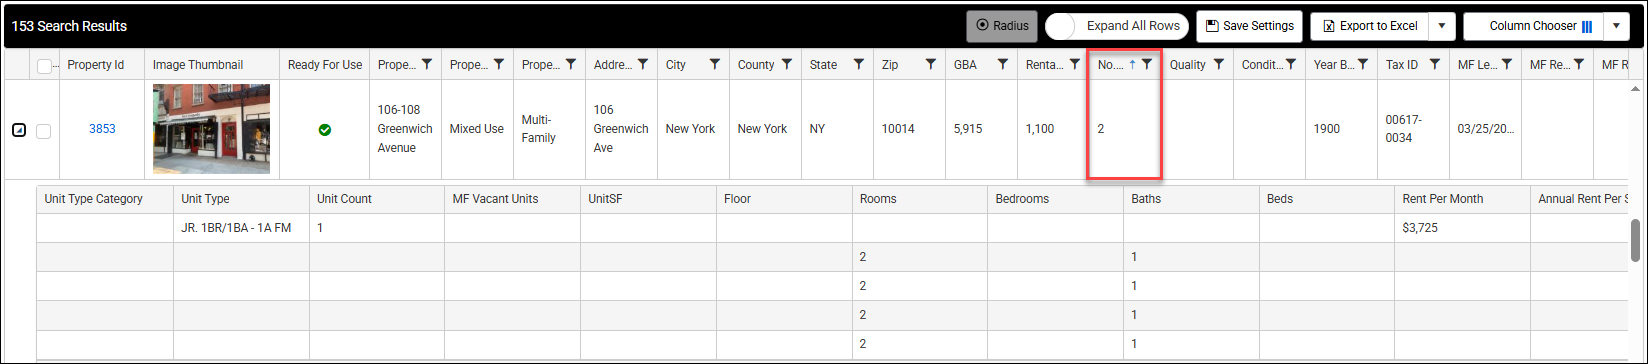
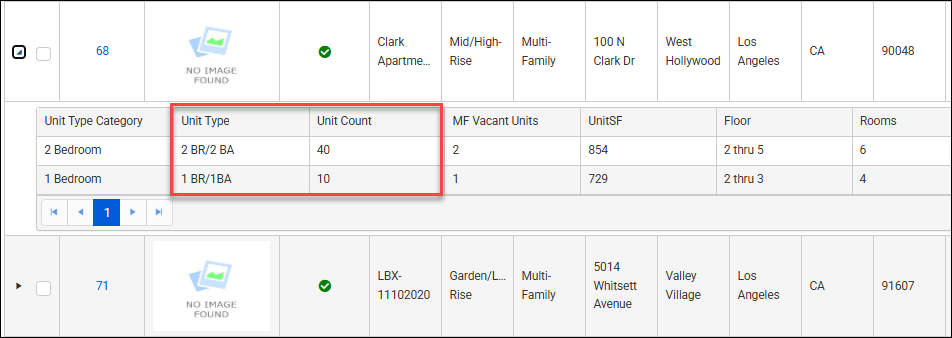
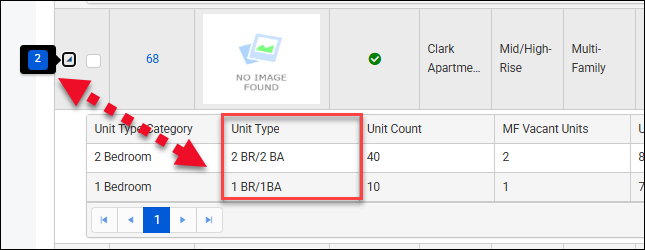
The individual unit count is listed below, indicating how many of each unit type are found on the property.
On the Commercial Lease page, the No. of Tenants field appears at the property level, and individual tenants are listed in the group section below.
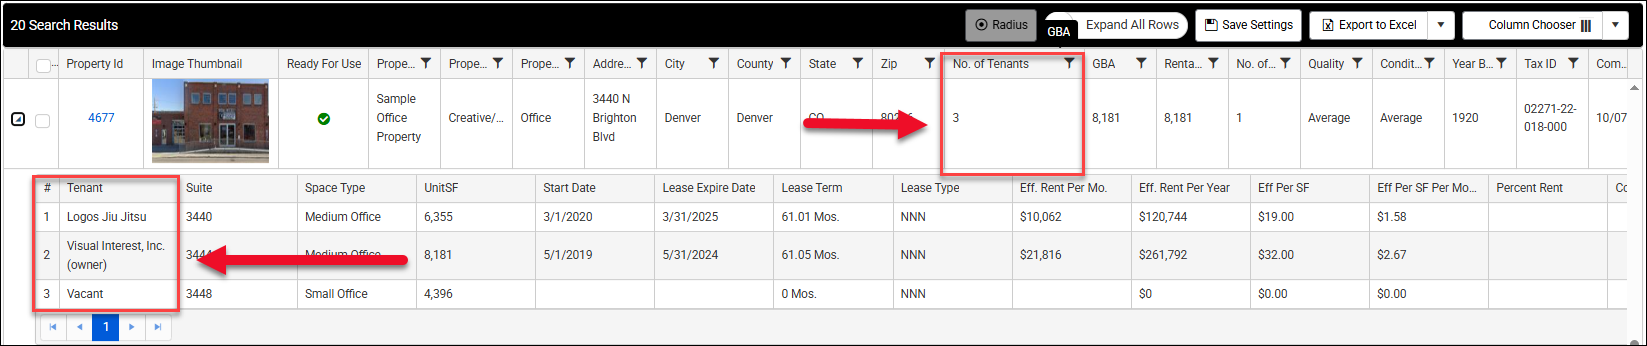
Hovering over the arrow for a property displays a tooltip. On the Commercial Lease page it displays number of tenants.
And on the Multi-family Lease page it displays the number of unit types.
Viewing Results on the Map
The property records are marked with pins in the Google Map above the Search Results table.
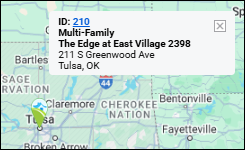
Each comp that appears in the search results table is marked on the map with a pin. Hovering over a pin will produce a blue tooltip with the property ID, name, and address.
Click a pin to highlight the corresponding row in the search results table.
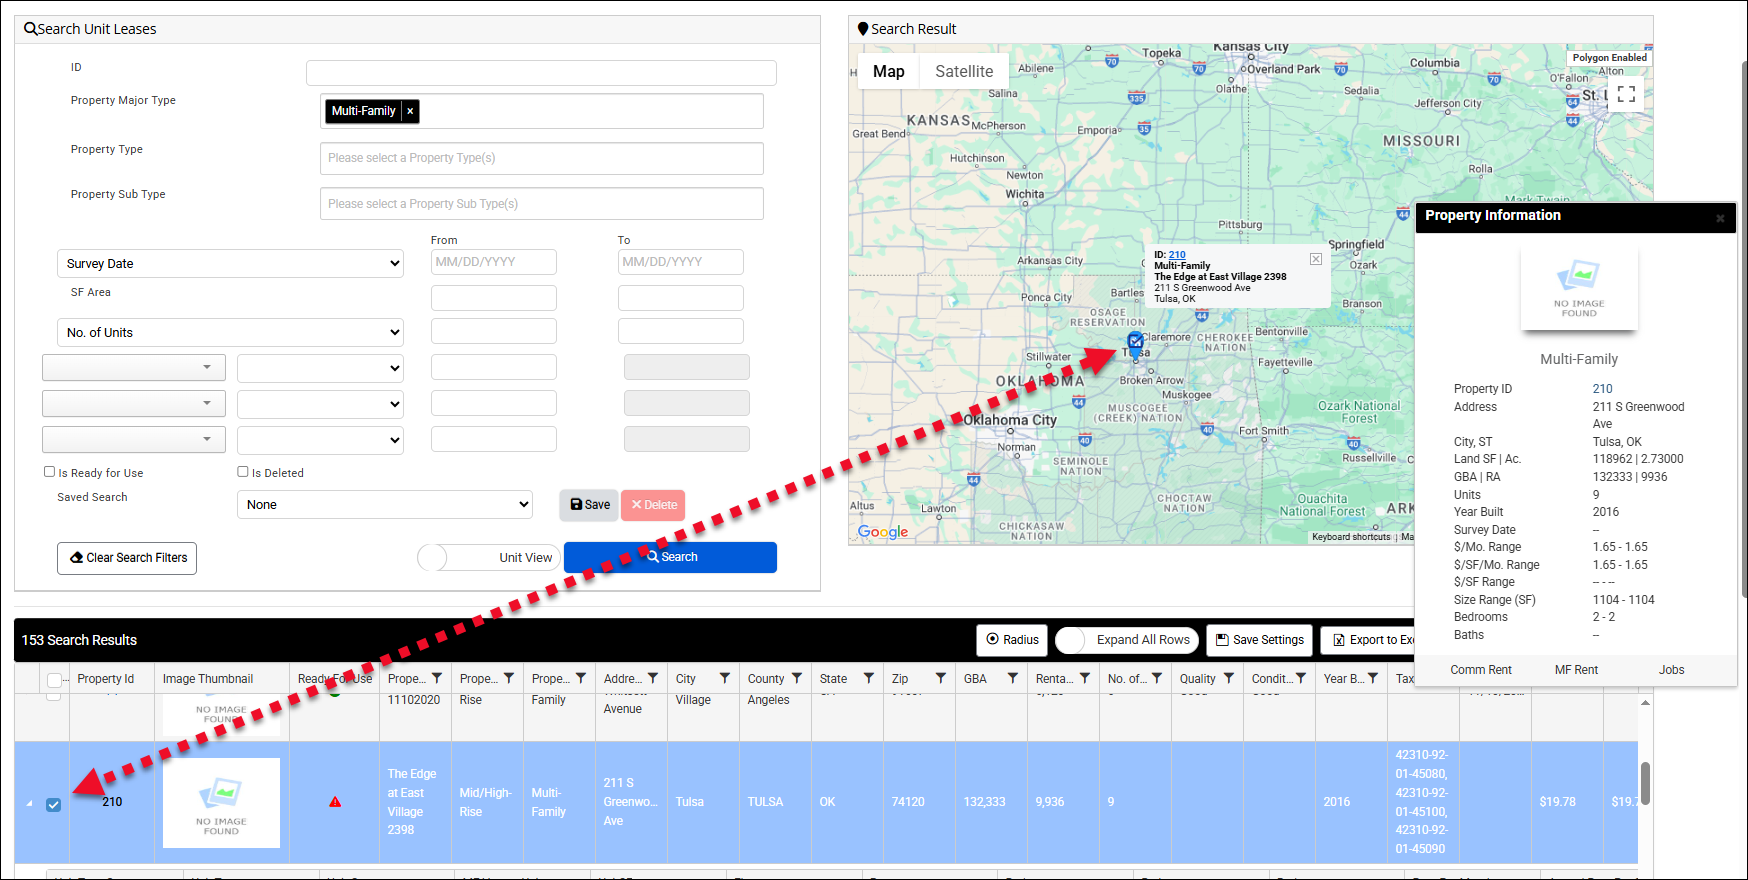
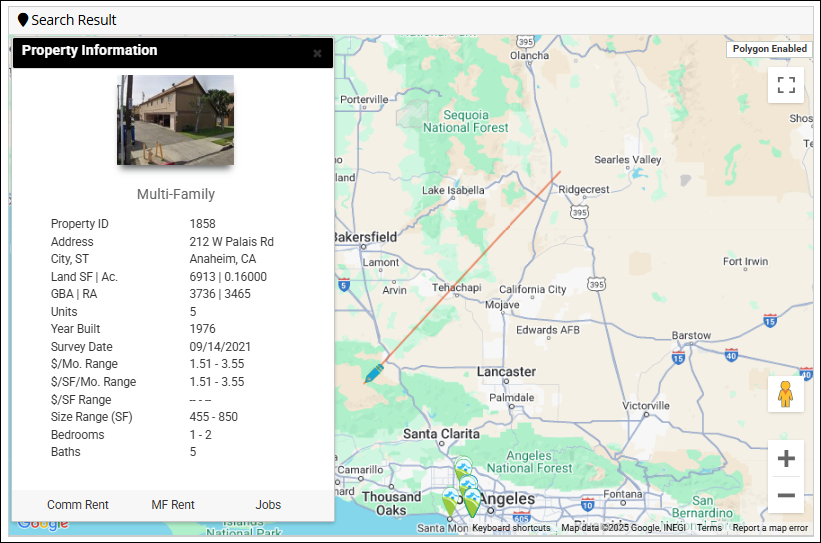
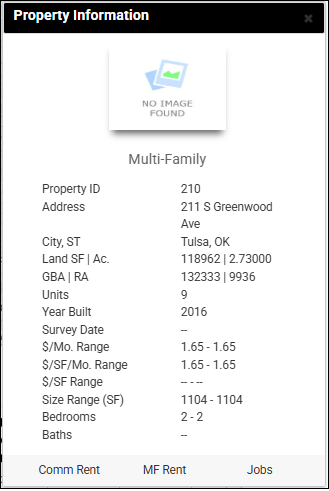
Clicking a pin will also display the Property Information window. This window contains a brief summary of the property, along with three blue links at the bottom: Comm Rent, MF Rent, Jobs.
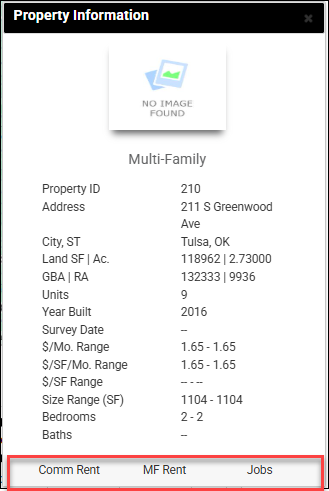
Click a link to view the corresponding information in a new Detailed Property Information pop-up.
 | View Commercial Rents: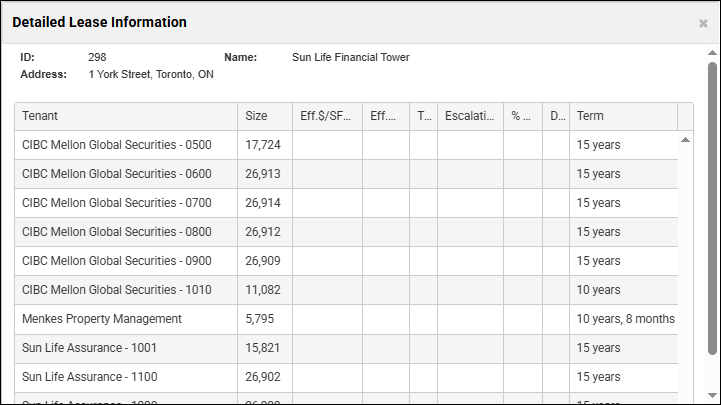 |
View Multifamily Rents: View Jobs: The View Jobs button links to the Search Job page. View Jobs: The View Jobs button links to the Search Job page. |
Was this article helpful?