- Print
- DarkLight
- PDF
Quick Start: Exporting to Excel
- Print
- DarkLight
- PDF
Taking comps from Report Writer and exporting them to the Excel template is a quick and easy process. Take a single record and use it as a subject for a new file, or a collection of comps to use in an analysis grid.
Importing a Subject to an Excel template
1. Select a Record for Export
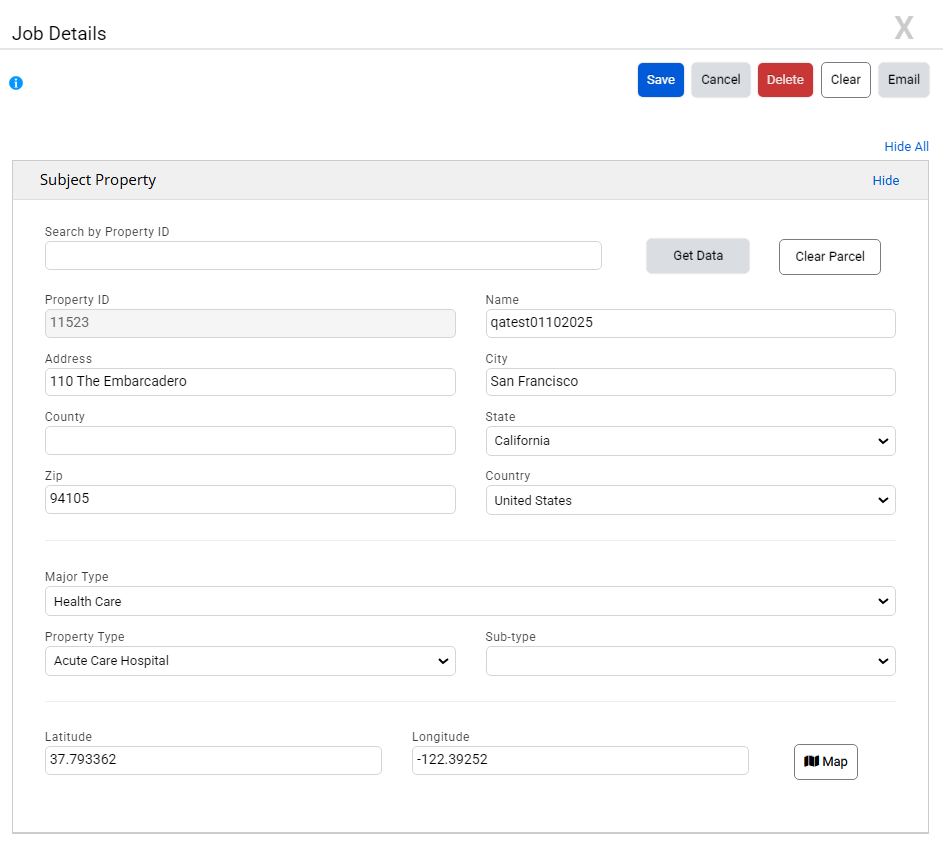
From the Job Manager module, note the Property ID of your subject. Here’s more information on the Job Manager.

2. Enter the ID > Click Import Subject
Within the Valuation Model.xlsm Excel file, open the File Info worksheet . In the Project Information section, you'll find a text field where you can enter the ID of the record you wish to import. Type in the appropriate ID, and click Import Subject Data From DB button to import Job, Contact and Property data to the appropriate cells in your workbook.

Searching for Comps
1. Select Properties > Search
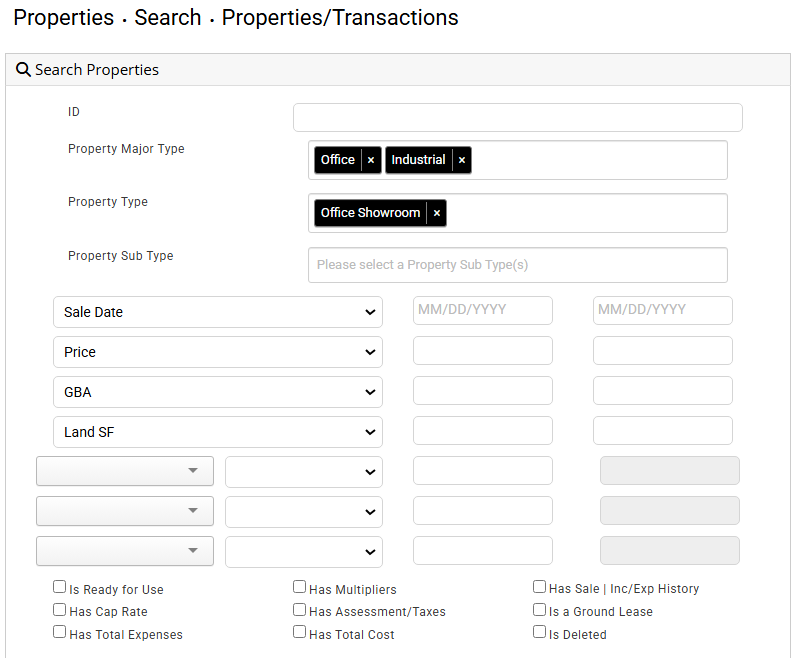
Begin by clicking on the Properties - > Search module from the navigation menu, and click on the Search type that best suits your purpose.

Note:
Properties/Transactions is best suited for searching the entire database or for sale records. Unit Lease is best suited for unit type property search like: Multi-Family, Senior Housing, Self Storage, etc.
2. Perform a Search
The Search page will offer a number of different filters for refining your results. Fill out your desired search parameters and perform a search.

3. Select Your Records for Export
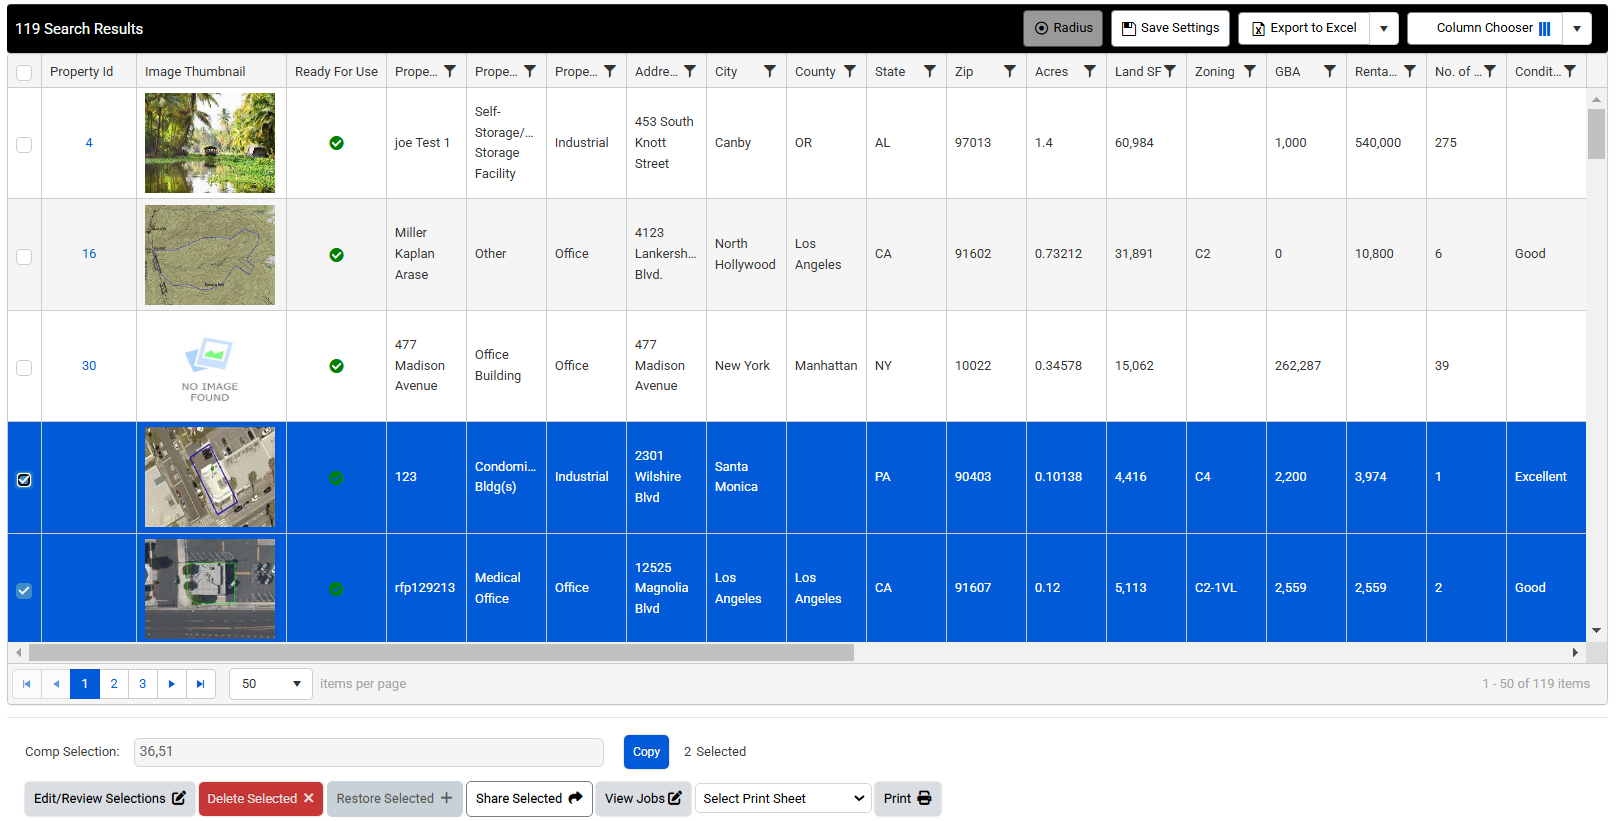
The Search Results table will become populated and comprised of all records that matched your filters. Find the records that you wish to export to Excel. In the left-most column of the comp(s) you wish to export, click on the empty checkbox. Below the Search Results table, you'll find the Your Selection field filled with all of the IDs of your comp selections. Click Copy, and then open up the Valuation Model.xlsm file.

Importing Comps to an Analysis Grid
To import multiple records from Web to use within a grid worksheet:
1. Click Arrange Comps
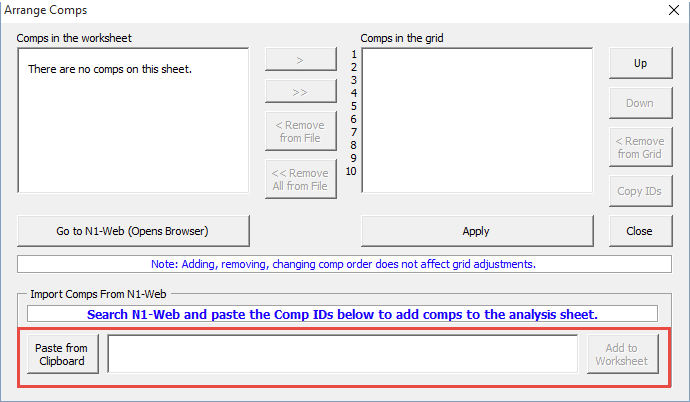
Navigate to the appropriate grid worksheet (Land, Lease, Sales). In the top, left-hand corner, find and click on the Arrange Comps button.

2. Enter Record IDs > Click Add to Worksheet
This will produce a new window, where toward the bottom will be an empty text field titled Import Comps From N1-Web. The IDs that you paste within this text field are the same that appear within the Your Selection field on The Search Page. If you clicked Copy while in the Search Page, click Paste from Clipboard to paste in your IDs. Finally, click Add to Worksheet to have the information imported into your Excel file.
.png)

.png)