- Print
- DarkLight
- PDF
Properties - Property Search
- Print
- DarkLight
- PDF
Description
Property Search is a vital tool that helps Job-bidders, data researchers and appraisers quickly navigate the large amount of information available in LightBox Valuation.
For a video review of this topic, please refer to the Searching for Properties video.
Property Search
To access the Property Search module, click the Properties button in the menu on the left.
.png)
If the left menu is not exposed, click the three lines icon in the upper left corner of the page to expose the menu, then click Properties.
.png)
Search and Filter
The top of the Properties page has a search bar and filter button.
.png)
Enter a search phrase in the Go to Location search box, then press Enter on your keyboard. Valid search parameters include
Country
State
Street Address
Zip Code
Latitude/Longitude
Click Filter to open the Property Search Filter modal.
.png)
This modal provides a variety of filters, organized by tab.
.png)
Most of the filters require selecting an operator (e.g. greater than, between, etc.) from a drop-down menu and entering a value in the corresponding field. Example: The filters below will return results with an Assessed Land Value greater than or equal to 400,000 and Assessed Value less than or equal to 1,000,000.
.png)
Click Apply to apply the filters and close the Property Search Filter modal.
.png)
The filters are listed at the top of the page. Click the X next to a filter to remove it, or click Clear Filters to remove all filters.
.png)
After applying one or more filters, check the Inclusions box. Then click the Inclusions button to expose a drop-down menu containing three commands:
.png)
Add Polygon
Add Circle
Add Line
Add Polygon
Click Add Polygon, then click a starting location on the map. At each vertex, click again, until the polygon is complete.
.png)
Tip:
The polygon tool is a great way to create a Supply Map exhibit for your market analysis.
Add Circle
Click Add Circle. A modal will appear. Enter a Radius and select a unit of measurement from the Distance Unit drop-down menu. Then click OK..png)
The modal will close. Move the circle to the desired location and then click once to place it.
Tip:
The circle tool is a great way to search for comparables.
Add Line
Click Line, then click a location on the map to place the first line point. Double click to place the endpoint of the line.
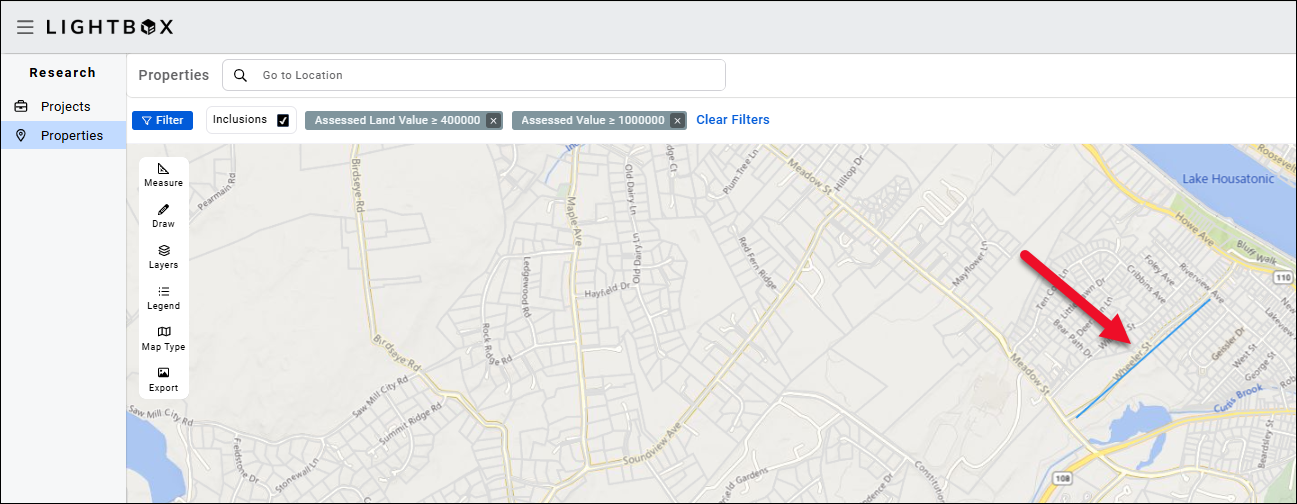
A modal will appear. Enter a Buffer Distance value and select a Distance Unit from the drop-down menu, then click OK.
.png)
Tip:
The line tool works well for Right of Way/Eminent Domain projects.
The results will now only include parcels that have points within the spatial inclusions. To manage inclusions, click Inclusions.
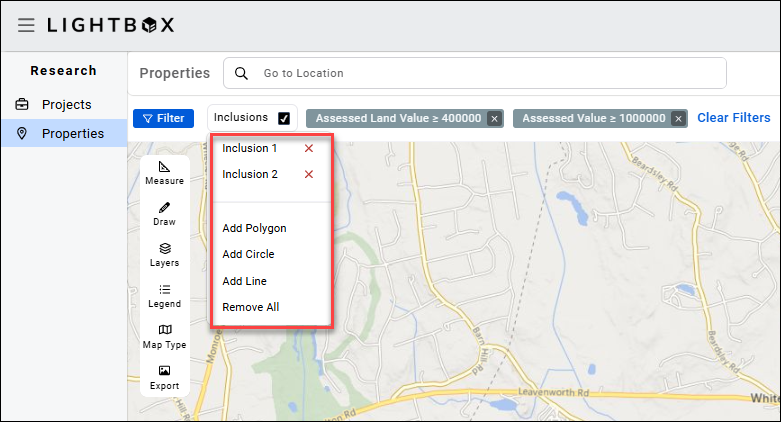
Click the X next to an inclusion to remove that shape from the map.
Click Add Polygon, Add Circle, or Add Line to add another shape to the map.
Click Remove All to remove all shapes added to the map from the Inclusions tool. Shapes that were added using the Draw or Measure tools will not be removed.
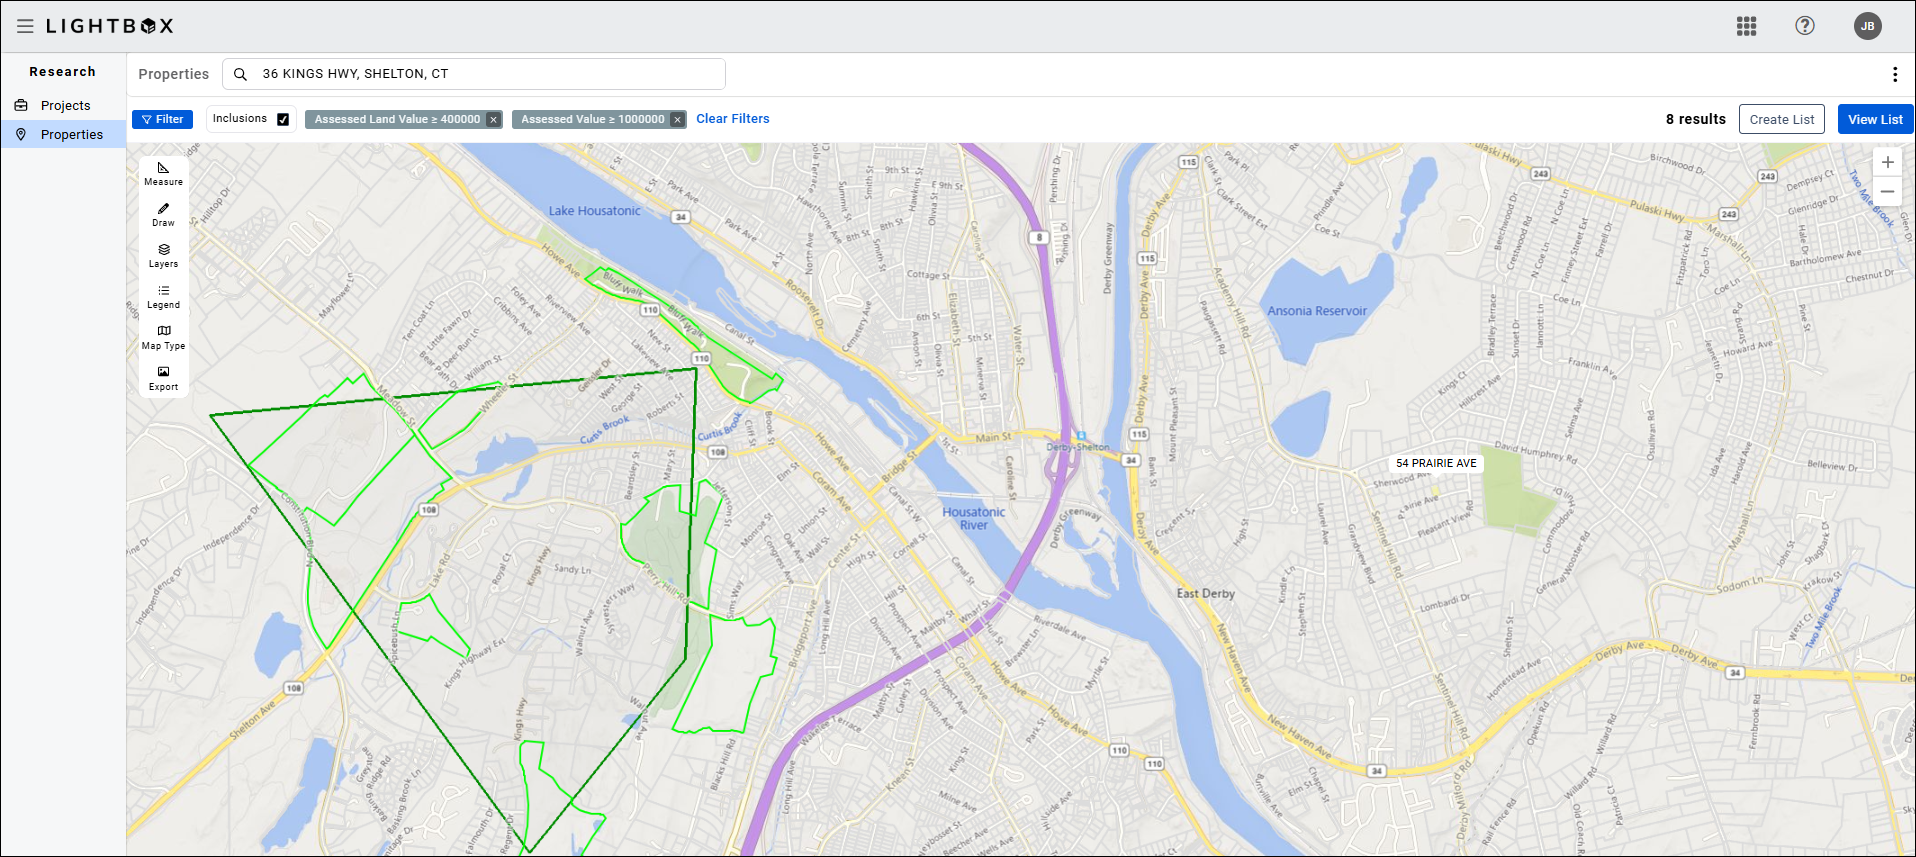
Enter location information in the Go to Location search box and press Enter on your keyboard. The properties outlined in green meet the filter criteria.
The Property Search Filter modal also contains a Deselect All and a Reset button.
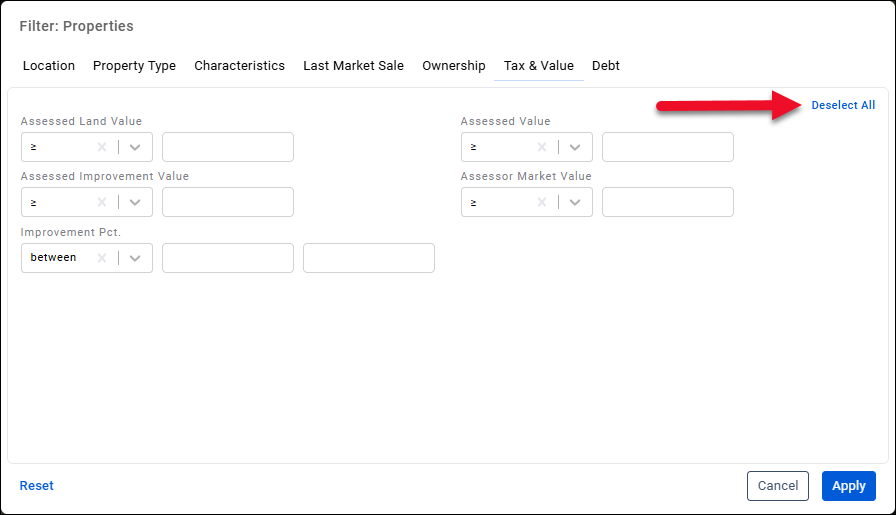
Click Deselect All to clear the filters applied on the currently open tab.
Click Reset to clear the filters applied on all tabs.
Map Controls and Lists
To view more information about a parcel, click on that parcel. The selection will be highlighted in green and information about that parcel will appear in a pop-up window.

To view additional information about the parcel, click the blue APN text, which will open the Property Profile. .png)
To build a list of properties, apply filters and then conduct a search. To view the properties that meet the criteria, click Create List. Note: The View List and Create List buttons are hidden until filter criteria are active or a search has been conducted.

The list of parcels that meet the search and filter criteria will be displayed in a panel at the bottom of the page.
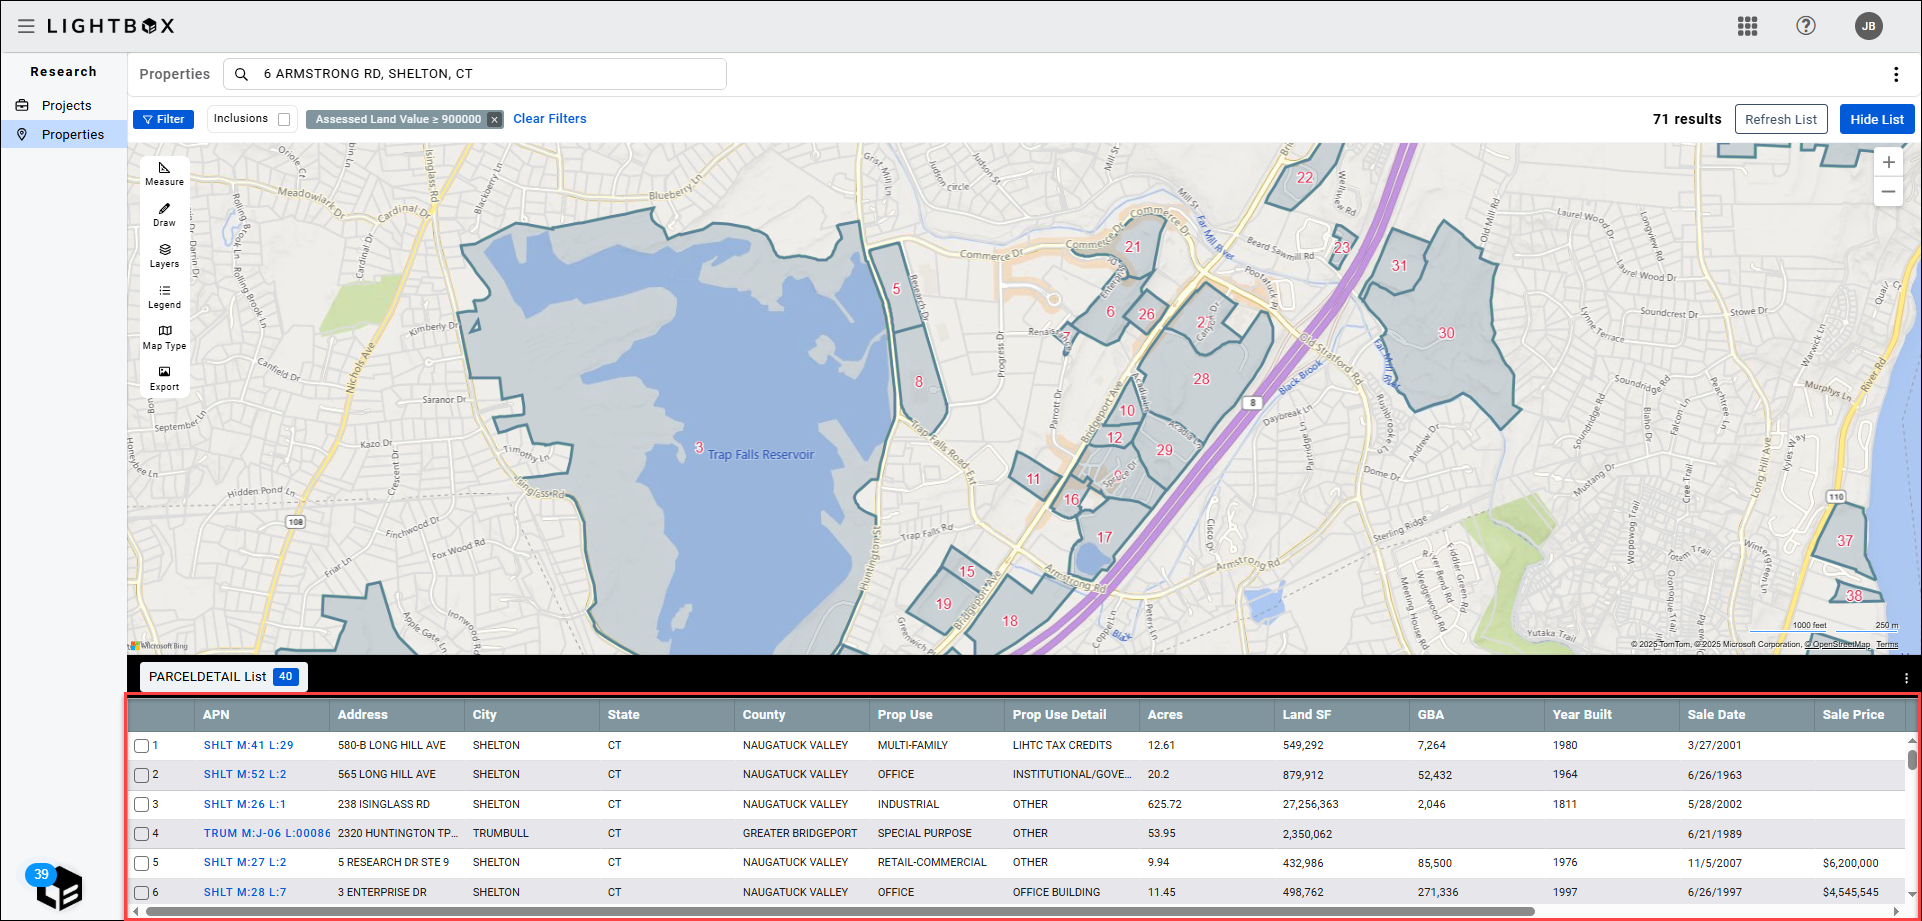
Hover over a parcel on the map to highlight it in yellow and also highlight the corresponding entry in the parcel detail panel. Note: If the parcel you highlighted on the map is not currently displayed in the parcel detail panel, it will not jump to that location in the parcel detail panel.
The reverse also works: Click an entry in the parcel detail panel to highlight the corresponding parcel on the map.
Click on a parcel on the map or in the detail panel to select that parcel and open the corresponding additional information popup.
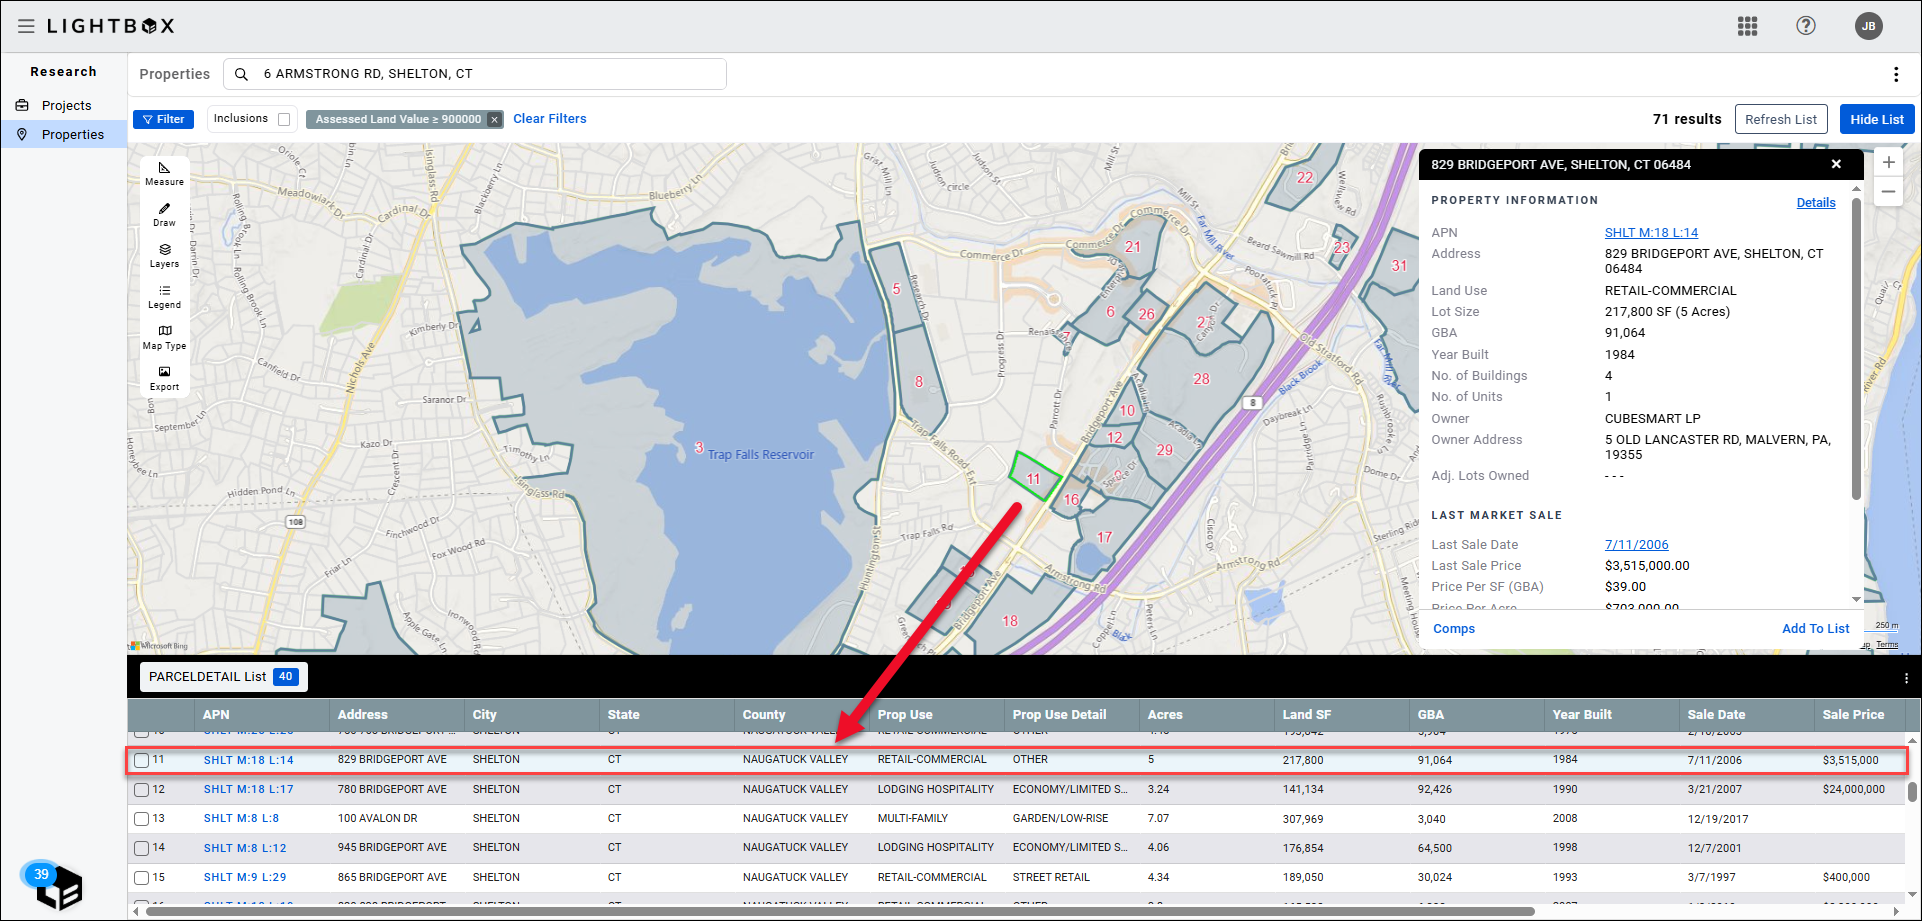
Click the ellipsis (three dots) in the upper right corner of the parcel details panel to display a menu.
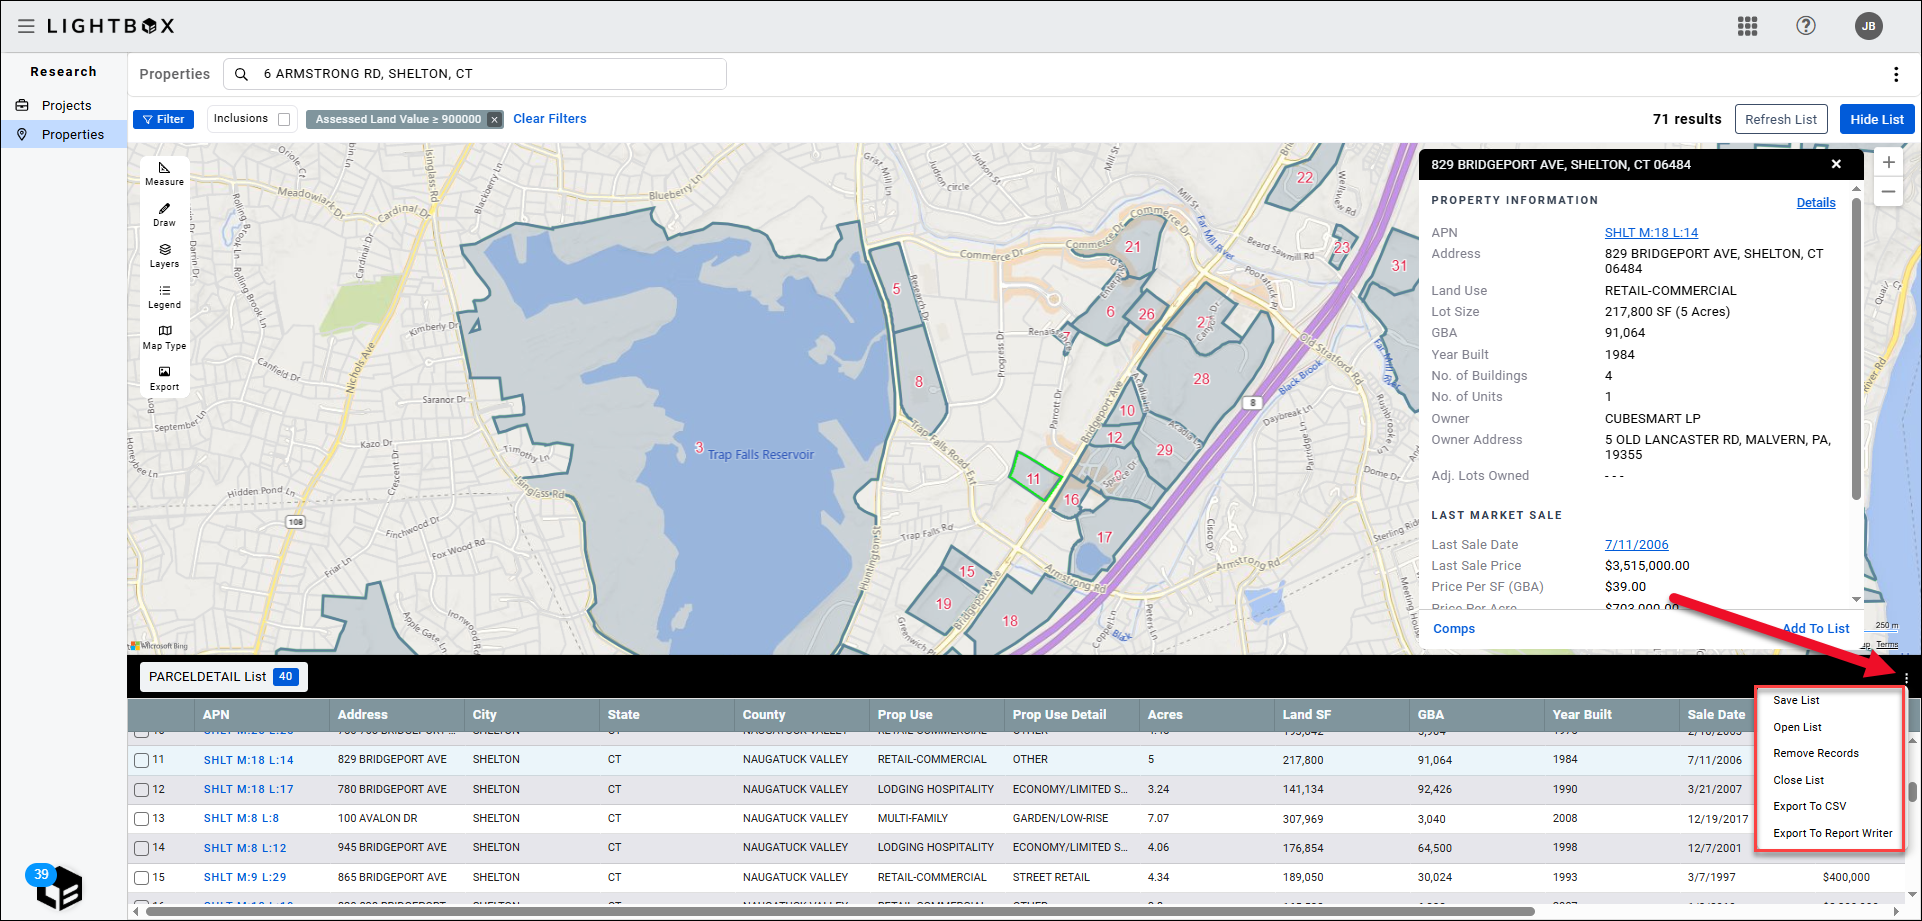
Save List: Save the entries currently listed in the parcel details panel. Select a folder to save the list in and enter a name, then click Save to create the list.
You can save multiple lists, but each must have a unique name.
Note: Lists in the User folder can only be seen by you. Lists in the Shared folder can be seen by other members of your organization.
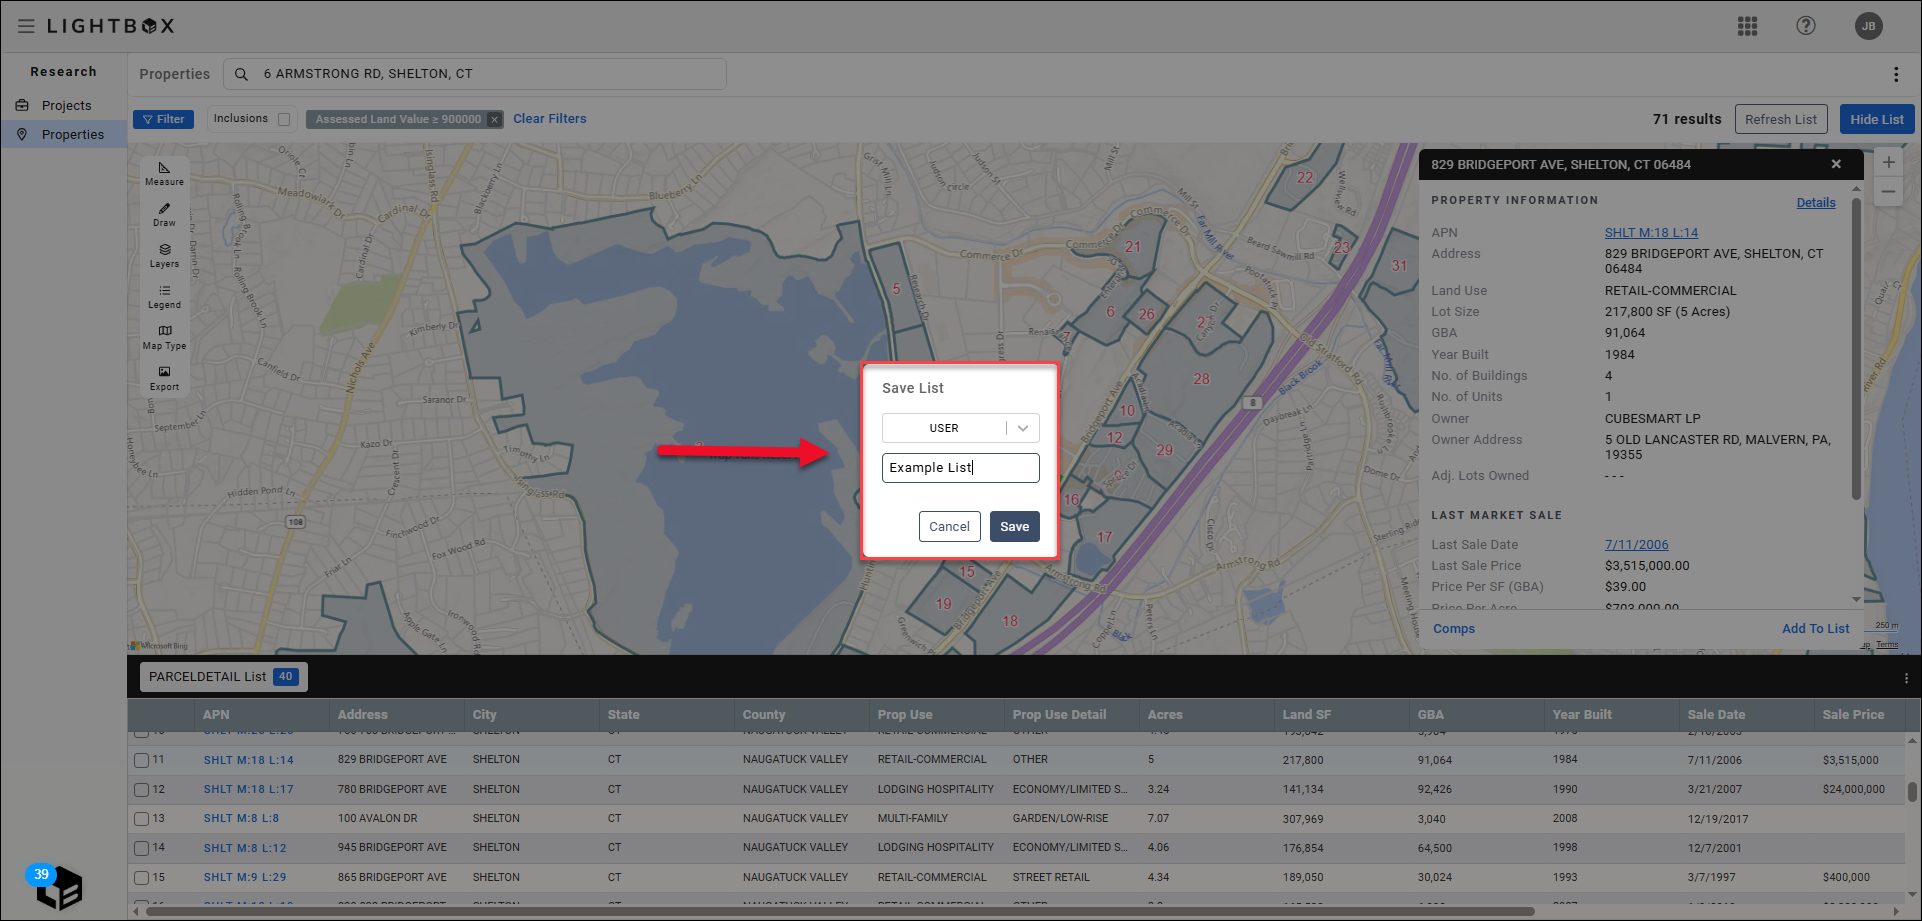
Open List: Open a list you previously created. Click the list you wish to open and then click OK.
To delete a list, click the X to the right of the list. A confirmation popup will appear. Click Delete to confirm the deletion or click Cancel to cancel the deletion.
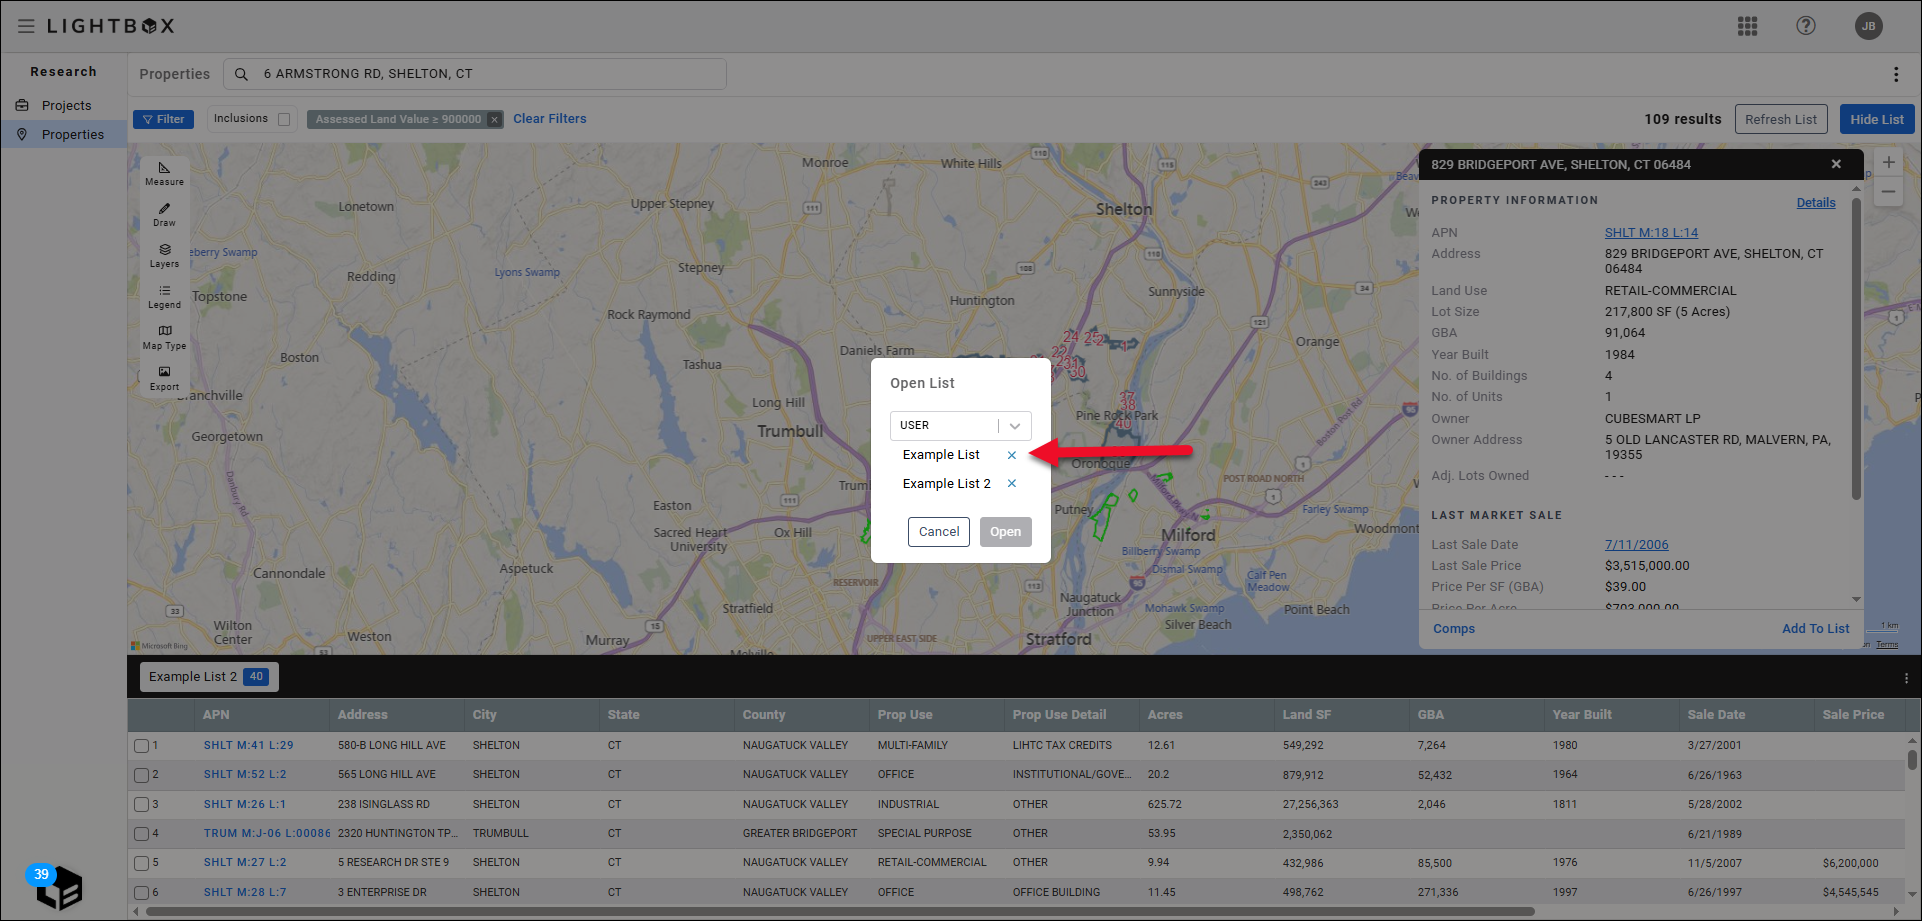
Open Layer: Click to open a layer. First, select the user folder in which the layer is saved, then select the layer you wish to open.
The data points of the layer will be displayed in list format.
.png)
Remove Records: Select one or more parcel entries by clicking the checkbox(es) on the left side of the parcel detail panel, then click Remove Records. A confirmation popup will appear. Click Yes to confirm the removal or click No to cancel the removal.
The removed record entries will no longer appear in the list that is currently open..png)
Close List: Close the list that is currently open. The results of the search and filters that were applied will appear again.
Export to CSV: Download a CSV file containing the data from the current list.
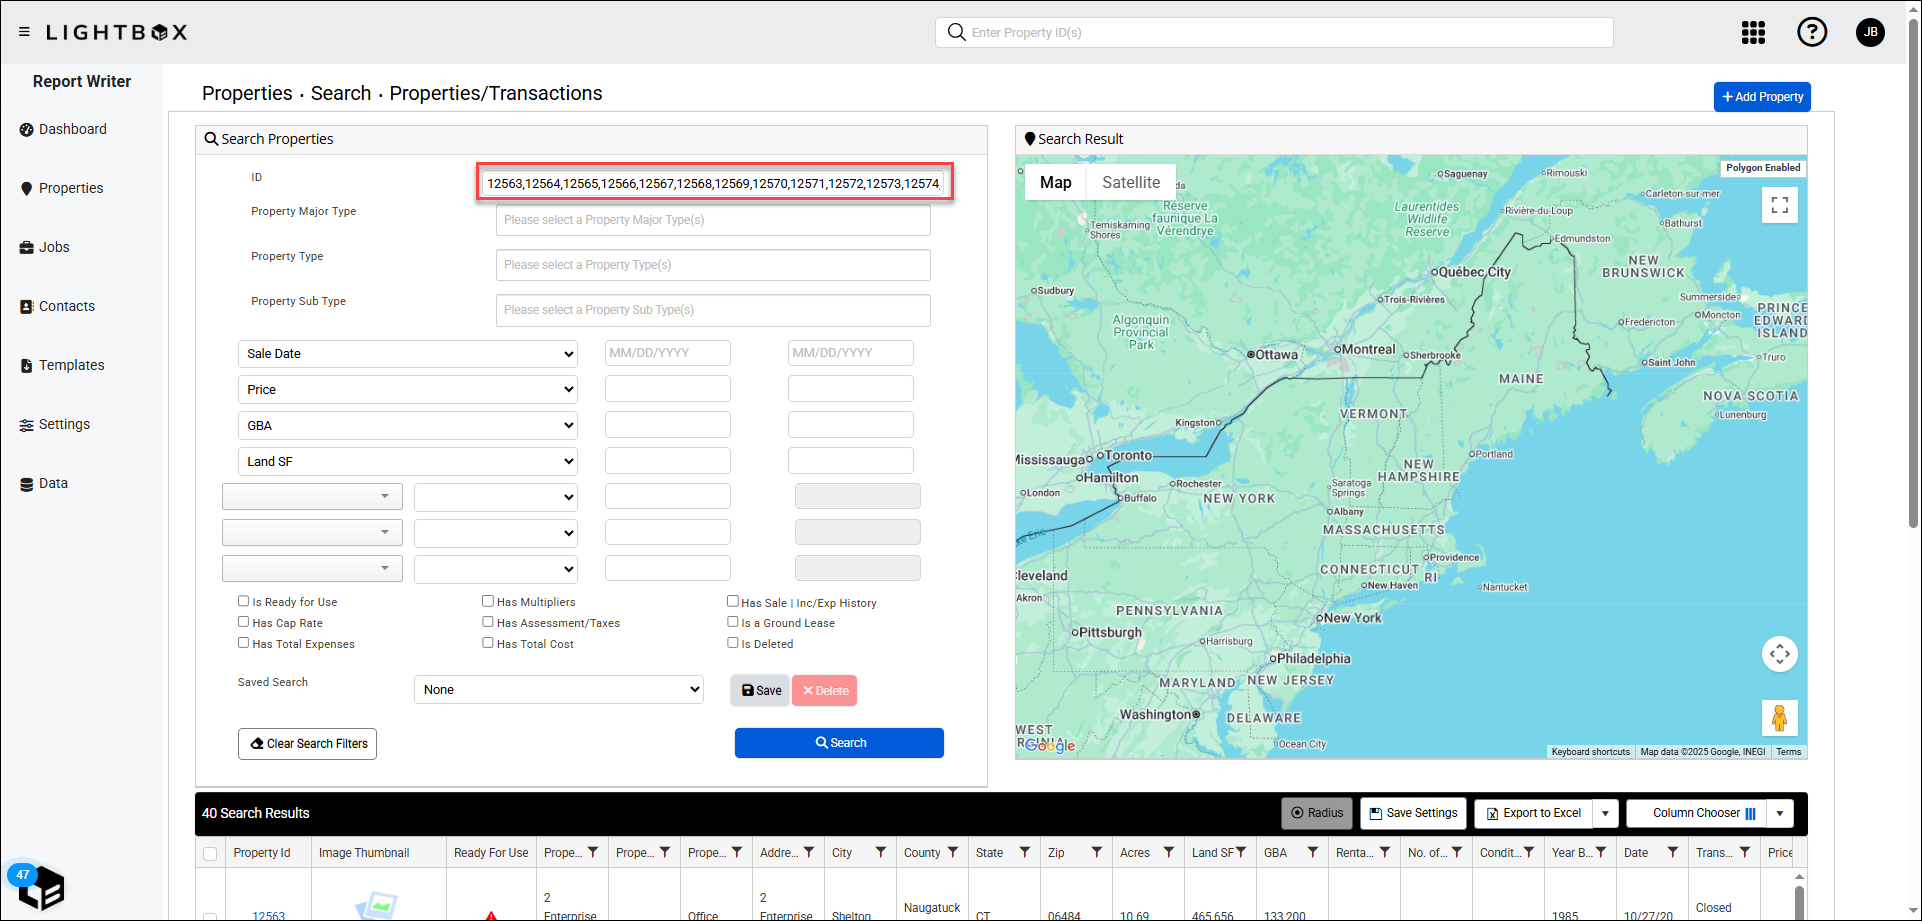
Export to Report Writer: Opens Report Writer in a new browser tab. The IDs of the newly-created property records can be seen at the top of the page.
Report Writer will import up to 100 property records at a time.
Navigate among open lists by clicking the list title at the top of the parcel detail panel.
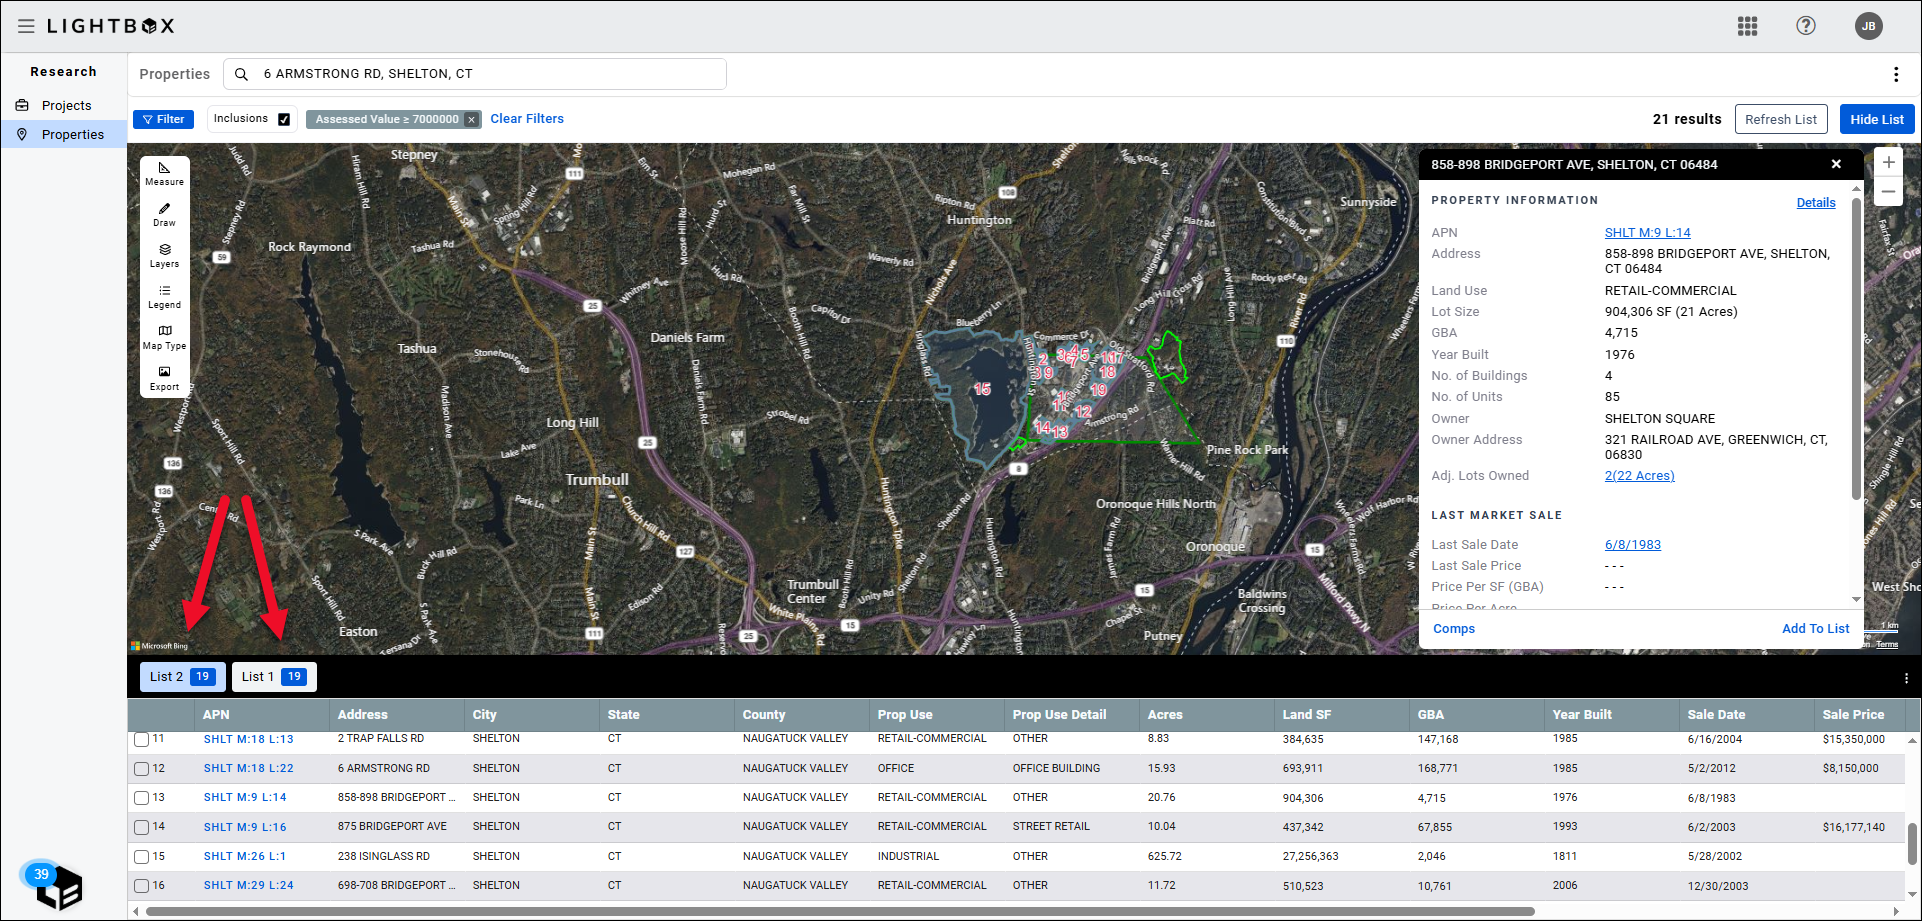
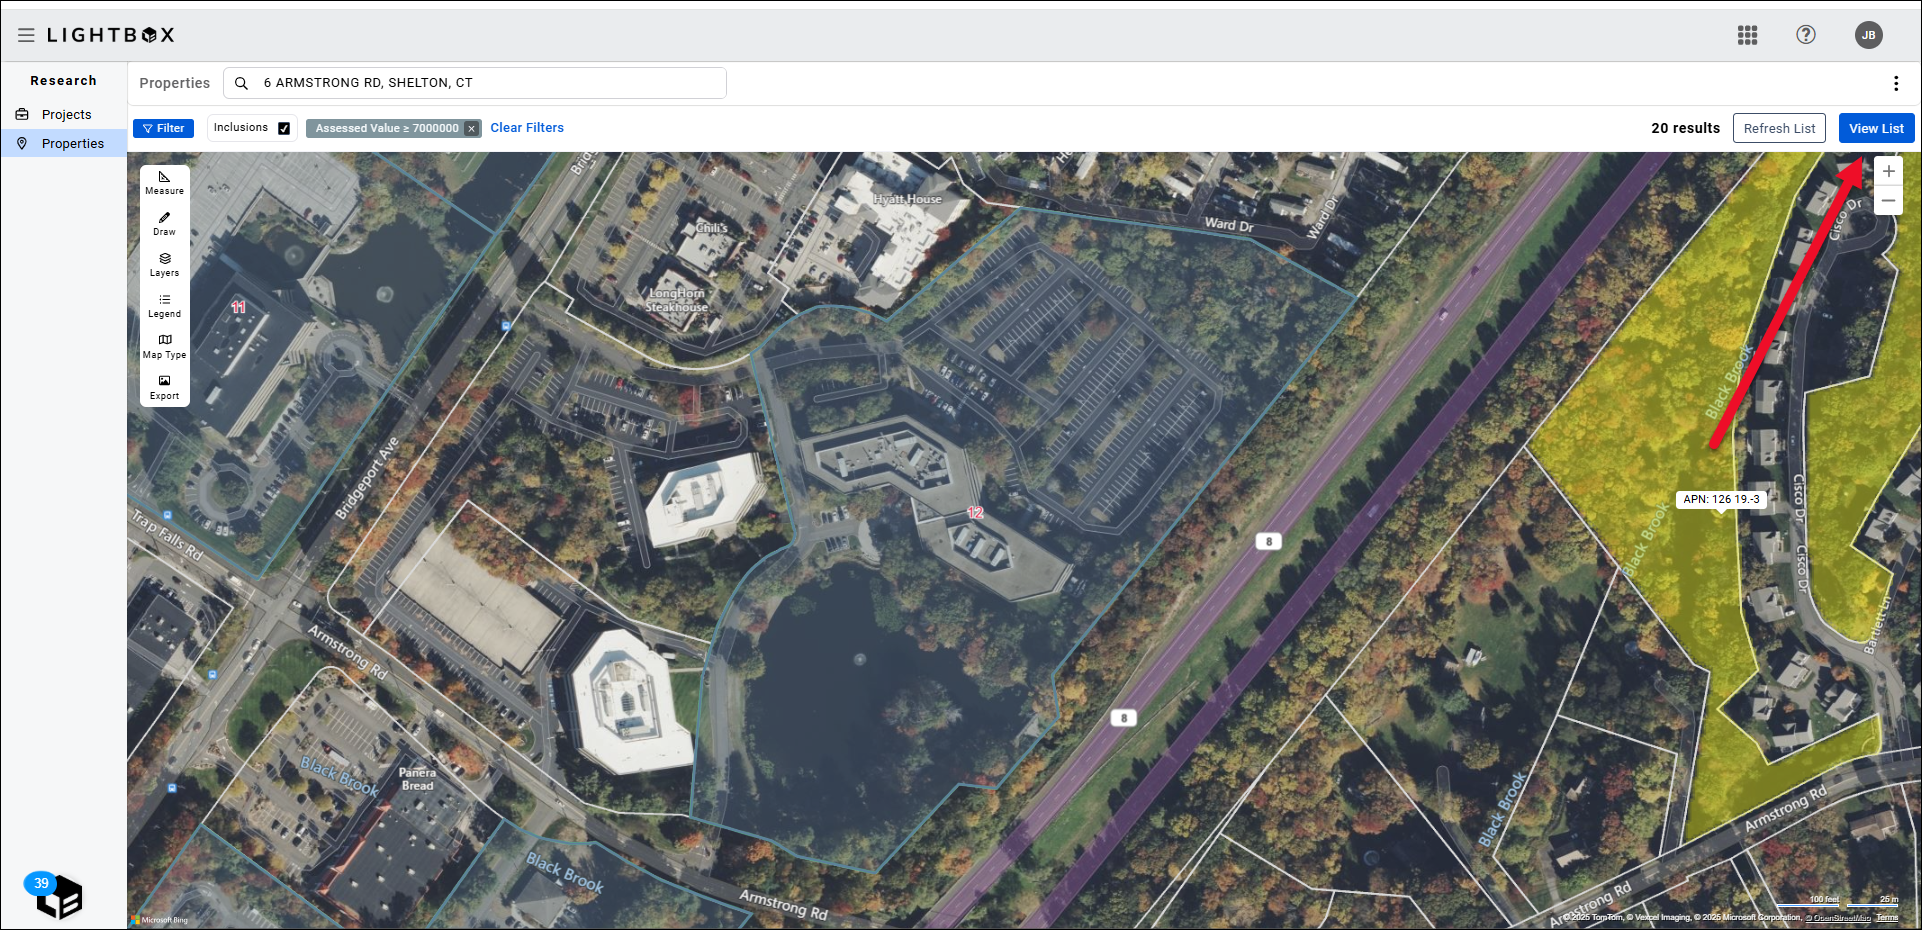
Click Hide List to collapse the parcel details panel.
Click View List to expand the parcel details panel.
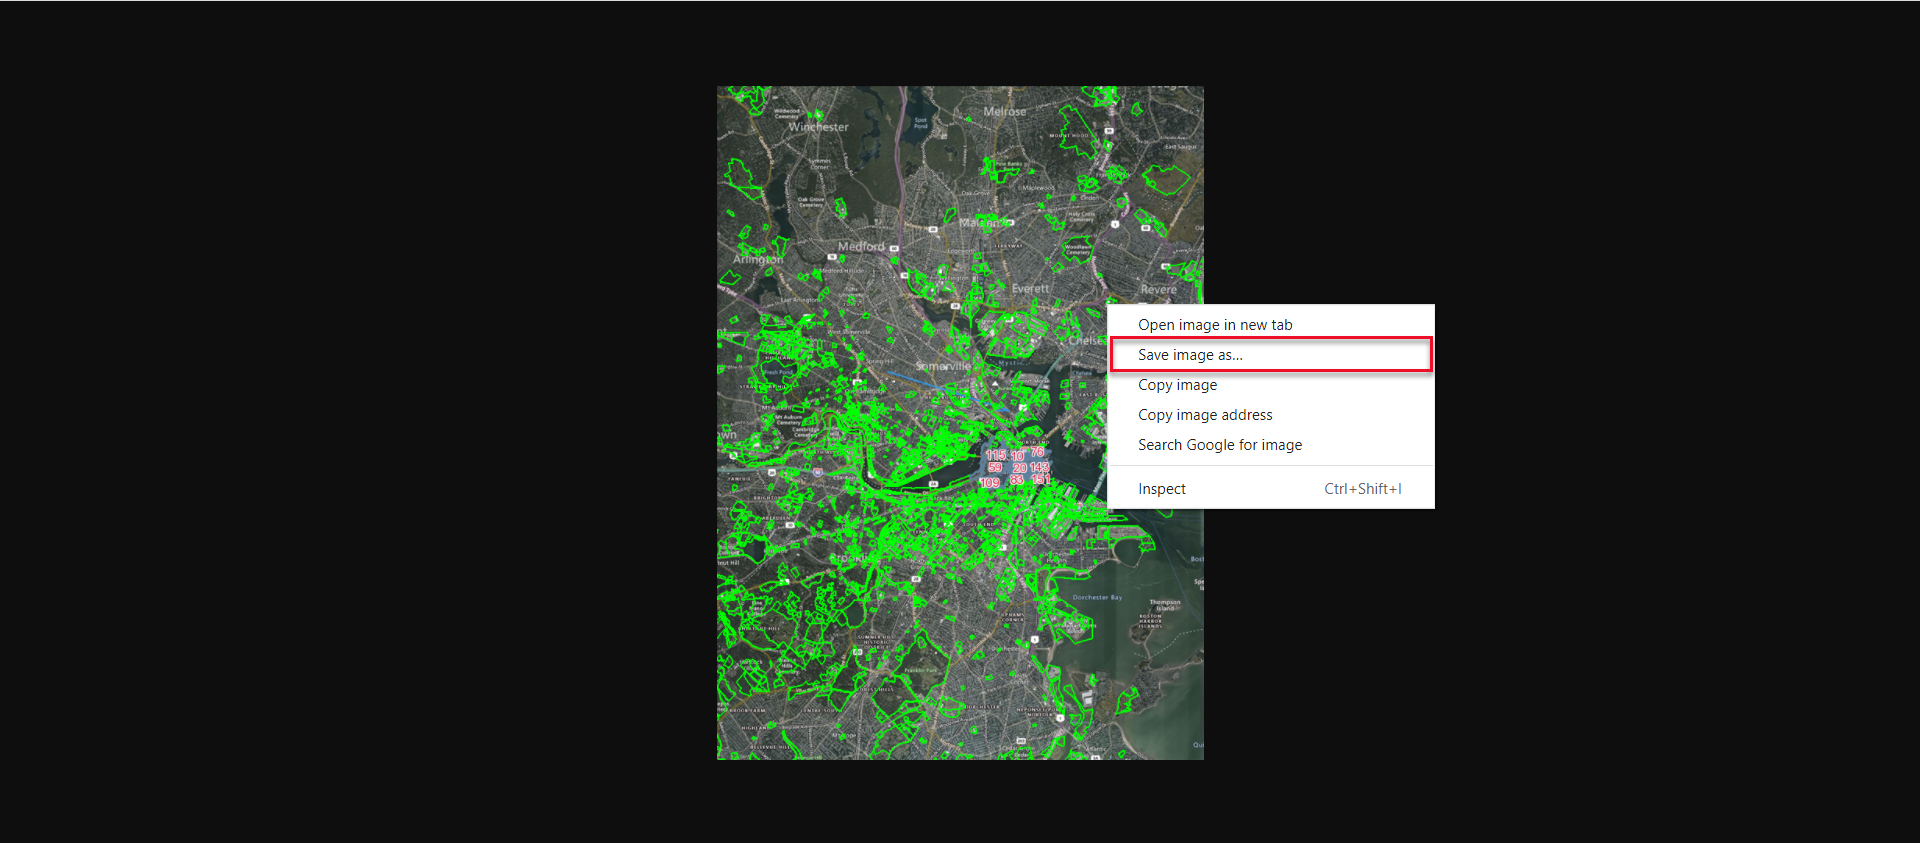
Click the ellipsis (three dots) in the upper right corner of the page to display the Export Map button. Click Export Map, then select a map layout and click View Map.

The map will open in a new browser tab. Right-click on the image and then click Save image as… to save the image to your computer.
.png)

.png)