- Print
- DarkLight
- PDF
Multifamily Lease
- Print
- DarkLight
- PDF
For record's with residential characteristics, the Multifamily Lease page provides the opportunity to enter pricing information for various parameters.
Action Bar
Several tools are available at the top of the page, nested beneath the Save button. Click the arrow next to Save to expose the following commands:

- Save: Saves the changes made on the current tab.
- Save and Add Another: Saves changes made to the current record and creates a new record associated with the same property ID.
- Copy to New Record: Copies all values and data from the current record and creates a new record with those same values and data.
- View Jobs: Open the Report Writer Jobs Manager and displays any Jobs associated with the property ID.
- Share: Click to open the Share modal. See Share for more information.
- Delete: Click to delete the current record. A popup will request confirmation.
The Select Print Sheet dropdown menu makes it easy to create a print-ready page in the desired format.  Click a command in the dropdown menu and a new browser tab will open with the property information in that format.
Instance Select
There are several important buttons at the top of the page: Instance Select, Create, Copy, and Delete.

Click the Instance Select drop-down menu to select the Instance you would like to edit.

A table icon next to an instance indicates that the instance is marked as 'Used for Excel'. A Used in Excel indicator allows for any instance to be used in an analysis, which can be useful for retrospectives, etc.
Edit the Instance name by editing the Survey Date and/or the Instance Type. Users can choose the following Instance Types: Actual and Appraisal.

- The Actual Instance Type can be used for capturing actual rent roll data.
- The Appraisal Instance Type can be used for capturing hypothetical rent data or a smaller selection of unit leases. As an example, an appraisal firm may not be privy to the contract rent details for a property. They may enter estimated values and store as an Appraisal Instance type.
- Users may also wish to enter the MF Verification Source in this section.
Make an Instance Active by (1) checking the Active Instance checkbox, and (2) then saving.

The Active Instance of Multifamily Lease data will be used to derive calculations, such as MF Total Units, MF Rentable Area, No. of Multifamily Rooms, No. of MF Bedrooms and No. of MF Bathrooms. Regardless of which Instance the user chooses to pull into Excel, the active Instance will stay the same until a new Instance is created. Note: If a new Instance is created, or an existing Instance is copied, that new/copied Instance will automatically become the active Instance, regardless of which Instance the user chooses to pull into Excel.
Create
Click the Create button to open a pop-up with options to create a new Instance. You will be able to enter a Survey Date and define an Instance Type.
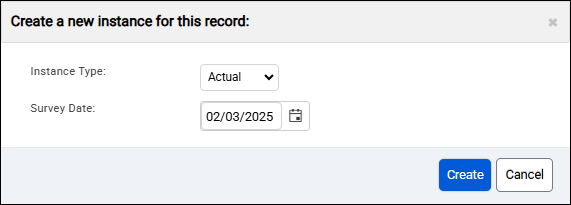
You will be able to enter a Survey Date and define an Instance Type. Click Create to create the new Instance.
Copy
Click the Copy button to open a pop-up with options to copy an existing Instance.
You will be able to define Survey Date and Instance Type, but the values will be a copy of those in the currently-selected Instance record.
Delete
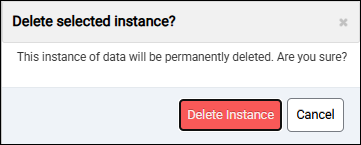
Click the Delete button to delete the currently-selected Instance. A pop-up will request confirmation.
Used by Excel
Regardless of whether the Instance is Active, a user can mark whether they want to utilize the Instance in their Excel template (for subject import or for use as a comp).
The Active Instance MF Lease data will be used to derive calculations. The Active Instance data is also what will be available for Property Searches.

Unit Details
The Unit Details table lists a detailed description of the units included on the property.

To add a new unit:
- Click the Add New button at the bottom of the table; a blank row will appear within Unit Details.

- Enter the Category, Description, No. of Units, Vacant Units, and other fields. Note: The Category field has pre-defined dropdown options for the number of bedrooms. Note: If the Property Type is not Multi-family, Lodging, Hospitality, Senior Housing, or Industrial Self-Storage the Category dropdown will not contain pre-defined options.

- There are additional fields you may wish to capture for the unit such as Size, Income Target, and Lease Expiration. Click the Column Chooser button to add, remove and reorder the fields.

Click Save Grid to save the Column Chooser settings.
- Click on the unit you wish to copy and click the Copy button at the bottom of the grid.

2. A new row will be created, with the first column open for editing. Notifications will appear in the upper right corner of the page indicating the row was created.
Select one or more units and then click the Delete button.

A popup will request confirmation. Click OK to delete.

Notifications appear in the upper right corner of the page once the rows are deleted.

To adjust the ordering of units:
1. Select the sandwich icon to the left of the unit you wish to reorder and drag and drop.
OR
2. Use the sorting feature in the grid to sort the units to your preference and click Sync Indexes.

The Totals line item will appropriately sum the values entered.
Click Save Changes to save changes made to the detail rows, such as after adding new entries, making copies, or deleting entries. Changes will NOT be saved when you navigate away from the Multifamily Lease page unless Save Changes has been clicked.
Modifying the Unit Details Table
Column Chooser
The column chooser is an easy method to display preferred data. Click the Column Chooser button to select columns.
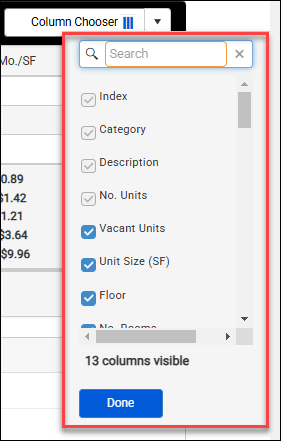
The Column Chooser menu opens:
- Add/remove columns by checking/unchecking boxes.
- Type a column name in the search box at the top of the menu to filter the menu items by that phrase.
- The number of columns currently displayed in the search grid is listed at the bottom of the menu.
- Click Done to apply the changes and close the menu.
Click the down arrow and then the Reset Grid button to reset the grid to the default columns.

Customize Column Positions
Click and drag a column header to move that column.
Remember to click the Save Grid button to ensure columns, order, and sorting preferences persist between sessions.
Export to Excel
Export appraisers to a .xlsx file from the appraiser grid. Click Export to Excel to download the data with the columns that are in the search results table.

Click the split button and then Export all fields to download an .xlsx file containing data from ALL columns, including those currently in the search results table.
Upload Unit Details
The Upload Unit Details feature provides an easy way to add multiple unit detail records at once. Click the Upload Unit Details button.

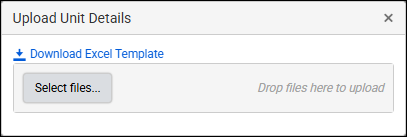
The popup includes a button and location for uploading files, as well as a download link for the upload template. If you have not downloaded the template previously, click Download Excel Template.
The template contains three worksheets: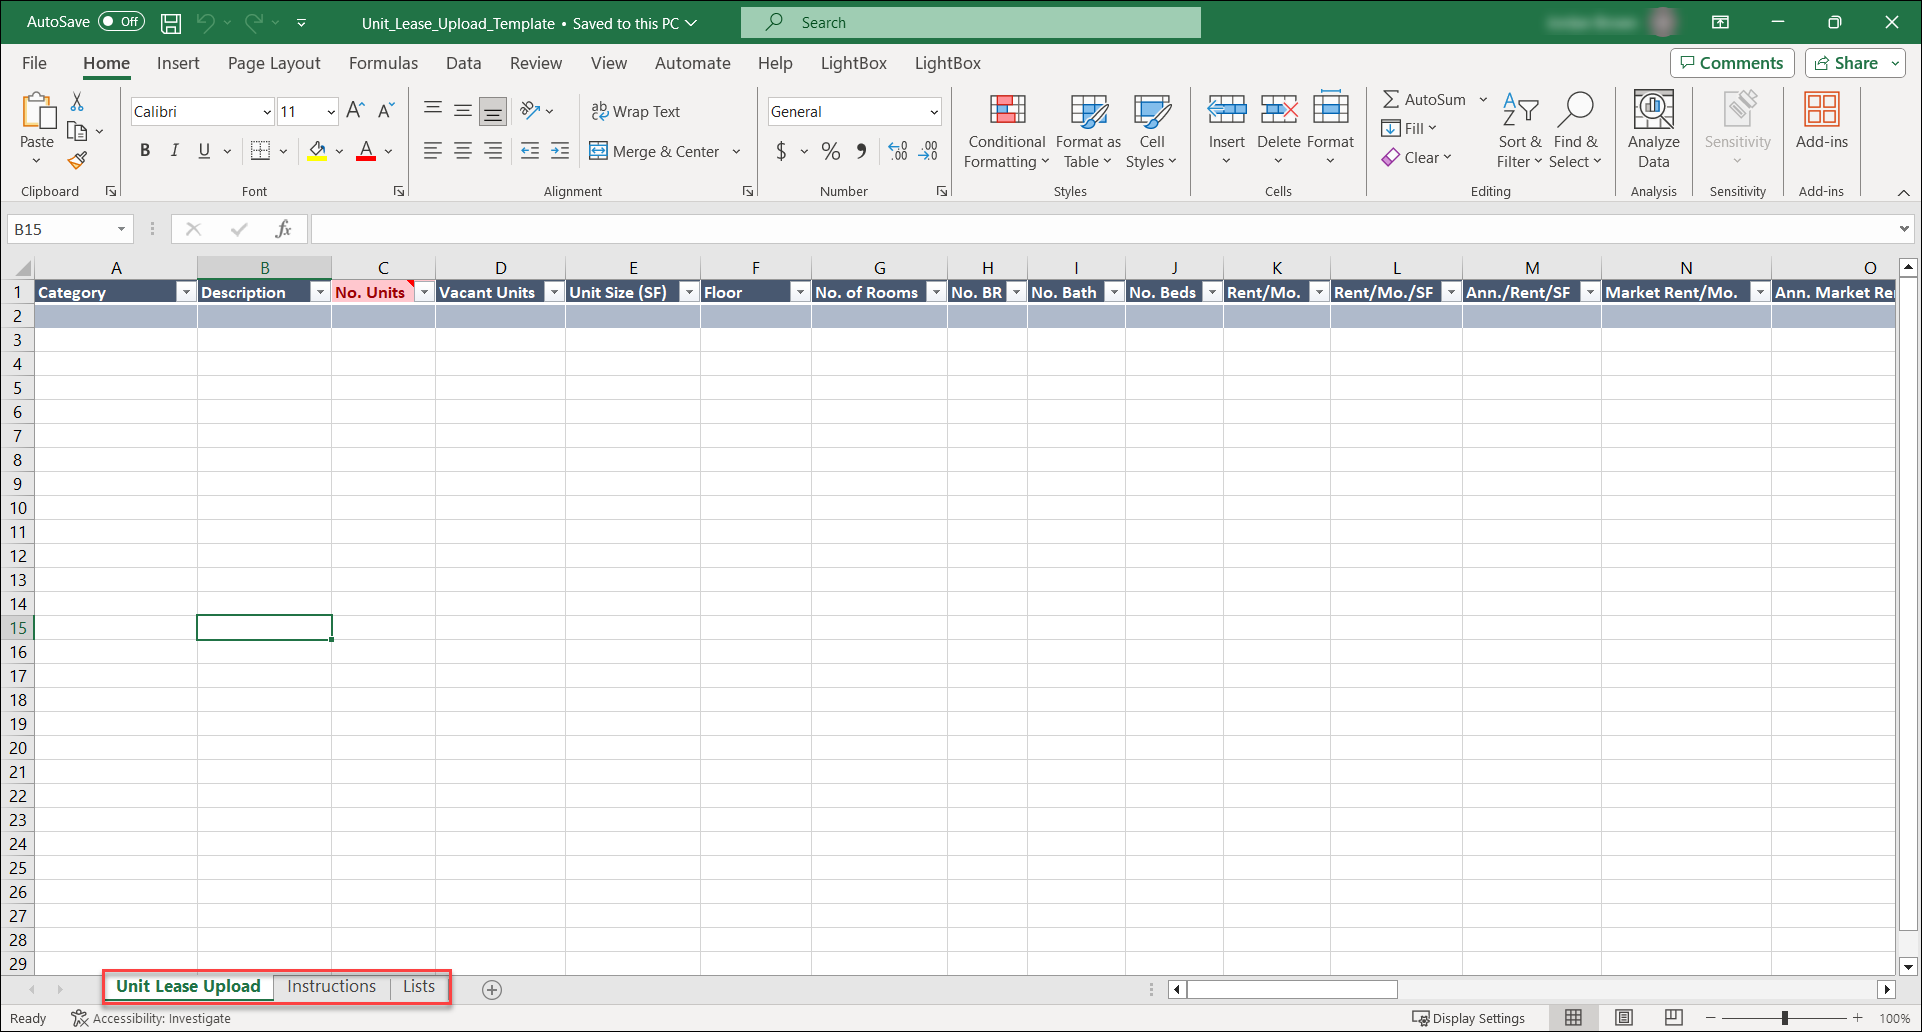
- Unit Lease Upload: Enter the unit details data here.
- Note that the No. Units field is required. If necessary, put '0' in this field; do not leave it blank.
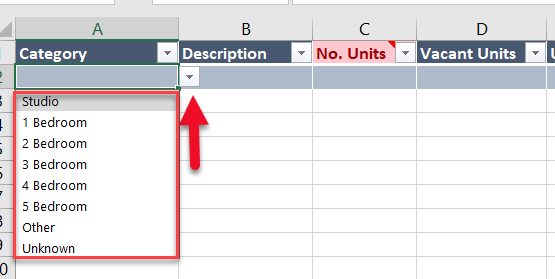
- Several columns only accept values from a predetermined list. Click inside the corresponding cell, then click the arrow to display a dropdown menu containing those values. Select the appropriate value.
- Instructions: Provides instructions for using the template.
- Lists: This worksheet lists the accepted values for the columns that only accept specific values/entries. Note: Dropdown menus exist on the Unit Lease Upload page for all columns that require a specific value; this worksheet is simply provided as a secondary reference guide.
Once the Unit Details worksheet has been filled out and the workbook has been saved, click the Select Files button in the popup or drag and drop the Unit Lease Upload file to upload the workbook.
.png)
The file appears in the popup. Click Upload to upload the file.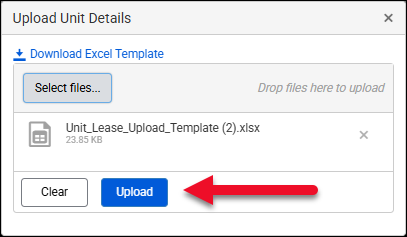
A notification appears once the file has been successfully uploaded. The new entries will appear in the table..png)
Sorting
Click on a column header to sort the table by that column in ascending order. Click again to sort in descending order. Click a third time to remove the sorting from that column. The table can be sorted by multiple columns concurrently.

In the example above, the table is sorted by the Vacant Units, No. Rooms, and Rent/Mo. columns, with Vacant Units have priority.
Unit Details
Users can choose to either hand enter or calculate Vacant Units and Vacancy Rate. MF Occupancy will auto-calculate based on the Vacancy Rate entered.

Utilities with Rent

You may make selections within the Utilities with Rent section to further designate precisely what should be associated with what is listed in the Rent Detail table. It is assumed that whatever you have stored within the Rent Detail section will share all of your utility selections.
Details
Users can enter pertinent information regarding Unit Leases as well as view auto-calculated data drawn from the Improvements page and Rent Detail grid.
Amenities
Users can enter Amenity data in these fields or use the copy data button in Improvements to auto-fill via the Project and Unit Amenities checkboxes.

Non-Instanced User Assigned Fields
The Non-Instanced User Assigned Fields section displays any fields the user assigned to the page in the Customize Pages tool. Refer to Custom Pages and Fields for more information.
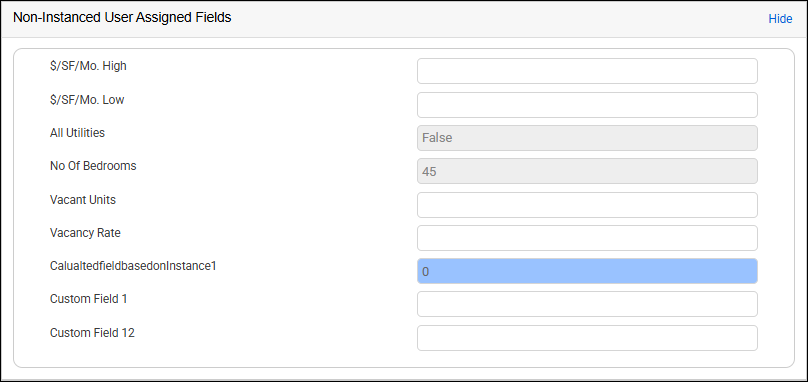
Note: The above is an example only; your organization may choose to associate different User Assigned Fields with the page, or none at all.
Comments
Users can store comments specific to the comparable’s Unit lease data. These comments will flow to the Lease Grid Comp sheets when the Multifamily view is enabled in excel.
.png)


.png)