- Print
- DarkLight
- PDF
Manage Autotext
- Print
- DarkLight
- PDF
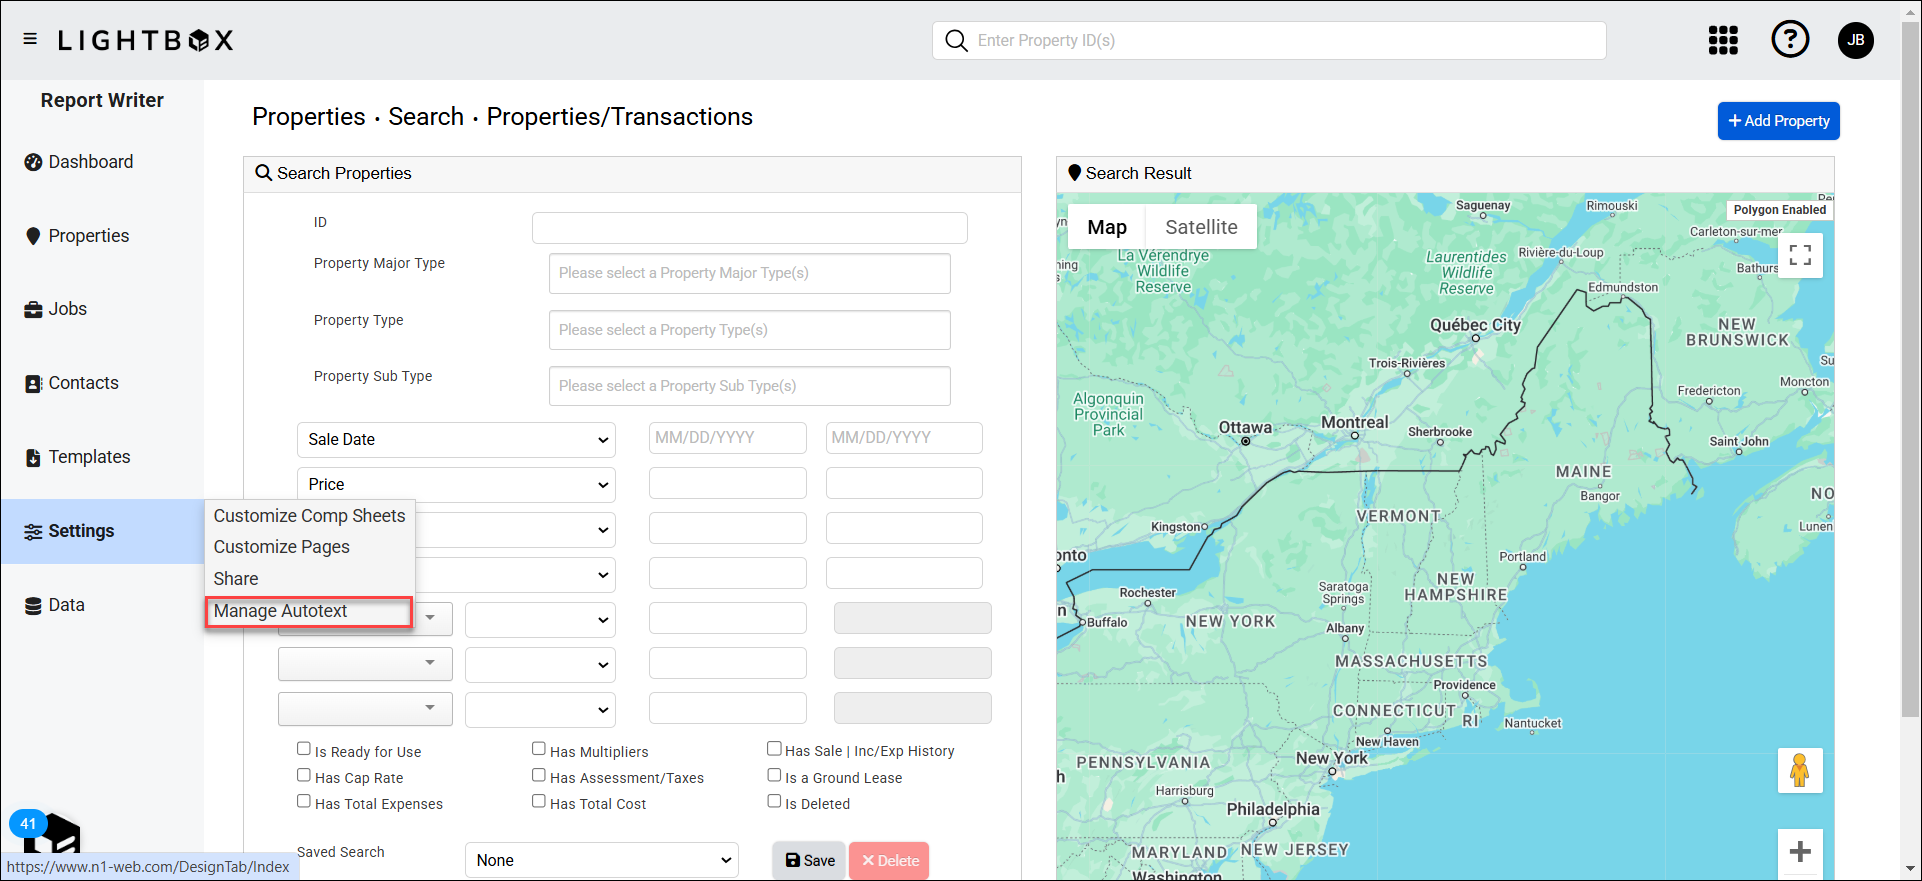
Manage Autotext is a web-based tool that allows admins to easily manage Word autotext entries. To access Manage Autotext, click the Settings button in the left navigation menu of the Report Writer web database, then click Manage Autotext.
The Autotext Manager entries are displayed in a table. 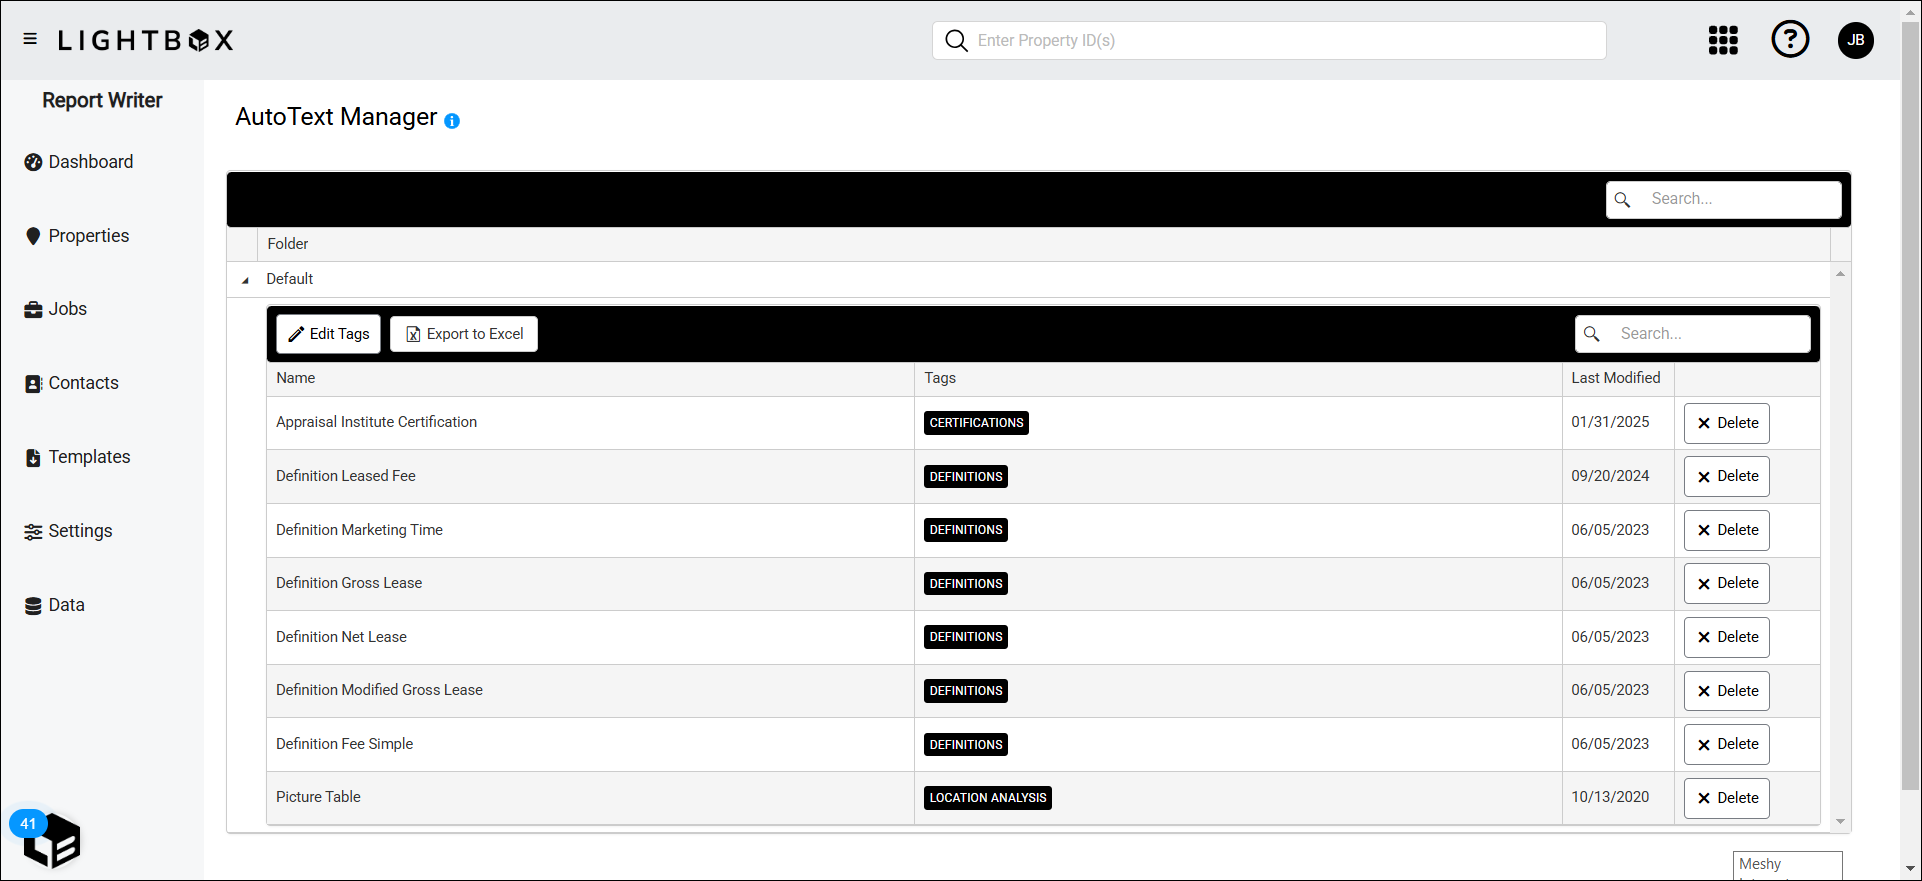
The entries are contained in one or more folders.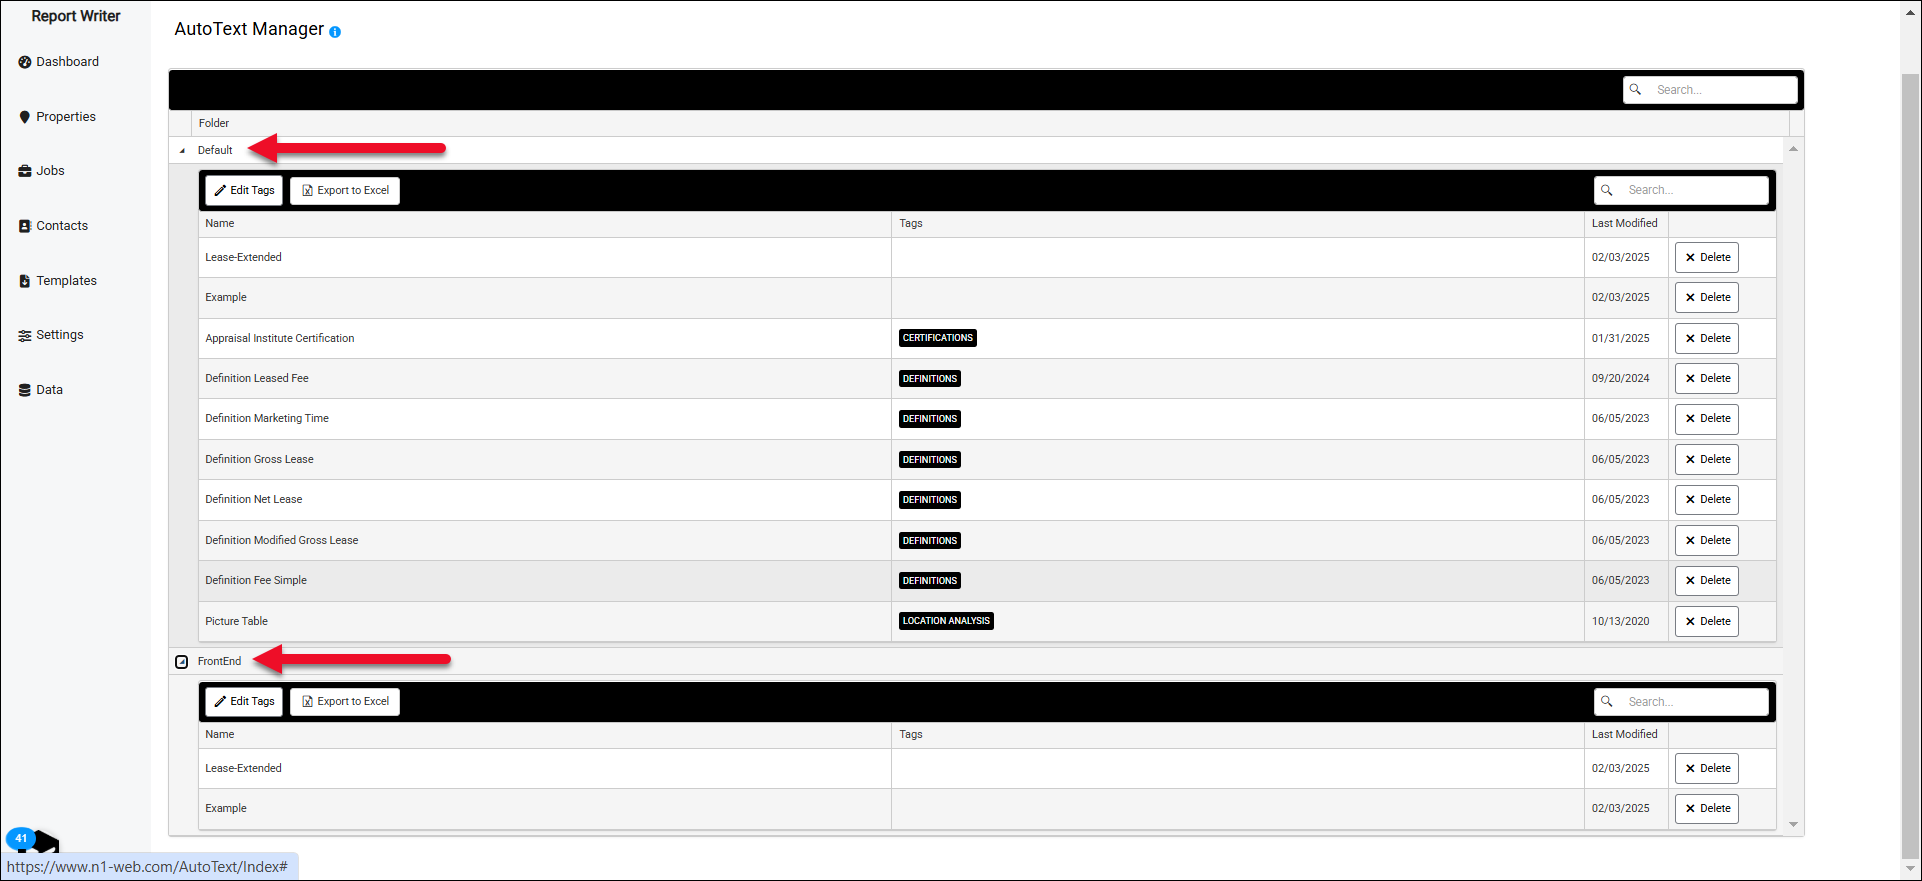
In the example above, two folders are shown: 'Default' and 'FrontEnd.'
Click the arrow to the left a folder name to expand/collapse that folder's contents.
The Autotext Manager provides a variety of tools to manage Autotext entries.

| A. | Use the search in the top right corner of the page to filter the displayed folders. Example: typing 'Default' will only display folders with the word 'Default' in them. It is not necessary to enter a full folder name to filter by that phrase. | 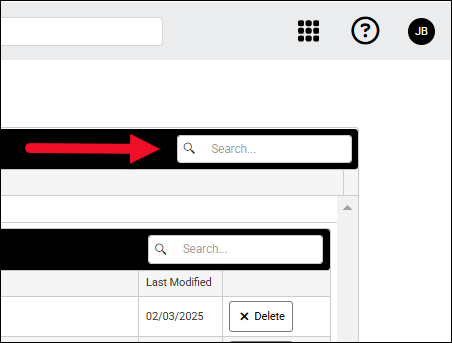 |
| B. | Use the search in the upper right corner of any folder to search that folder for an entry. The Name, Tags, and Last Modified fields are all searchable. | 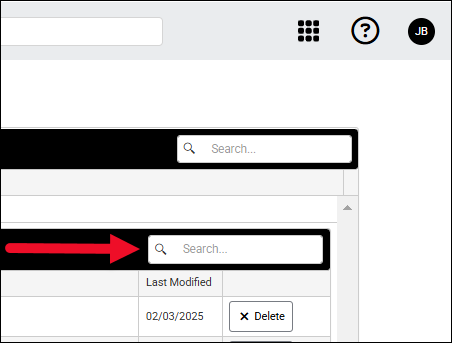 |
| C. | Click Edit Tags to open the tag editor. The tag editor allows you to edit, delete, and create tags. a. Click a tag entry in the list to select. Edit the name, then click the save button to save the edited tag name. b. Click a tag entry in the list and then click the trash can icon to delete the tag. A popup will request confirmation. c. Click the + icon, enter a new tag name in the Tag field, then click the save icon to create a new tag. | 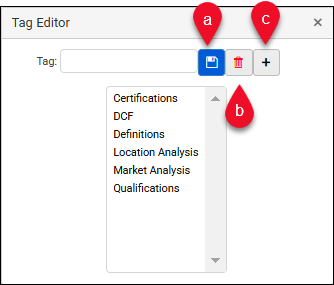 |
| D. | Click Export to Excel to download a .xlsx spreadsheet containing the autotext entries, associated tags, and last modified date. | 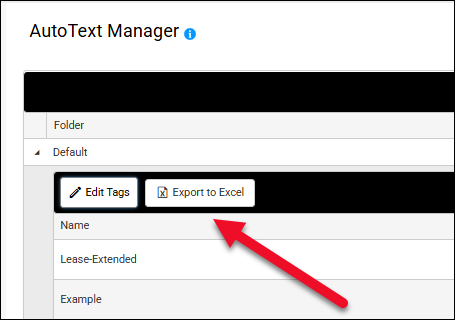 |
| E. | Click Delete next to an entry to delete that entry. A popup will request confirmation; click OK to confirm the deletion. |  |
| F. | Click in the Name, Tags, or Last Modified column header to sort by that column. Click again to reverse the sort order. Click a third time to remove the sort. |  In the example above, the table is sorted in ascending alphabetical order by the Name column In the example above, the table is sorted in ascending alphabetical order by the Name column |
To add or remove tags from an entry, click in the Tags field for that entry. This exposes a menu where tags can be added and removed.

Click the X next to a tag to remove that tag from the entry.

Click a tag in the dropdown menu to add it to the entry.
.png)

.png)