Improvements
- Print
- DarkLight
- PDF
Improvements
- Print
- DarkLight
- PDF
Article summary
Did you find this summary helpful?
Thank you for your feedback!
The Improvements section provides improvements data from the LightBox data set. The fields are fully editable, so you can add to or edit the data as necessary. Upon completion of a Project in the Research application, the Improvements data can be imported into Report Writer.
The Improvements section contains a map outlining the parcel in red, with any improvements outlined in yellow within it..png)
The data corresponding with each improvement is displayed on the right. Each improvement has its own record. Scroll down to view all of the fields associated with the record.
Note: A building record is created for each Building Footprints USA outline, derived from LIDAR technology. The Improvements data is intersected from the Assessor Parcel record onto all of the outlines that fall into the parcel boundary. This can create duplicates of the Improvements and users may choose to DELETE ALL BUILDINGS or use the CLEAR ALL command to enter their own data.
.png)
The fields are editable.
Click Clear All to delete the data in all of the fields of the currently-selected record.
.png)
Records can be edited, deleted, and added.
.png)
Click the pencil icon to edit the currently selected record. A pop-up appears and provides instructions.
.png)
- Select a Blue Box to move.
- Drag Blue Box to selected location.
- Click outside your drawing to complete.
Click the trash can icon to delete the currently selected record.
.png)
A pop-up will request confirmation. Click Delete to delete the record.
.png)
To create a new record, click the plus icon.
.png)
A pop-up appears and provides instructions.
.png)
- Click anywhere on the map to start drawing.
- Single-click to add a point to the line.
- Double-click to complete the drawing.
Once you have completed the polygon, a new, blank record is created.
.png)
Complete the fields as desired.
Click the three-dots icon in the upper right corner of the page to expose a menu containing three commands.
.png)
| View Streetside: Click to open a street view of the Subject Property. It will show the street closest to the selected Improvements record. | 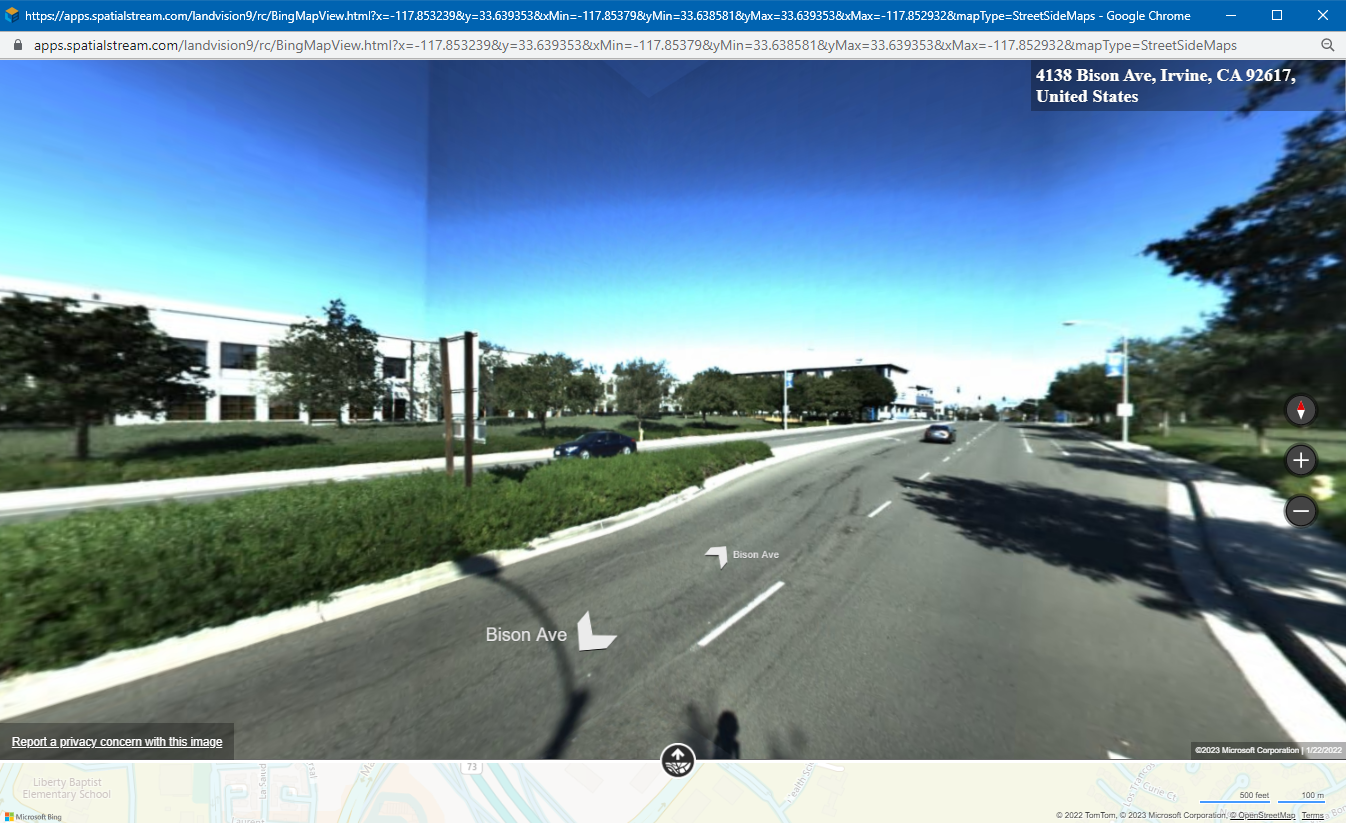 |
| View Bird's Eye: Click to open a bird's eye view of the Subject Property. It will center on the selected Improvements record. | 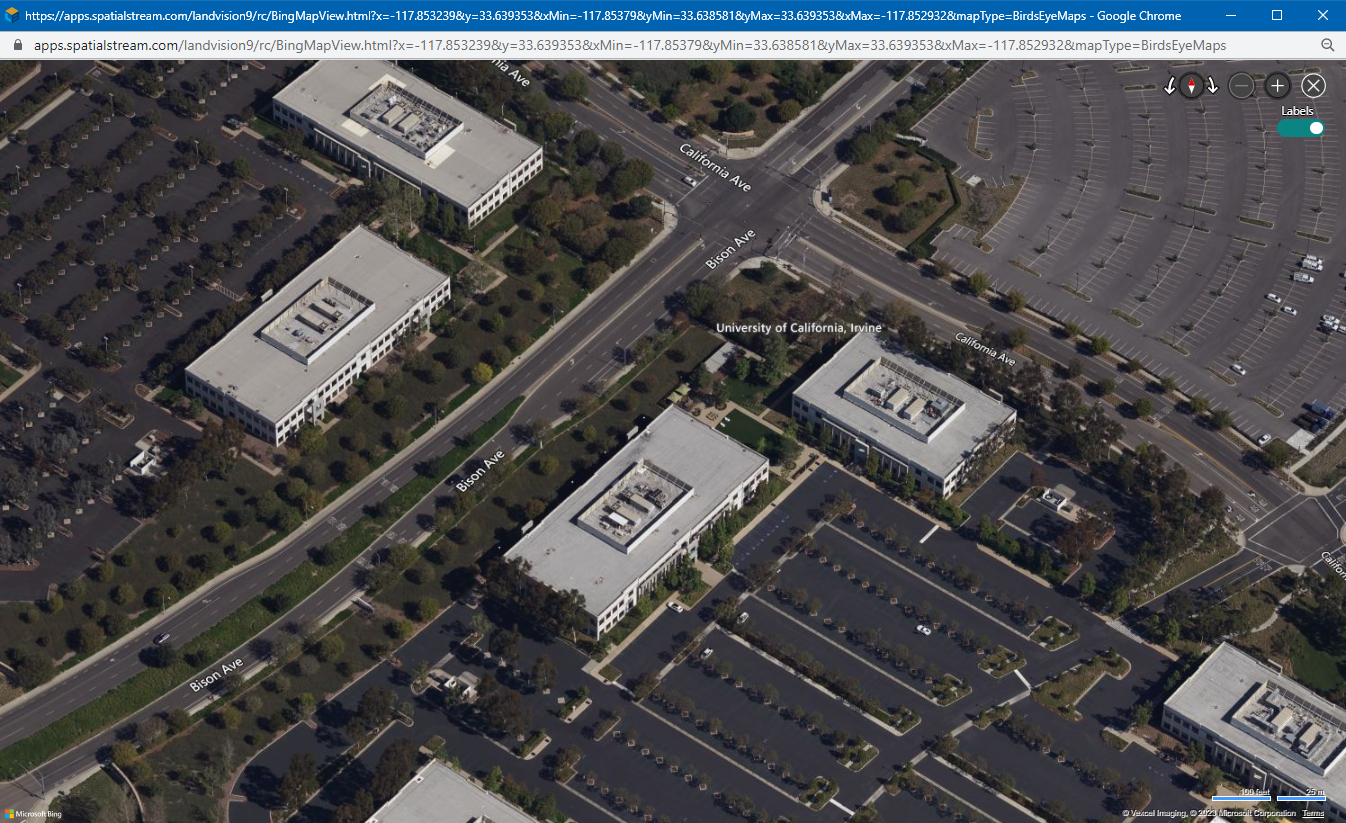 |
| Delete All Buildings: Click to delete all Improvements records. A popup will request confirmation and state the following warning: "Are you sure you want to delete all building records? This action cannot be undone unless the site is redefined." Click Delete to confirm the deletion. The records will be deleted, along with the corresponding building outlines on the map. | 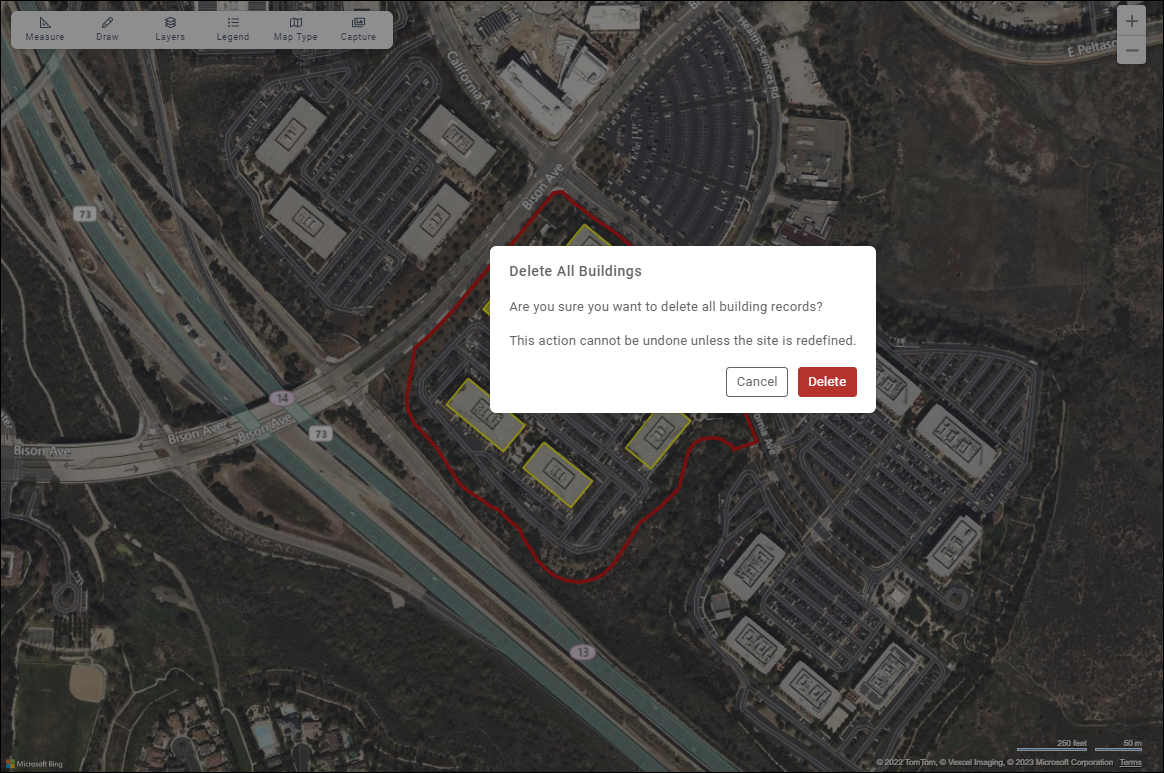 |
Navigate among multiple records by click on the Record 1, Record 2 (etc.) buttons or by clicking the forward/back arrows. The currently-selected record is highlighted blue.

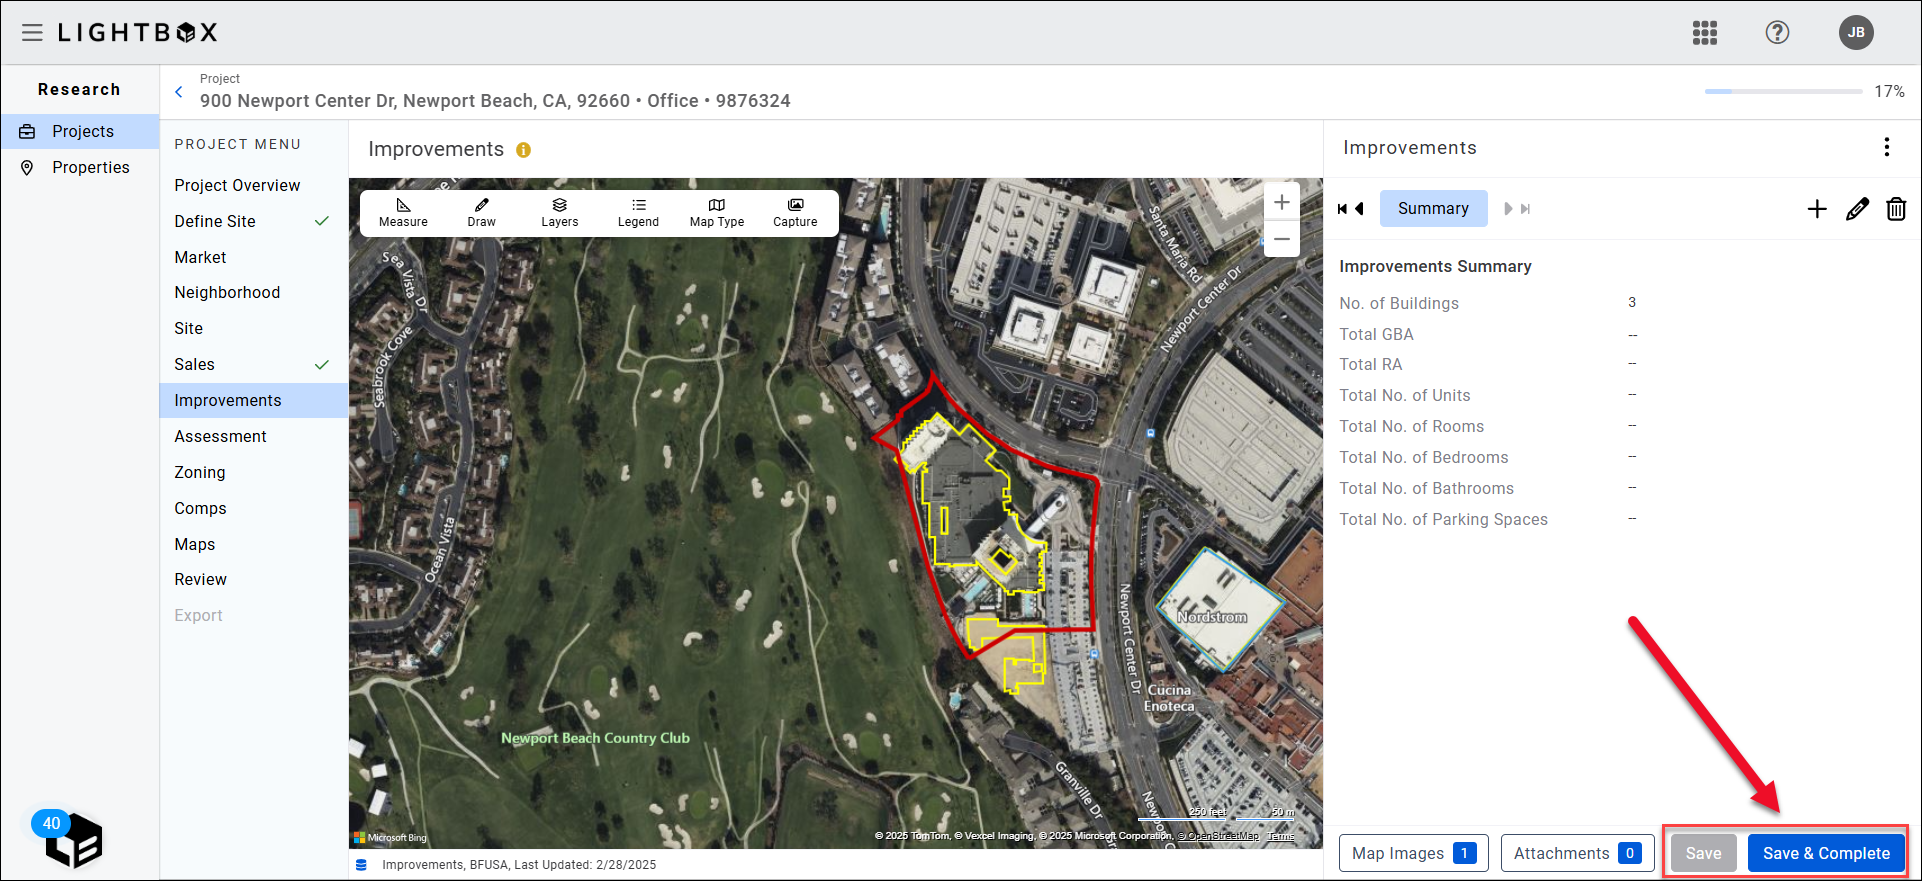
Click the Summary button to view aggregated data for all records.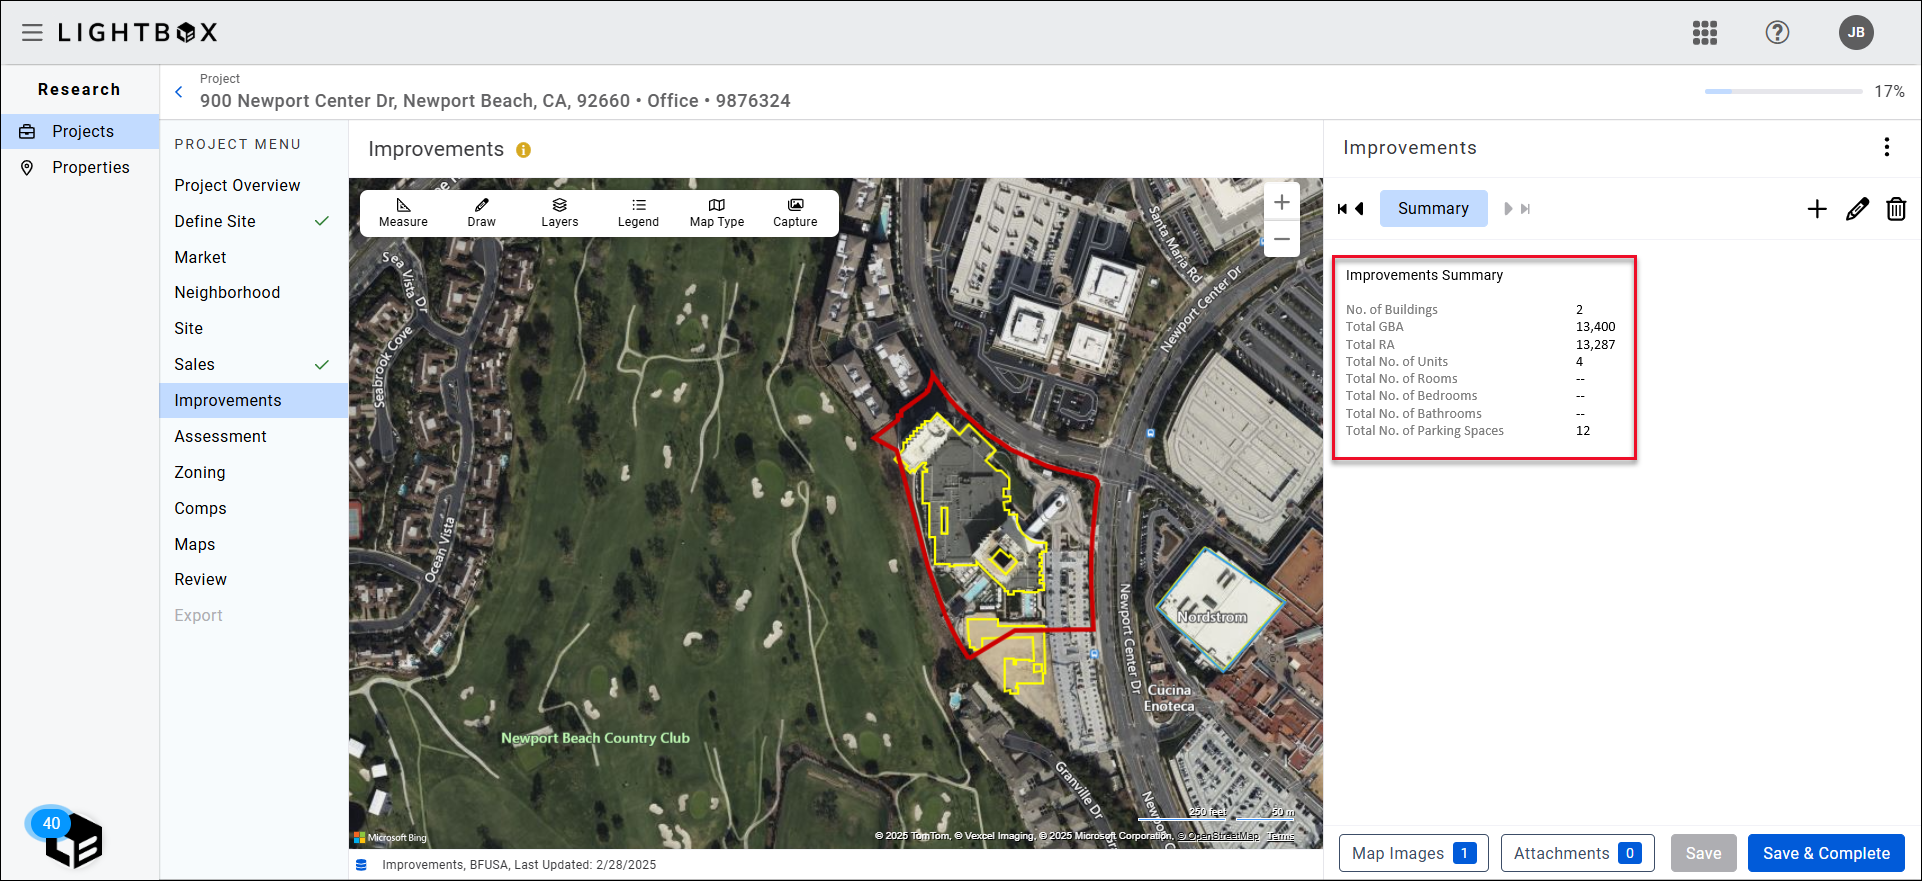
Click Save at the bottom of the page to save your progress. Click Save & Complete to save your progress and proceed to the Assessment section.
Was this article helpful?