General
- Print
- DarkLight
- PDF
General
- Print
- DarkLight
- PDF
Article summary
Did you find this summary helpful?
Thank you for your feedback!
The General page is the default landing page when editing or reviewing a property after performing a search.
ID Bar
The ID bar appears at the top of all the data pages. It lists the Property ID, address, and property type.

Click +Add Property in the upper right corner of the page to create a new, blank property record.
Action Bar
Several tools are available at the top of the page, nested beneath the Save button. Click the arrow next to Save to expose the following commands:

- Save: Saves the changes made on the current tab.
- Save and Add Another: Saves changes made to the current record and creates a new record associated with the same property ID.
- Copy to New Record: Copies all values and data from the current record and creates a new record with those same values and data.
- View Jobs: Open the Report Writer Jobs Manager and displays any Jobs associated with the property ID.
- Share: Click to open the Share modal. See Share for more information.
- Delete: Click to delete the current record. A popup will request confirmation.
The Select Print Sheet dropdown menu makes it easy to create a print-ready page in the desired format.  Click a command in the dropdown menu and a new browser tab will open with the property information in that format.
Overview
In this section, you will enter property and owner-related information, such as Property Type and various address fields.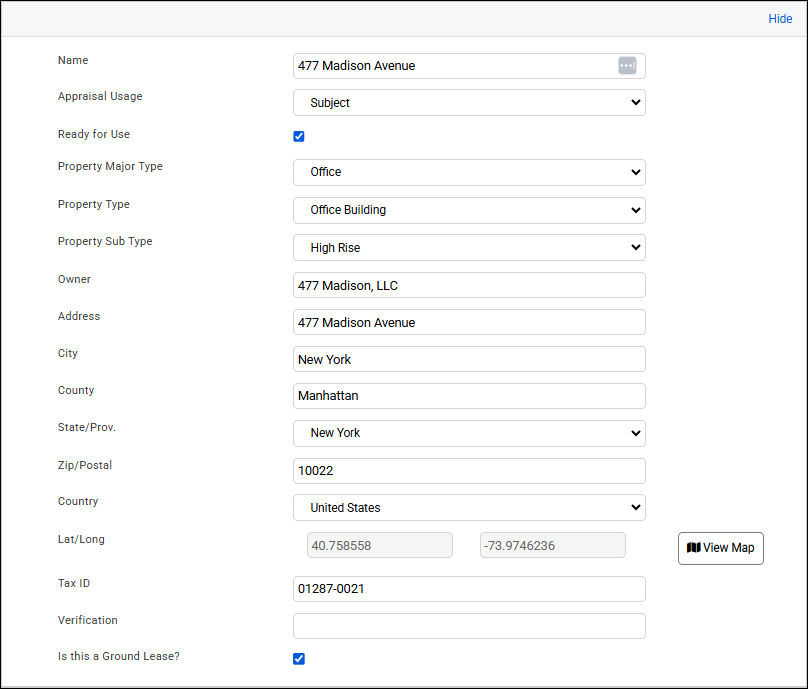
Name
The Name field does not allow duplicate Naming conventions. For functionality as use as a comparable, the Name should also not solely be the ID number.
Creating a Property with a name identical to an existing Property, or editing an existing Property's Name so that it is identical to an existing Property Name, will trigger a popup. The popup will list other properties with that name. Click on the blue link to open that Property in a new browser tab. 
Click Append ID to current property name to create/edit the name so that it is a duplicate as one or more existing names, but ALSO append the property record to the end of that name. In the example above, the duplicate name is LBX-02052024. Clicking Append ID to current property name to set the name to the following:
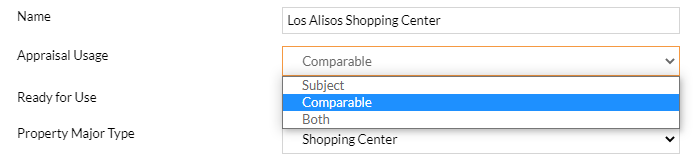
Appraisal Usage
This menu allows the user to apply one of the following labels to the Property record:
Subject: The Property is only intended to be used as a Subject
Comparable: The Property is only intended to be used as a Comparable
Both: The Property can be used as either a Subject or Comparable
When a Property is created through the Job Manager, the default Appraisal Usage is Subject. When a subject Property is created through Excel Subject Export, the Appraisal Usage is Subject.
Property Major Type, Property Type and Property Sub Type
The Property Type fields are all dependent, drop-down lists. This means that the options available in each drop-down list relate to your other Property Type choices. Report Writer's standardized drop down lists are consistent with AICDS and RIMSCentral property types.
Address and Location Fields
Entering in an address for which there is already a property record triggers a popup listing all records with the same address. Click on the Property ID(s) to view the record in a new tab.
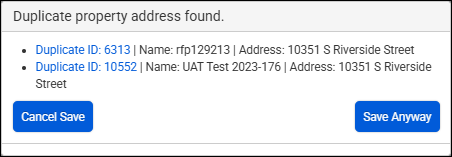
Click Save Anyway to save with the duplicate address.
For more information about managing duplicates, refer to Duplicate Resolution.
Lat/Long
Any edits to the Address fields will highlight the Lat/Long fields and turn the "View Map" button, red. indicating that the user may need to adjust the Latitude/Longitude for the property.
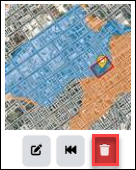
Map View
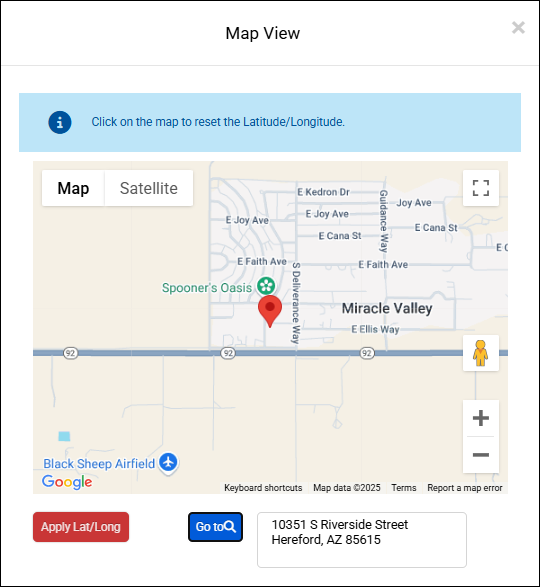
The textbox in the above figure will draw its contents from your address field entries within the Overview section of the General page.
To modify the property's longitude and latitude:
1. Type Into the Address Field
The data from the Address fields within the Overview section will automatically populate this text box.
Note: You can overwrite the contents of this box with new information, however, typing into the Address fields will update this section, but not the opposite. |
2. Hit Go To
If you make any changes to the Address fields - in the Overview section or the text box below the map - you must click Go To to update the pointer on the map.
3. Adjust the Pointer
After clicking Go To, the pointer on the map will adjust to the new location.
If you notice that the pointer is not in the precise spot, you may click on the map to cause the pointer to relocate.
4. Set the Lat/Long
Once you have positioned the location pointer as desired, click Lat/Long. This information will be then be entered into the Lat/Long section of the Overview section.
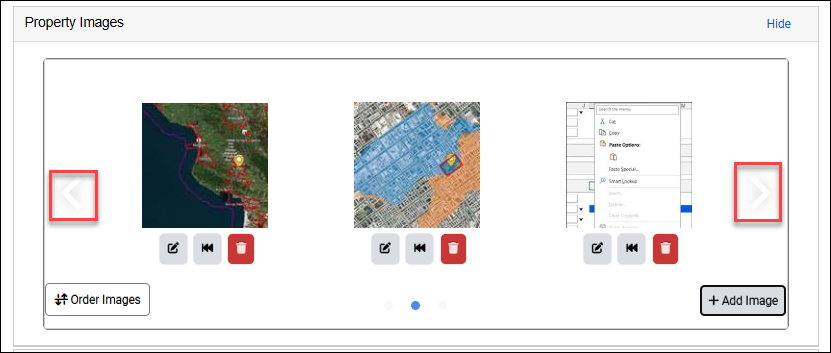
Property Image
Each record may contain images that will be stored within the database. These images will be exported to your Excel file, and featured in your appraisal report. The primary image can also be imported to Word if the property is imported as a subject.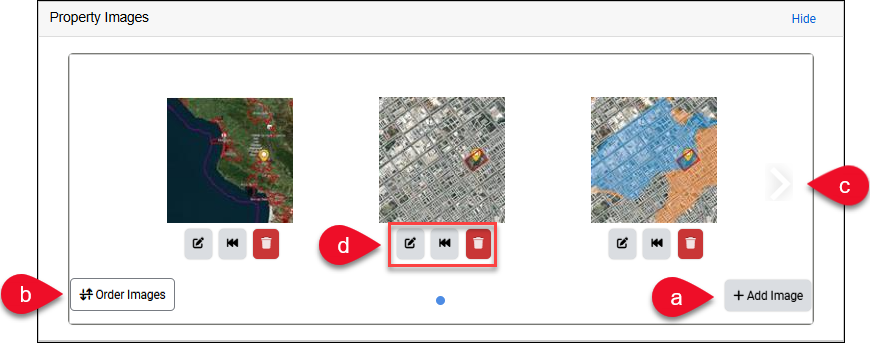
a. Add Image
The Add button allows you to upload images from your computer to be associated with your comp record. You may choose to drag and drop multiple images or select them via a Windows Explorer browser. For the best collage results, we suggest adding a maximum of four images and adding any other images via attachments.
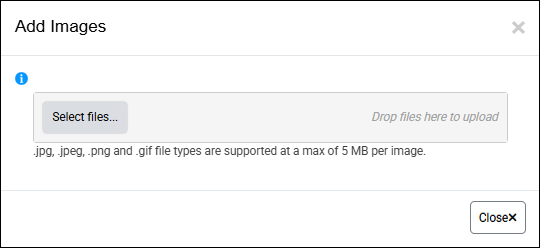
Click +Add Image to open the Add Images modal.
To upload an image via drag and drop, highlight one or more images on your computer and then drag them to the Drop files here to upload box.
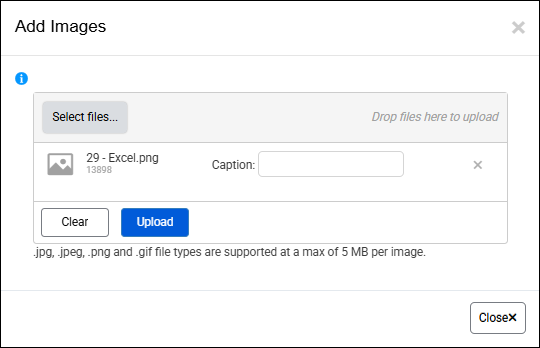
Enter captions as necessary.
Remove files by clicking the "X" icon on each line or click the Clear button to remove all.
If satisfied, click the Upload button.

The modal will provide a status for each file and will provide a notification if an image exceeds the 5 MB size limit or is not a supported file type. If all image uploads are successful, the modal will close automatically.
To upload an image via the Select Files method:
Click Select Files.

Navigate to your desired image or images, select and click Open.
Enter captions as necessary.
Remove files by clicking the "X" icon on each line or click the Clear button to remove all.
If satisfied, click the Upload button.
b. Order Images
Click Order Images to open the Order Images modal. Within the modal, drag and drop images to determine their order. The first/top image is automatically designed the primary image.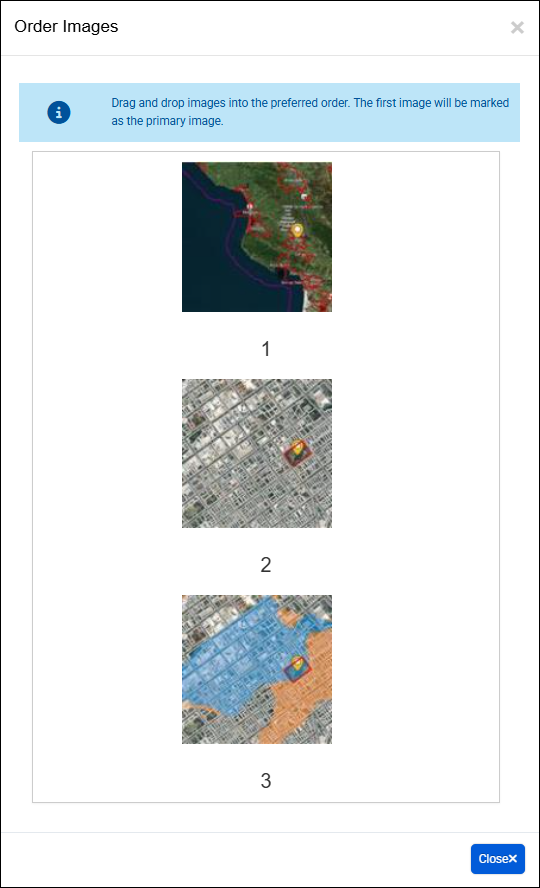
c. Navigate Images
Click the arrows to the left and right sides of the Images panel to cycle through the images. Note: Arrows only appear when there are more than three images.
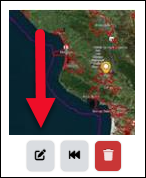
c. Edit, Make Primary, and Delete
There are three buttons beneath each image.
Click the pencil icon to edit the image's caption.
Change the caption.
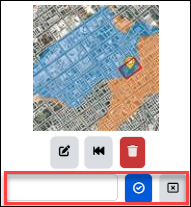
Click the checkmark button to accept or the X button to cancel.
If you have a collection of images, making one a primary image can designate which one will be featured as the cover image for thumbnails throughout the database. It will also be the
default picture imported into your appraisal report.
Click the middle button to set that image as the primary image. This also moves it to the left-most position in the image carousel.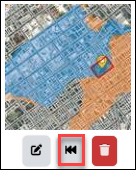
Click the trashcan icon beneath an image to delete that image from your database. Note: This action cannot be undone; the image will be unrecoverable from that point forward. Only admin users have the ability to delete an image.
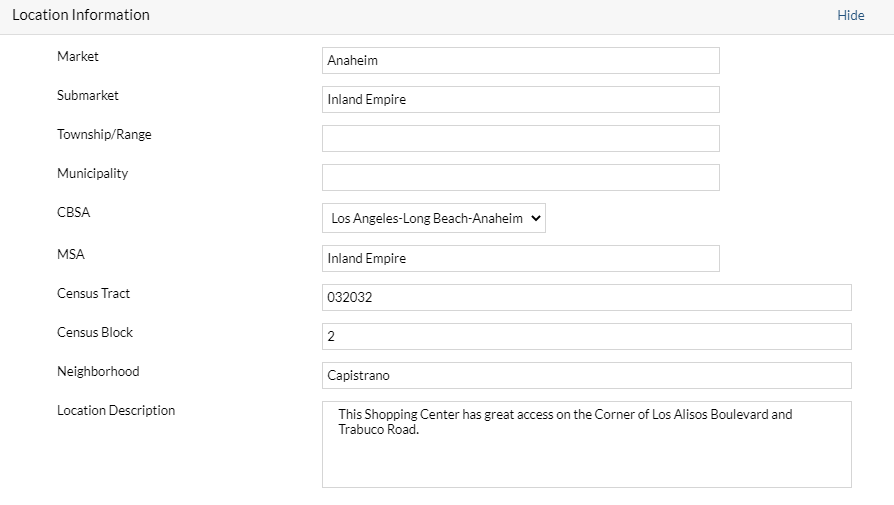
Location Summary
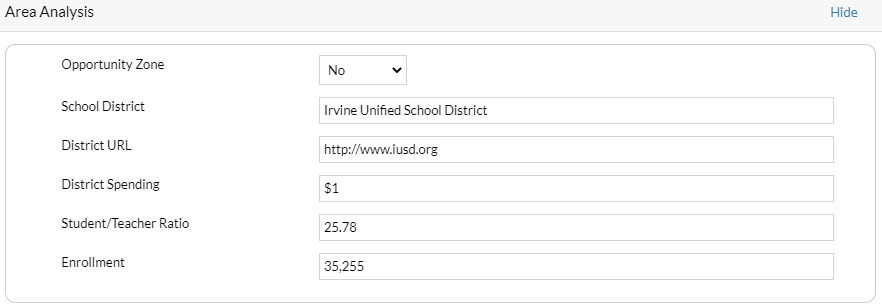
Area Analysis
The Area Analysis section stores fields that assist in market analysis and sentiment. This section is hidden by default.
User Assigned Fields
The User Assigned Fields section displays any fields the user assigned to the page in the Customize Pages tool. Refer to Custom Pages and Fields for more information. Note: The above is an example only; your organization may choose to associate different User Assigned Fields with the page, or none at all.
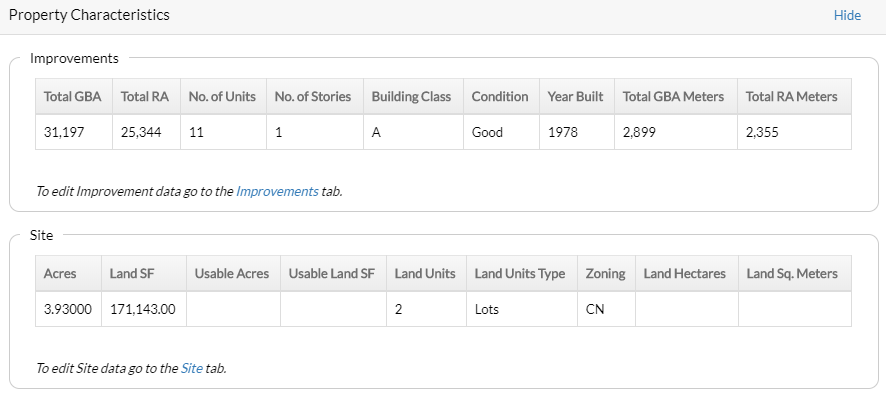
Note: The above is an example only; your organization may choose to associate different User Assigned Fields with the page, or none at all.Property Characteristics
The Property Summary table allows the user to view important property data points. Fields can be edited in the Site and Improvements data pages. A user can navigate to these pages by clicking on the corresponding page link.
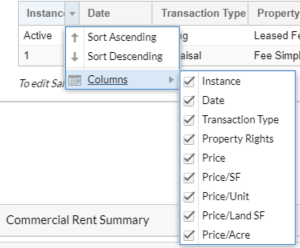
Transaction Data
This section provides a summary of all instances of sales.

The user may click on any Heading and sort by ascending or descending, or decide to show specific columns.
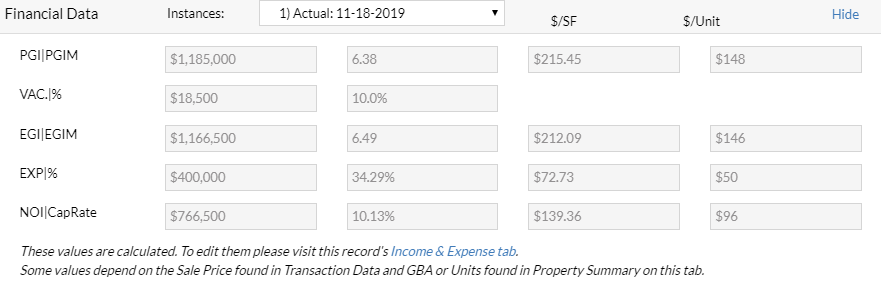
Financial Data
This section provides a summary of all instances of Income/Expense. Use the dropdown to switch views.
Commercial And Multi-Family Rent Summaries
The Commercial and Multi-Family summary sections provide aggregate data summaries of the active instances. Click the View Details buttons to view active instance rent details.
Property Comments
The Comments field should be used for overall comments on the property. We suggest utilizing the Sales Comments field for a summary of the sale, the Comm Lease Comments sale for a summary of the leases, etc.
Was this article helpful?