- Print
- DarkLight
- PDF
Data Import
- Print
- DarkLight
- PDF
The Data Import tool makes it easy for users to bulk-upload comp/property data from CoStar, MLS, and more.
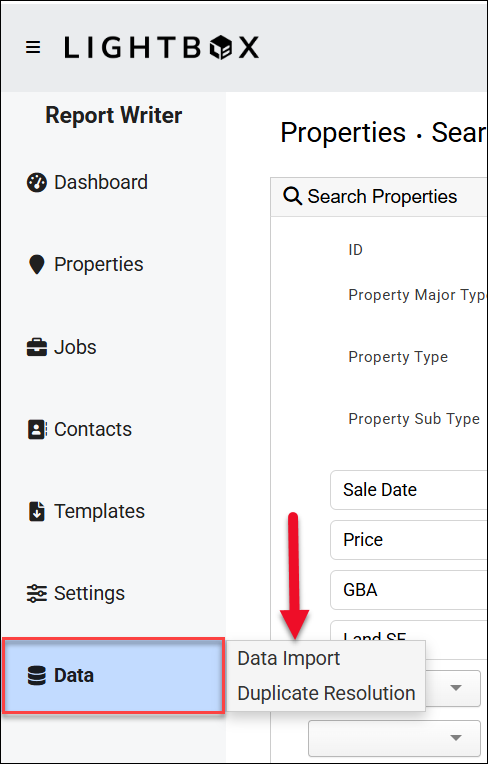
To access the tool, hover over the Data button in the navigation bar on the left side of the page, then click Data Import.
The Data Import page opens. A template is available for download at the top of the page, and there are two methods for uploading a file.
Note
For information about file requirements, refer to the File Requirements section at the bottom of this page.
A. Select Files: Click Select Files to open a file explorer modal. Select the desired file, then click Open to upload it.

B. Drag and Drop File
An alternative method of uploading is dragging and dropping a single data file onto the file upload area.

C. Excel Template
Click Excel Template to download an Excel template file. This template contains column headers that will map to the corresponding web database fields and is often useful to use to format your data before uploading. This template is dynamically created and includes your organization’s web database custom fields

Once the file is successfully uploaded using method A or B, a notification will appear. Each column from the file will be listed in a table, along with the source data type (string, numeric, etc.), the field to which each column is mapped in the Report Writer web database, the tab within the web database (Site, Transactions, Improvements, etc.) that field is found on, and the data type of that field.
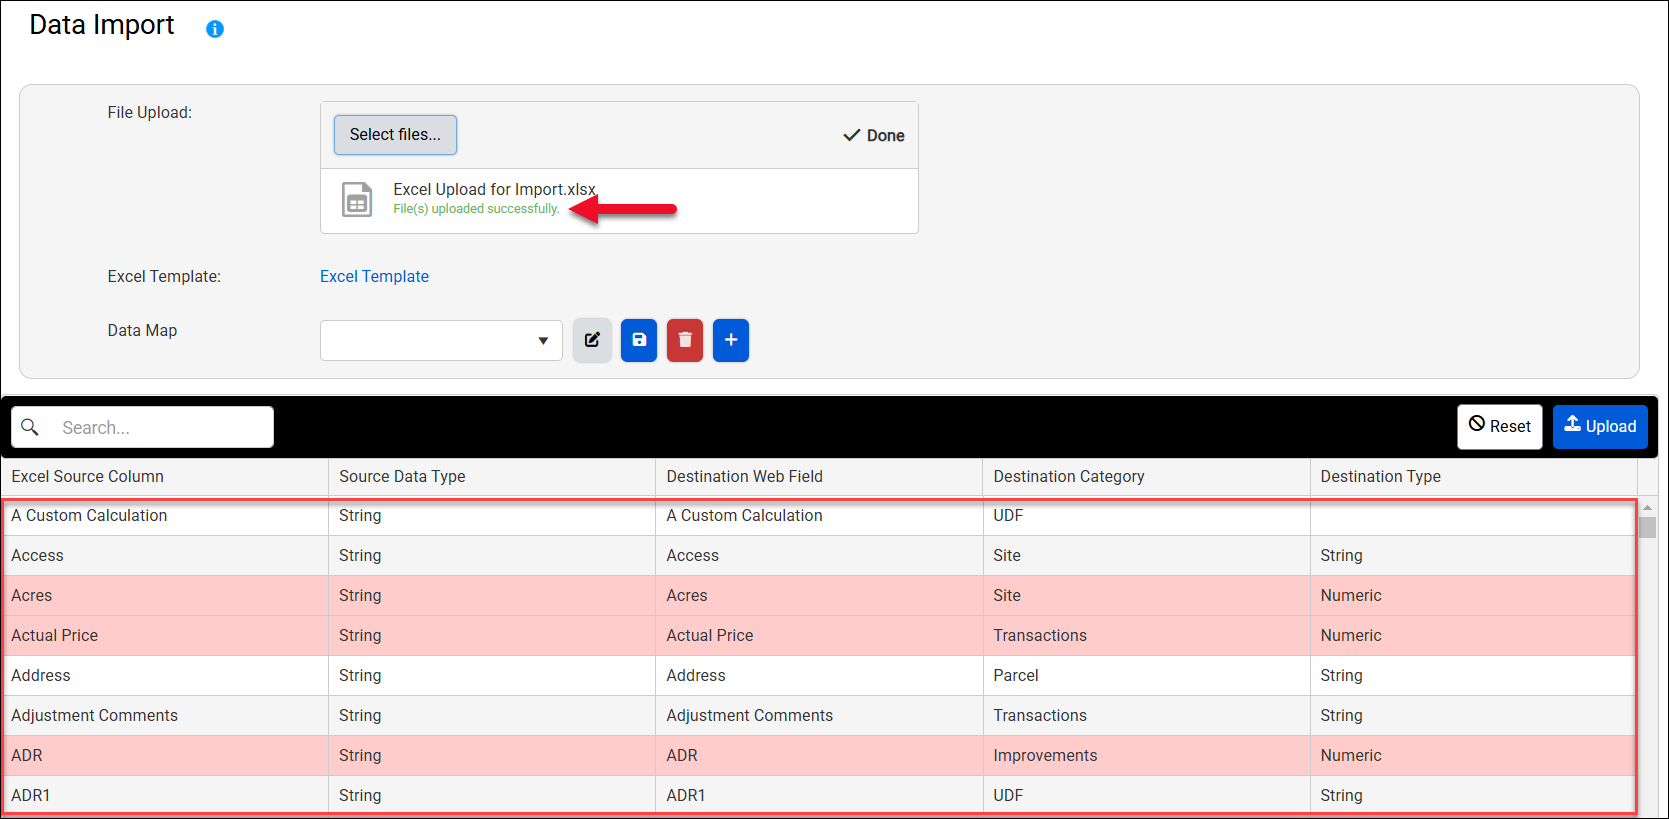
If a data type is mismatched, the row will highlight in red. For example, the Acres field is a numeric data type. If the uploaded file contains string data (‘fifteen’ vs ‘15’) in the Acres field, it will be flagged as a mismatch.

In this case, we recommend correcting the source format to match the destination format to prevent upload issues.
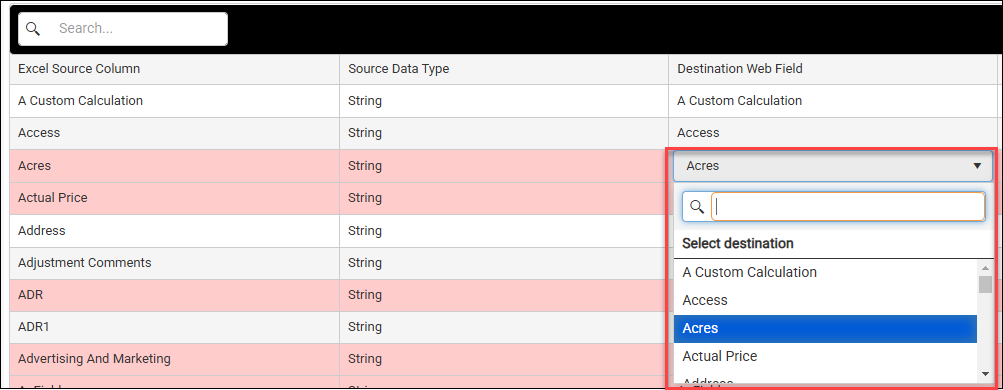
The Destination Web Field field can be modified. Click in a Destination Web Field cell and make a selection from the dropdown.
Additionally, error messages appear in the upper right corner of the screen describing the specific issue and where it can be found in the table, making it easier to identify and address problems with the data.
There are duplicate header fields present in the excel file.
Toast Notification: ‘Duplicate headers found: Zoning’
There is string data in one of the columns where the target field should be numeric.
Toast Notification: Data Validation Errors: Column ‘NoOfStories’: 1 error(s) - Value ‘One’ is not a valid Numeric (Row 3)
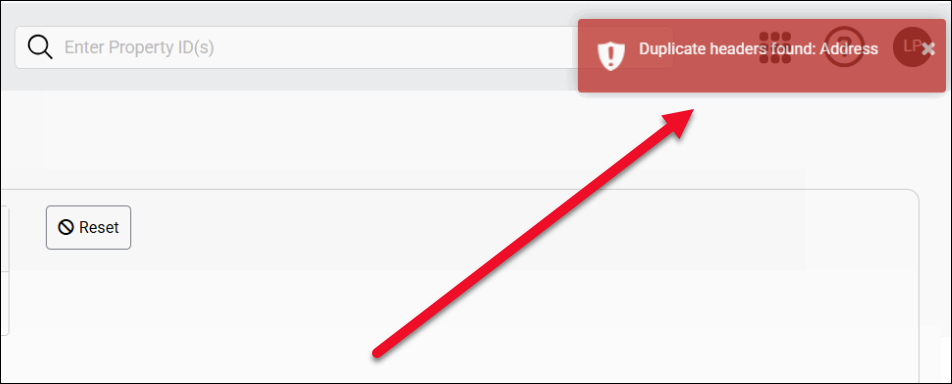
In the example above, the Duplicate headers error message highlights an issue with the Address field.
You can type a phrase in the text box at the top of the dropdown menu to filter the menu commands by that phrase.
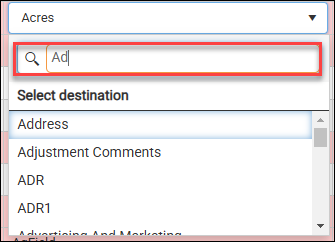
Mapping Comm Lease and Unit Type Data
Unlike other fields, No. of Type and Comm X lessee fields need to correspond exactly to database fields. Aside from the first iteration of each of these fields, the database fields will not appear in the Database Fields column of Upload Excel unless there is a corresponding header in your Excel file. For example, the Comm 1 Lease Date field will always appear in the Upload Excel Database Fields column, but Comm 2 Lease Date (and all other fields related to Comm 2) will only appear if there is a Comm 2 Lessee header in the Excel file. For the No. of Type fields to appear past 1, there must be a No. of Type # (such as No. of Type 2) header in the Excel file.
To remove the uploaded file and clear the page without importing the data, click Reset.

Data Map
The Data Map feature saves your mapping settings for future use. To create a new Data Map, click the plus icon. |
|
Enter a name for the new data map in the blank field and then click the checkmark button. |
|
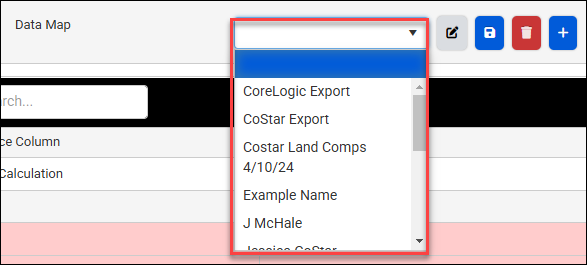
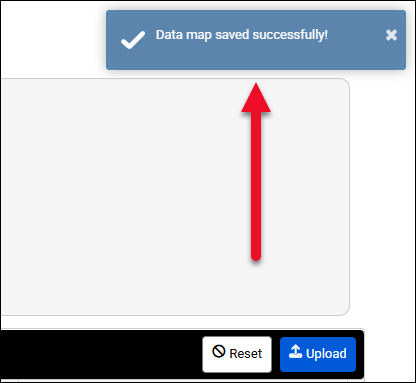
A success message will appear in the upper right corner of the page, indicating the data map has been created. To use an existing data map, select it from the dropdown menu. |
|
A notification will state that the data map was loaded successfully and the table will refresh. |
|
To save changes to a data map, click the save icon while that data map is selected in the dropdown menu. |
|
Click the trashcan icon to delete a data map. |
|
A popup will request confirmation. Click Delete to proceed with the deletion. |
|
Import Data
To complete the import process, click Upload.

Once the process is complete, an Upload Summary popup will appear, listing the number of records uploaded.

Click Upload Report to download an Excel file containing the uploaded data, plus additional information, including the IDs of the uploaded data and the timestamp of the upload.
Resolving Duplicates
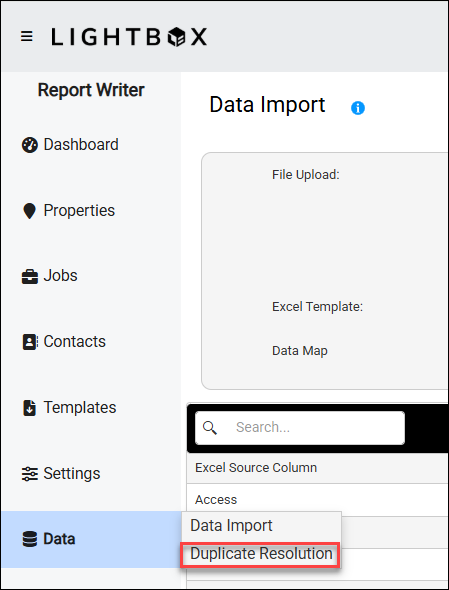
After a file has been uploaded, a Data Admin user can check for duplicates. Hover over Data and then click Duplicate Resolution.
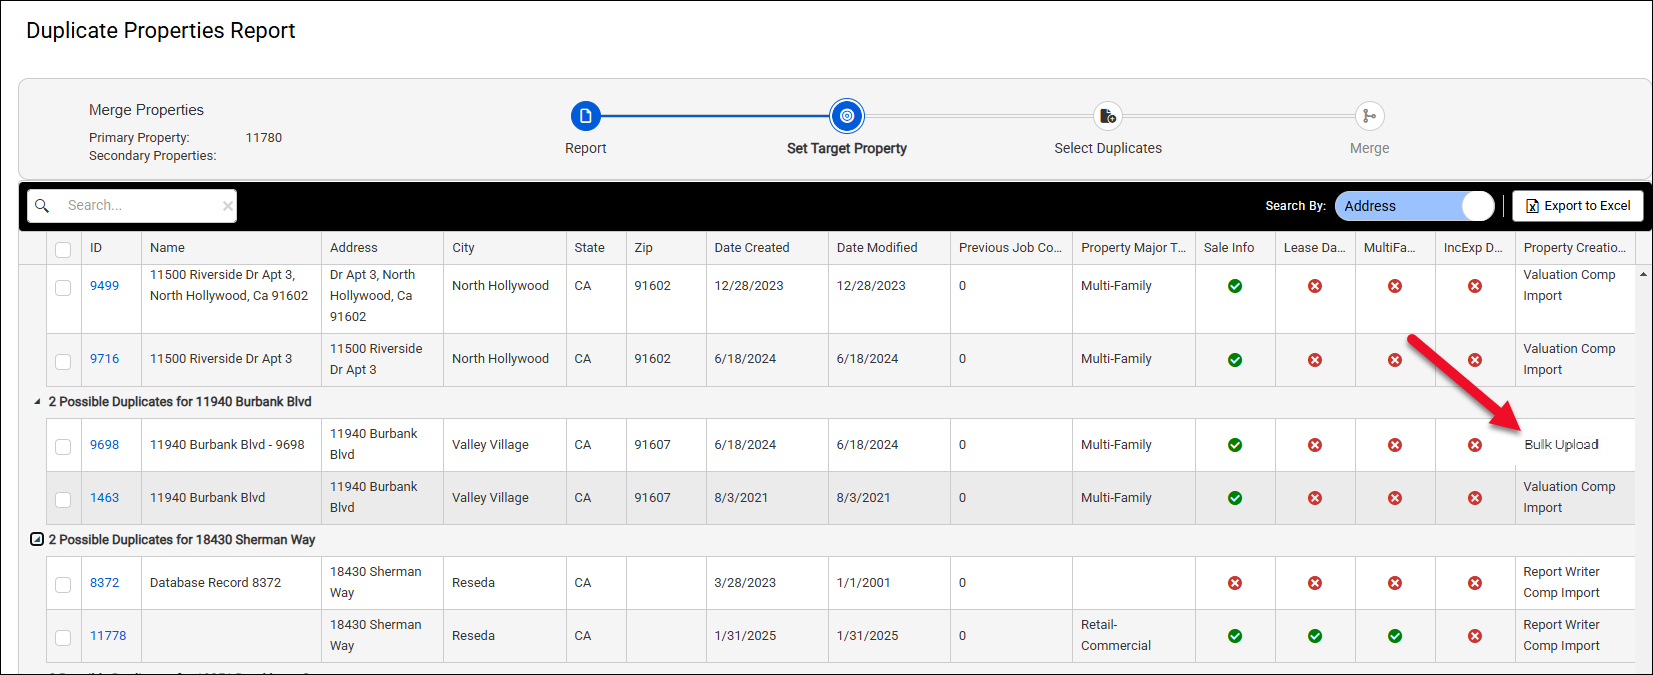
Run a duplicate report and filter by Bulk Upload, allowing merging of any duplicate property data.
File Requirements
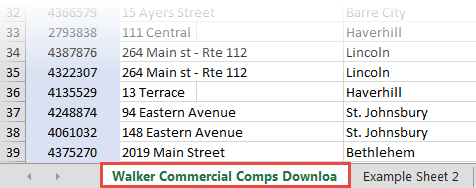
Please refer to the below image to learn if your Excel file is compatible with the Data Import tool.

The Excel file should be formatted as a "flat file", meaning the top row should include data headers (Street Name, Town, State, Etc.), and each row under the header should be a comp record.
Be sure the Excel file does not have blank rows or any cells with errors if there are calculations on the worksheet.
Fields with numeric and date values should be free of text. For example, GBA should only have a number such as "65,000", and not "65,000 SF".
The data must be on the first worksheet in the Excel workbook.
Note:
All Boolean fields can be set to checked via a 1 and a 0 or null for unchecked
The Appraisal Usage field is set to "comparable" by default.
State and Country fields must use abbreviations.
Columns without any data will be read as a string data type.
.png)




.png)