- Print
- DarkLight
- PDF
Create a Custom Table
- Print
- DarkLight
- PDF
Tables are groups of cells storing data within your Excel file. When a table is imported into an word report document, it will appear as an image. For example, the Real Estate Assessment and Taxes table on the Assessments worksheet in an Excel file is an example of a table.
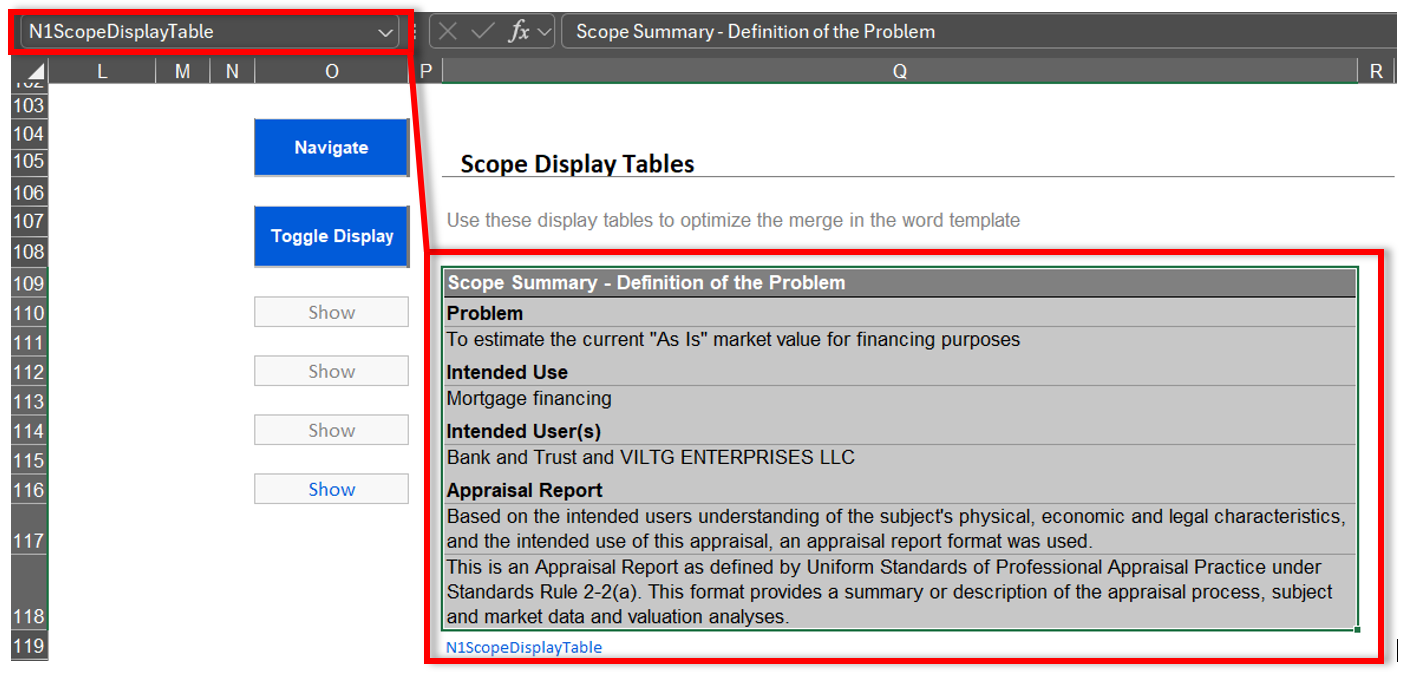
Tables are created via the Name Box in Excel; when you select a group of cells, the Name Box in the top-left hand corner of the screen will display the name associated with your selection. All tables must have N1 as the Name's prefix. All default tables have their range name displayed in blue text below the table.
For example, the Name for the Scope Summary table is N1ScopeDisplayTable. The N1 prefix tells the software that the table should be accessible within the report document.

With this in mind, it is possible to create a custom table as long as it follows the above guidelines.
- Create a table of information in Excel.
- Select all of the cells that comprise the table.
- In the Name Box, name the table N1TableName. Ensure that the name contains the N1 prefix. It is recommended that your table name does not contain any spaces.
- Hit enter on your keyboard.
Once you have created your table, you can have it imported into your word document using the Fields and Tables function. Remember to always prep fields and tables when making any workbook changes.
.png)

.png)