Assessment
- Print
- DarkLight
- PDF
Assessment
- Print
- DarkLight
- PDF
Article summary
Did you find this summary helpful?
Thank you for your feedback!
The Assessment section data can be verified by the user or by LightBox's team of professional researchers. For more information about choosing between the two verification methods, refer to Define Site.
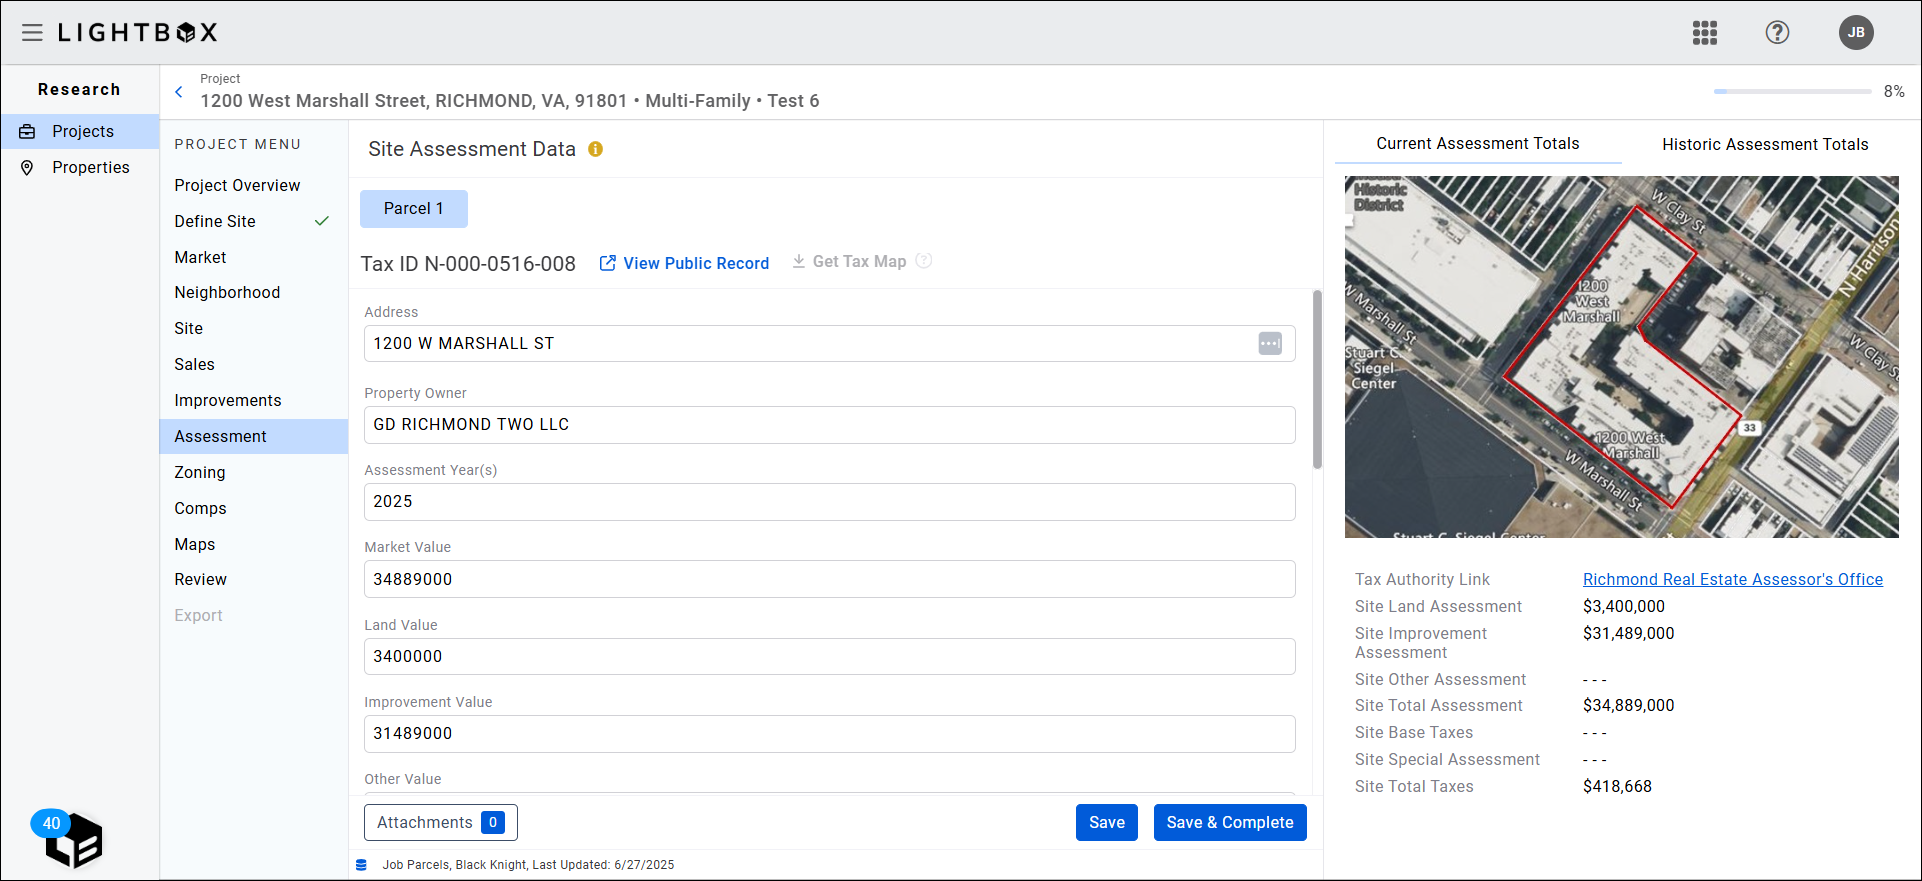
If you elected to verify the assessment data yourself, the Assessment section fields will be unlocked for editing.
If you requested fulfillment by the LightBox verification team, a request to verify assessment information is automatically triggered and the LightBox Research team will begin fulfilling the project. The Assessment status becomes Site Assessment Data - LightBox Verified once the research has been completed.
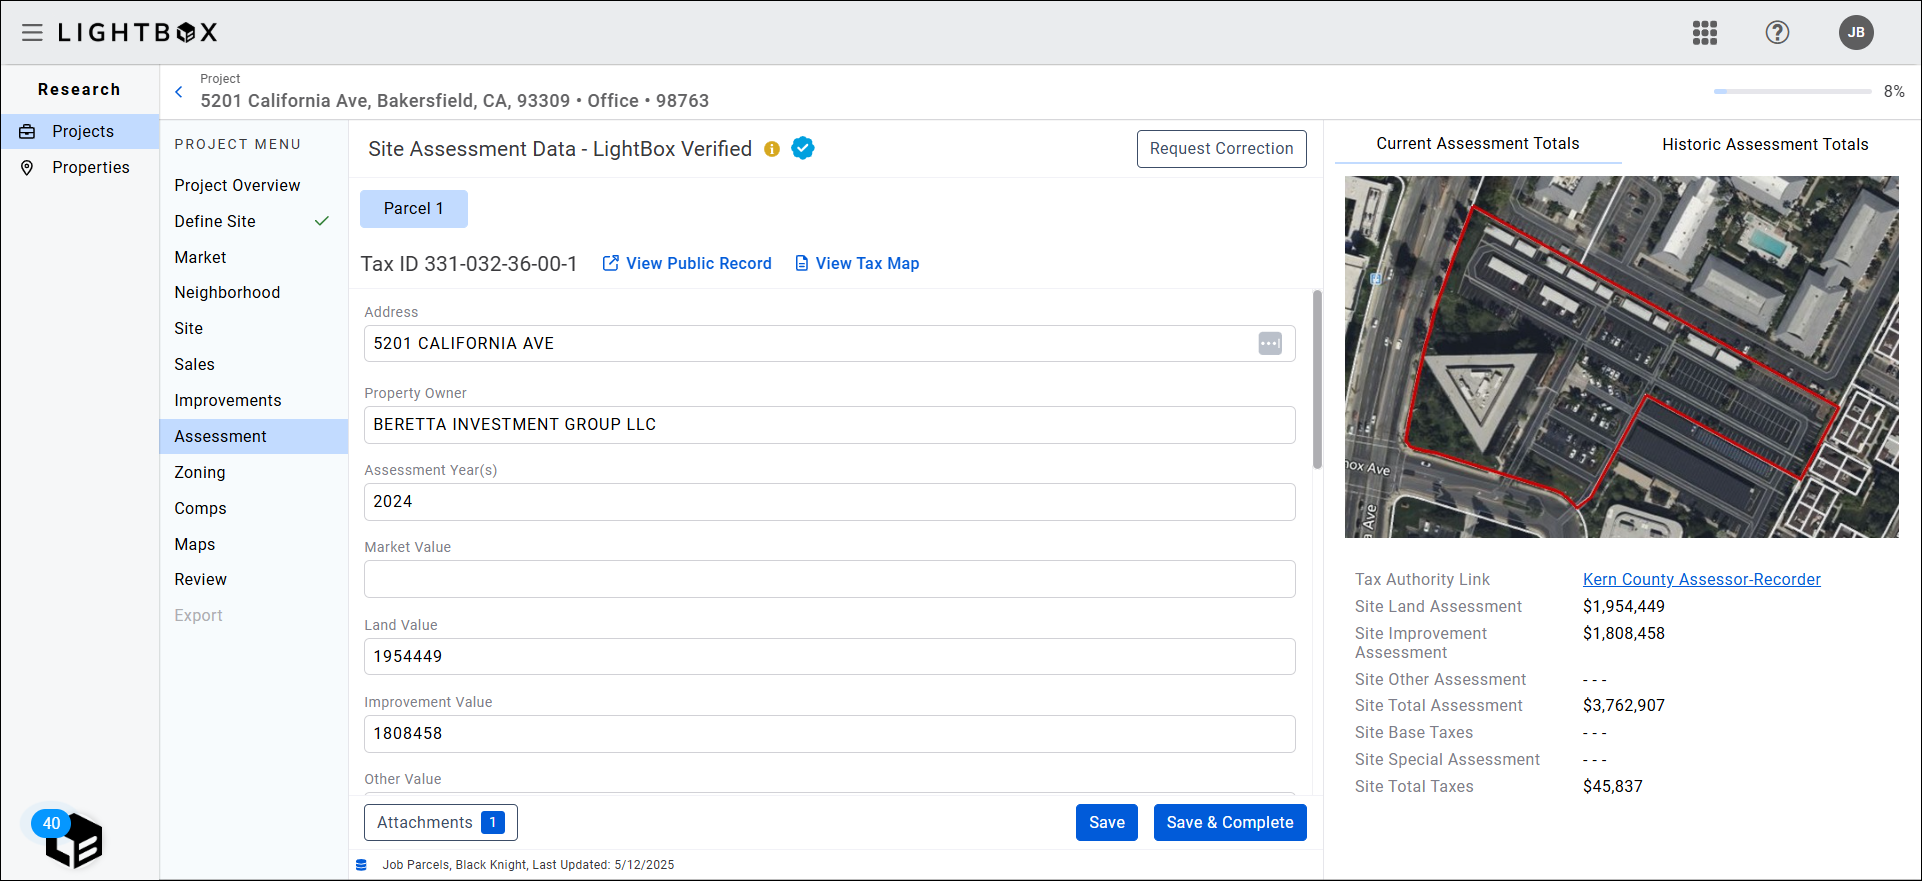
If changes are required, click the Request Correction button to request corrections to the data set from the LightBox fulfillment team.
Your email client will open with the To address pre-populated. Provide details explaining why a correction is needed and then send the email.
When the page loads for the first time, a message appears at the top of the screen:
Tax Map Download in Progress
The tax map will be available in the Attachments section when download is complete.

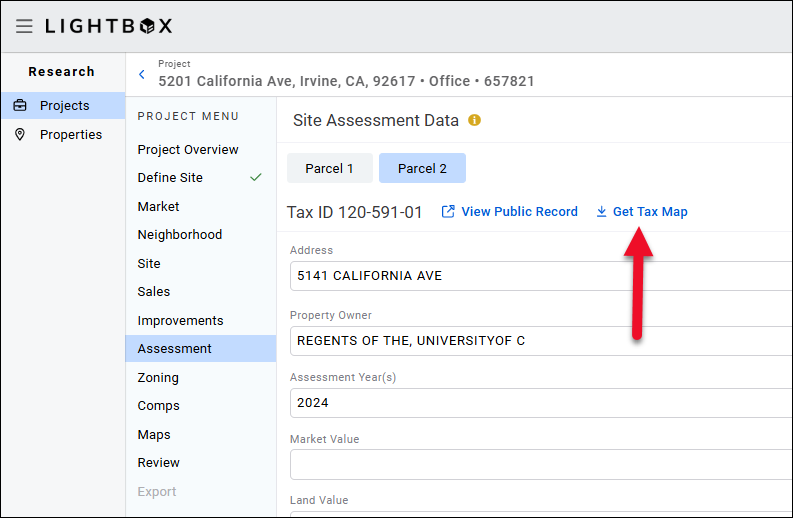
The tax map can be accessed from two locations:
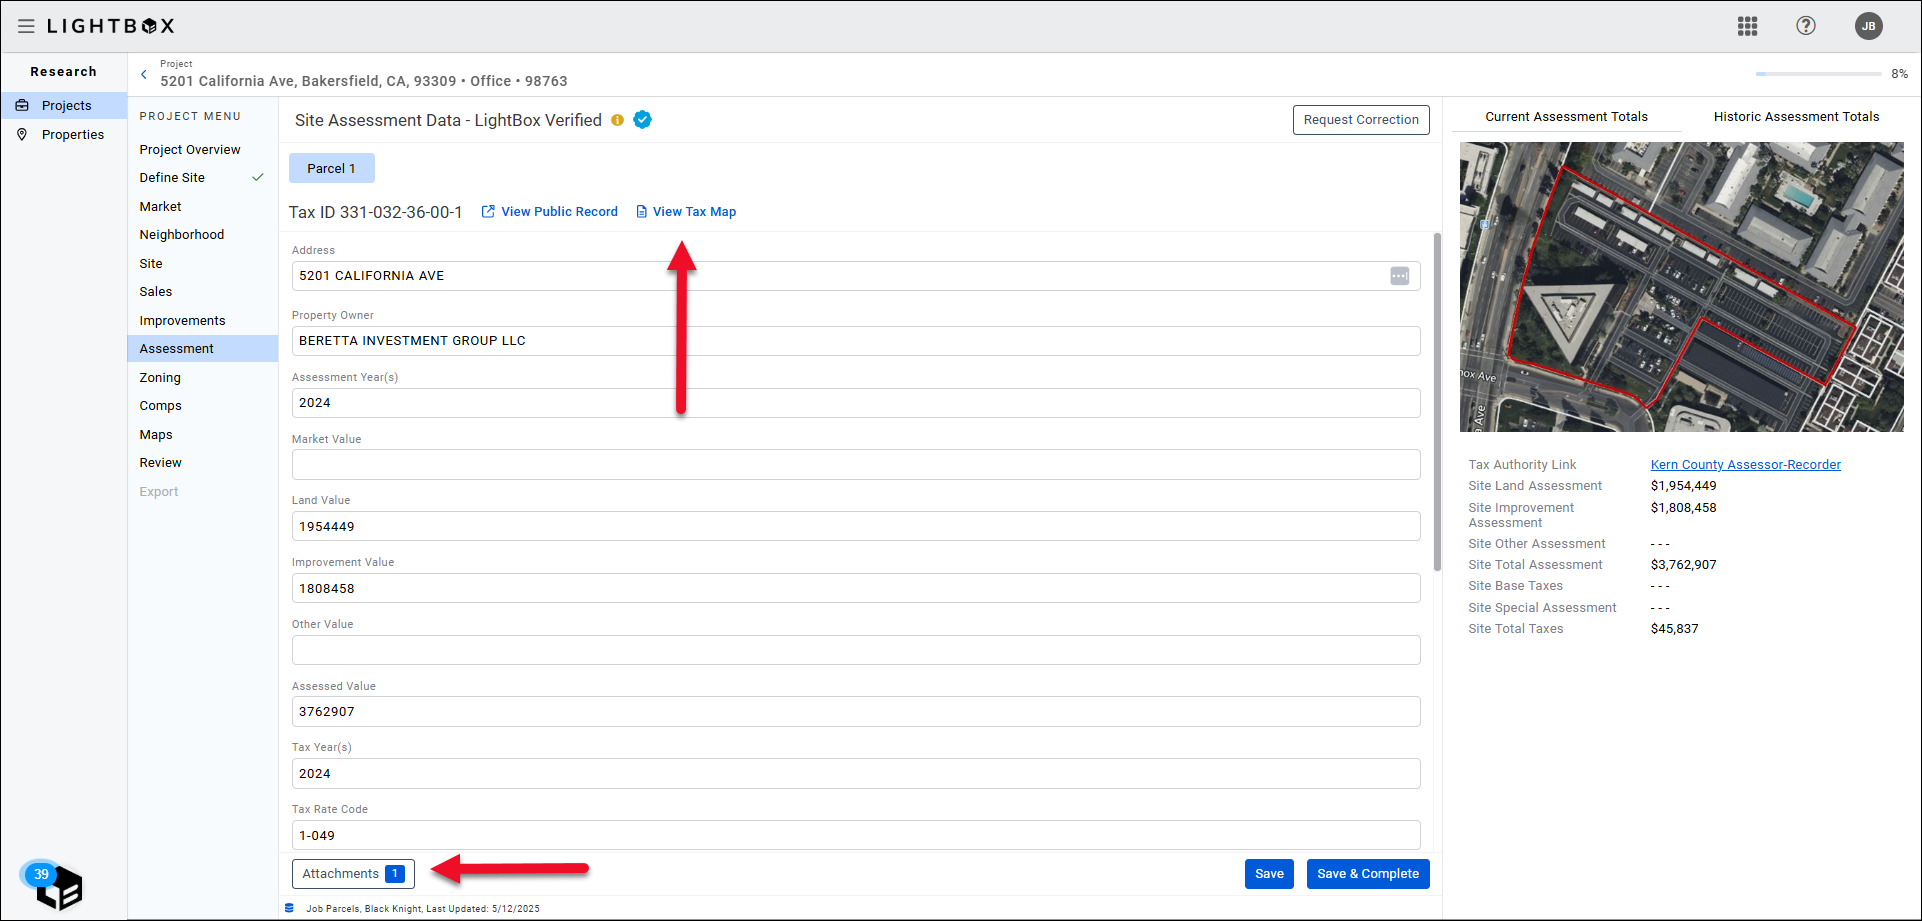
- View Tax Map near the top of the page.
- Attachments at the bottom of the page.
The Assessment Attachments modal opens.
Click the blue tax map link in the Assessment Attachments modal to download a copy of the tax map as a PDF. Open the file on your computer to view the map.
.png)
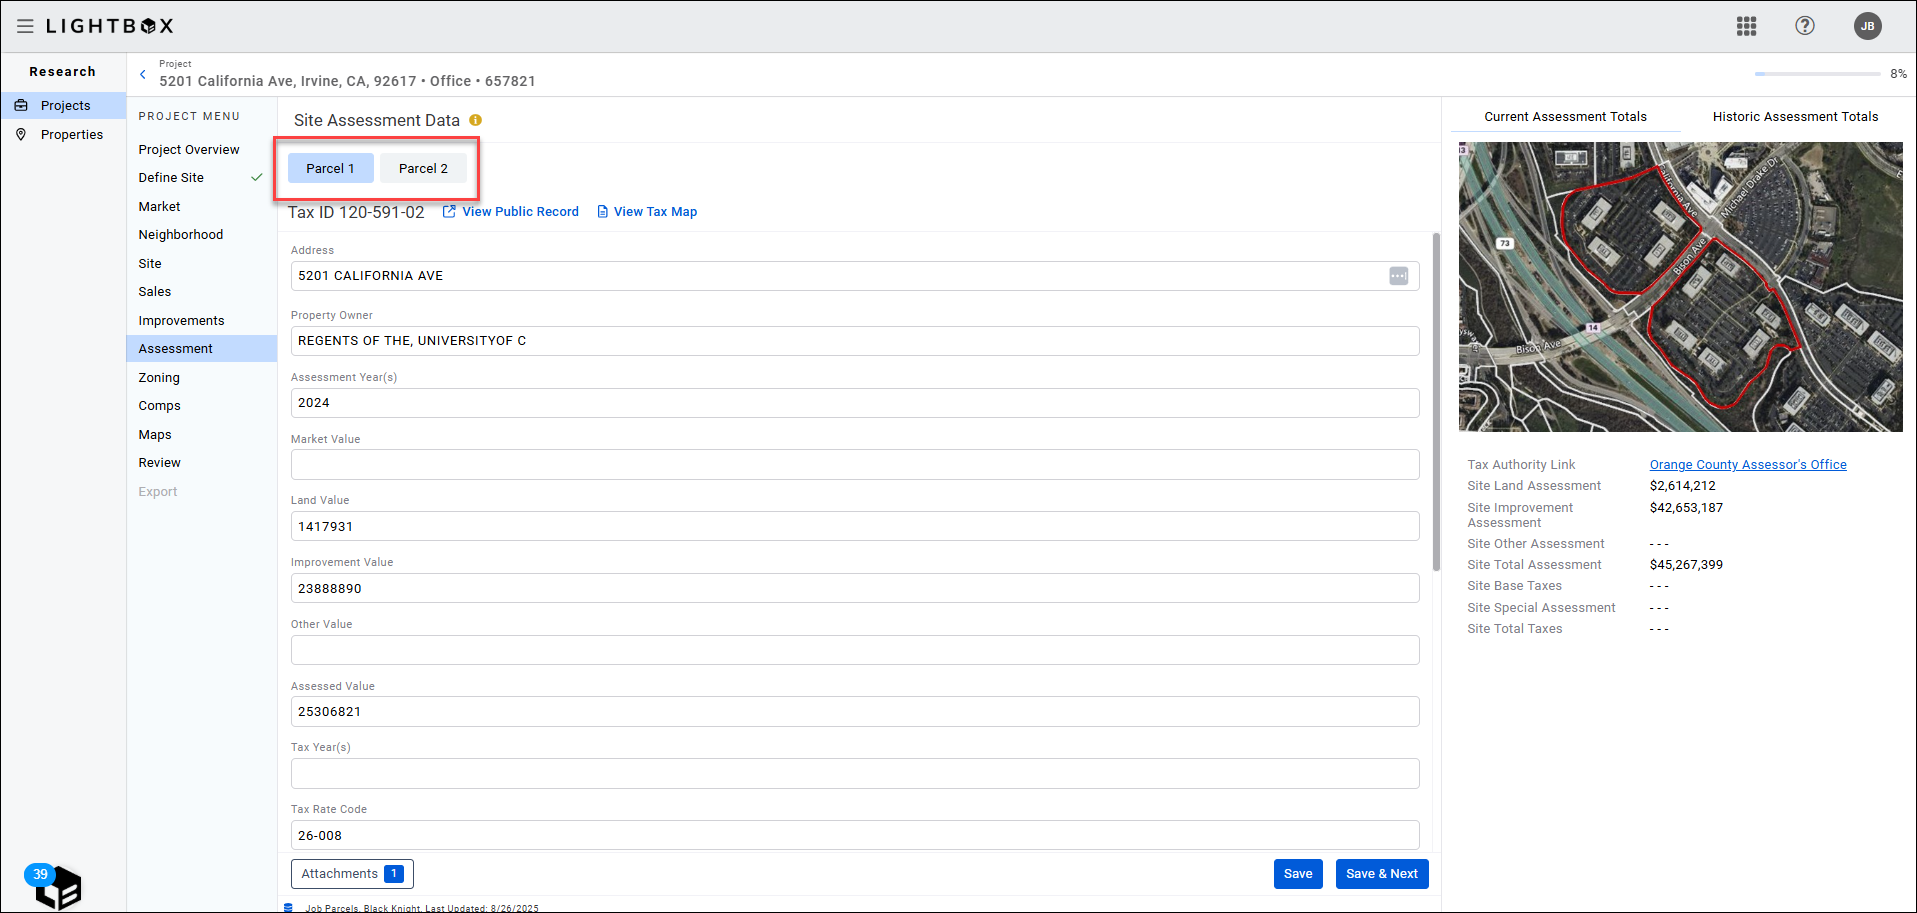
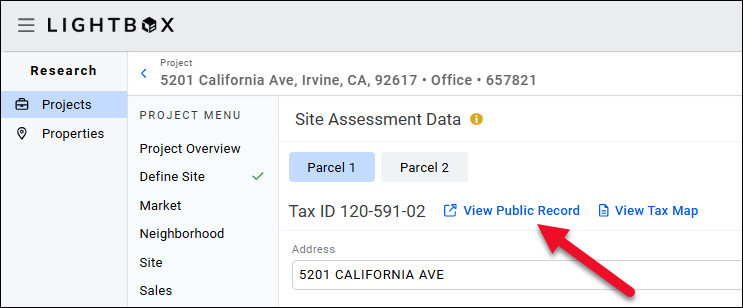
If the Project contains more than one parcel, navigate between them by clicking the Parcel 1/Parcel 2 (etc) buttons in the top-left corner of the page.
If the tax map for Parcel 1 did not include all of the parcels, click Get Tax Map to create a tax map for that parcel.
A notification will state:
Tax Map Download in Progress
The tax map will be available in the Attachments section when download is complete.
Get Tax Map button will become View Tax Map. Click that button and the Assessment Attachments modal opens. Each time a new tax map is created the file name increments by one digit.
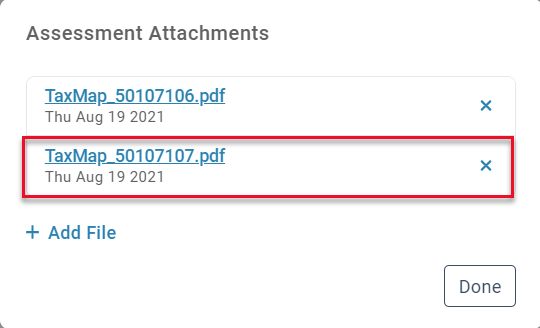
The newly-created map file is highlighted in the image above. You may skip the verification process at any point and verify the data yourself. If the research team has not yet provided the verified data, click Skip Verification.
.jpg)
A pop-up window will state that proceeding will cancel the verification request with the research team. Click Skip to proceed.
The fields will open for editing.
For each parcel, click the blue View Public Record link. A new tab will open and display the assessor’s report for the parcel.
Screen-capture the data on the assessor’s report. Use the data from the assessor's report screenshot to validate the assessment data and (if necessary) edit or add to the assessment data in the fields below.
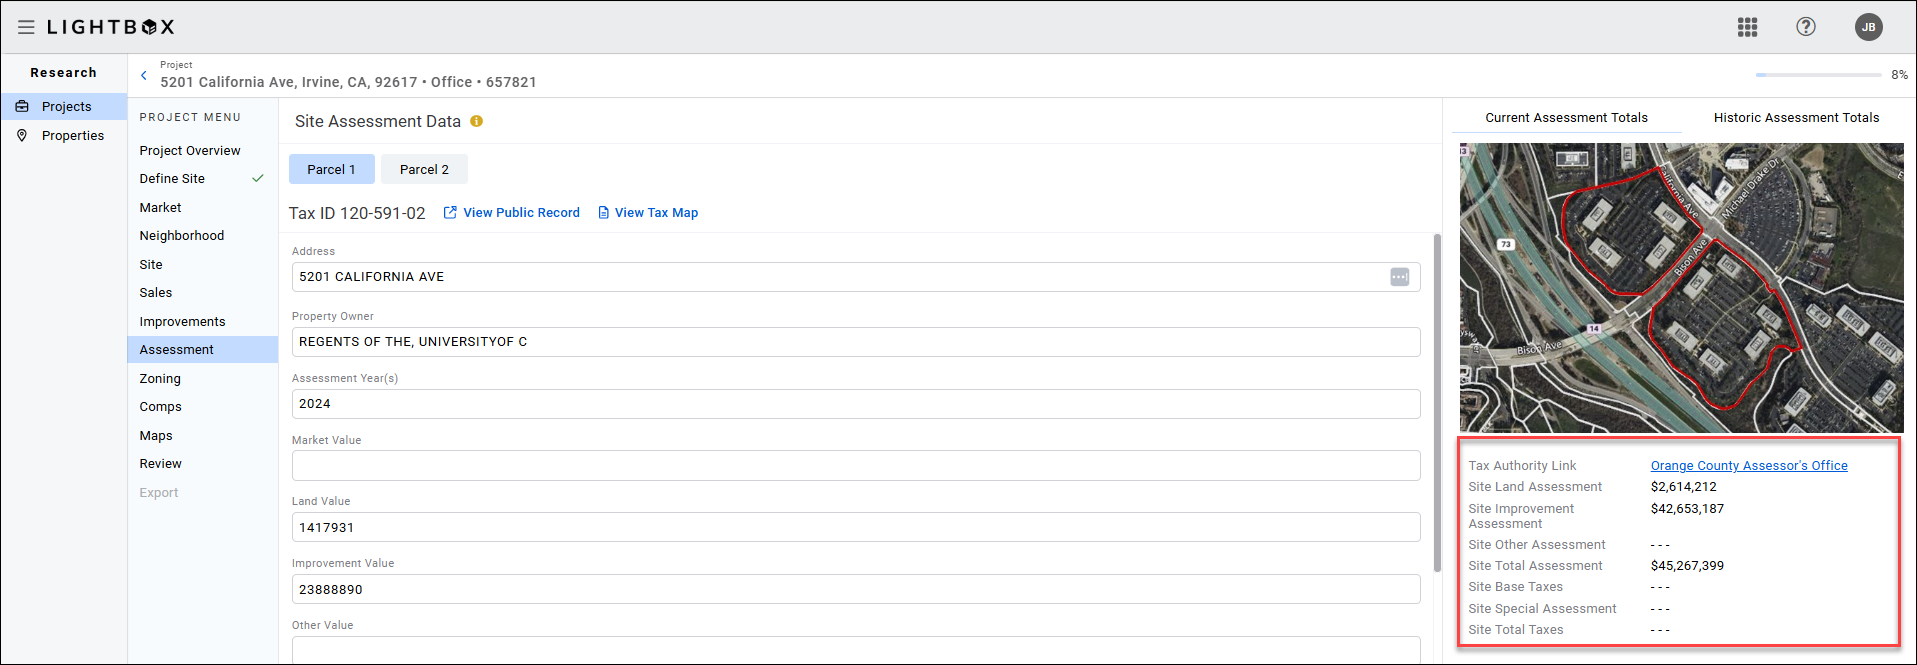
If the Parcel Link is broken, click the blue link next to the Tax Authority Link label, which will open a new browser tab and load the assessor’s main website page. Find the area of the website containing assessment data and search manually for the parcel report. Screen-capture the data and then use the data to validate and (if necessary) edit or add to the data in the parcel fields.
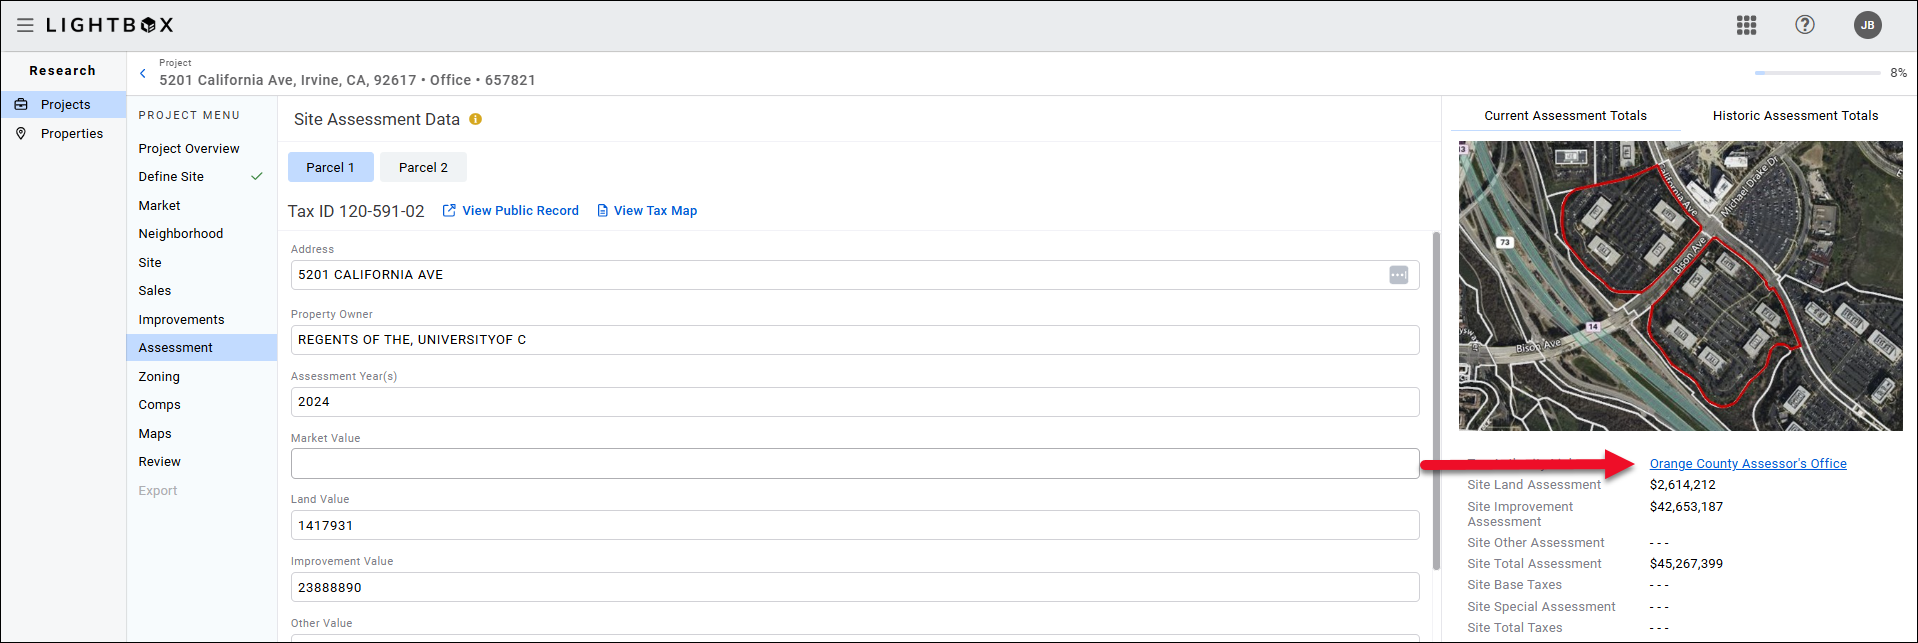
The Site Assessment Totals section provides a map detailing the parcel’s numeric labels, a link to the Tax Authority website, and dynamic Totaling of Assessment and Tax fields.
As you validate each parcel, the data is saved for use in the report.
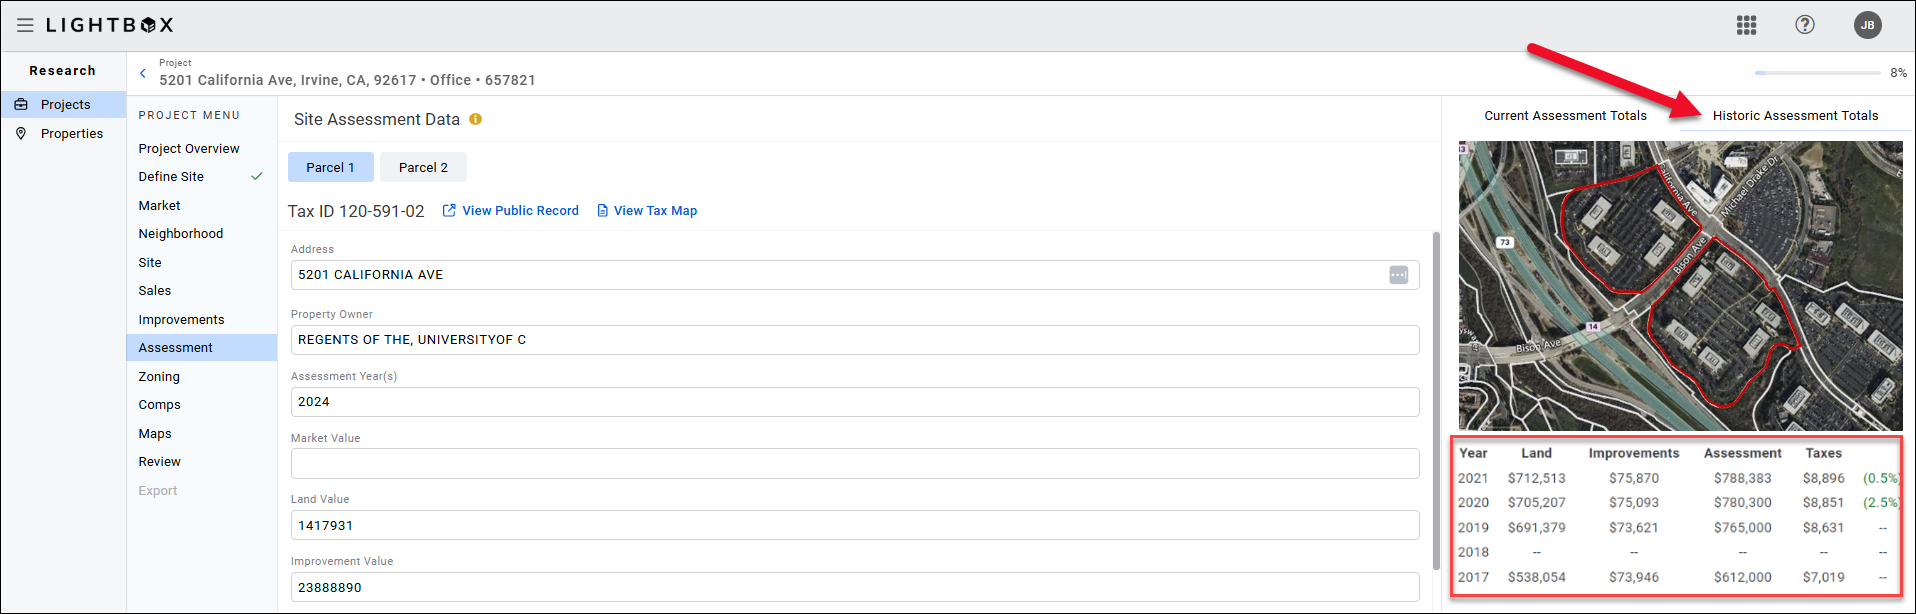
Click Historical Assessment Totals to view the historical data tab.
Historical Tax Data is not part of the Verified Data Set
The historical tax data is not part of the verified data set from the LightBox fulfillment team.
If the Assessment and Tax Year do not match for the current record, historical data is not provided.
Report Writer subscribers can add/edit historical tax data in the Report Writer - Assessment page or in the Excel template.
If the Assessment and Tax Year do not match for the current record, historical data is not provided.
Report Writer subscribers can add/edit historical tax data in the Report Writer - Assessment page or in the Excel template.
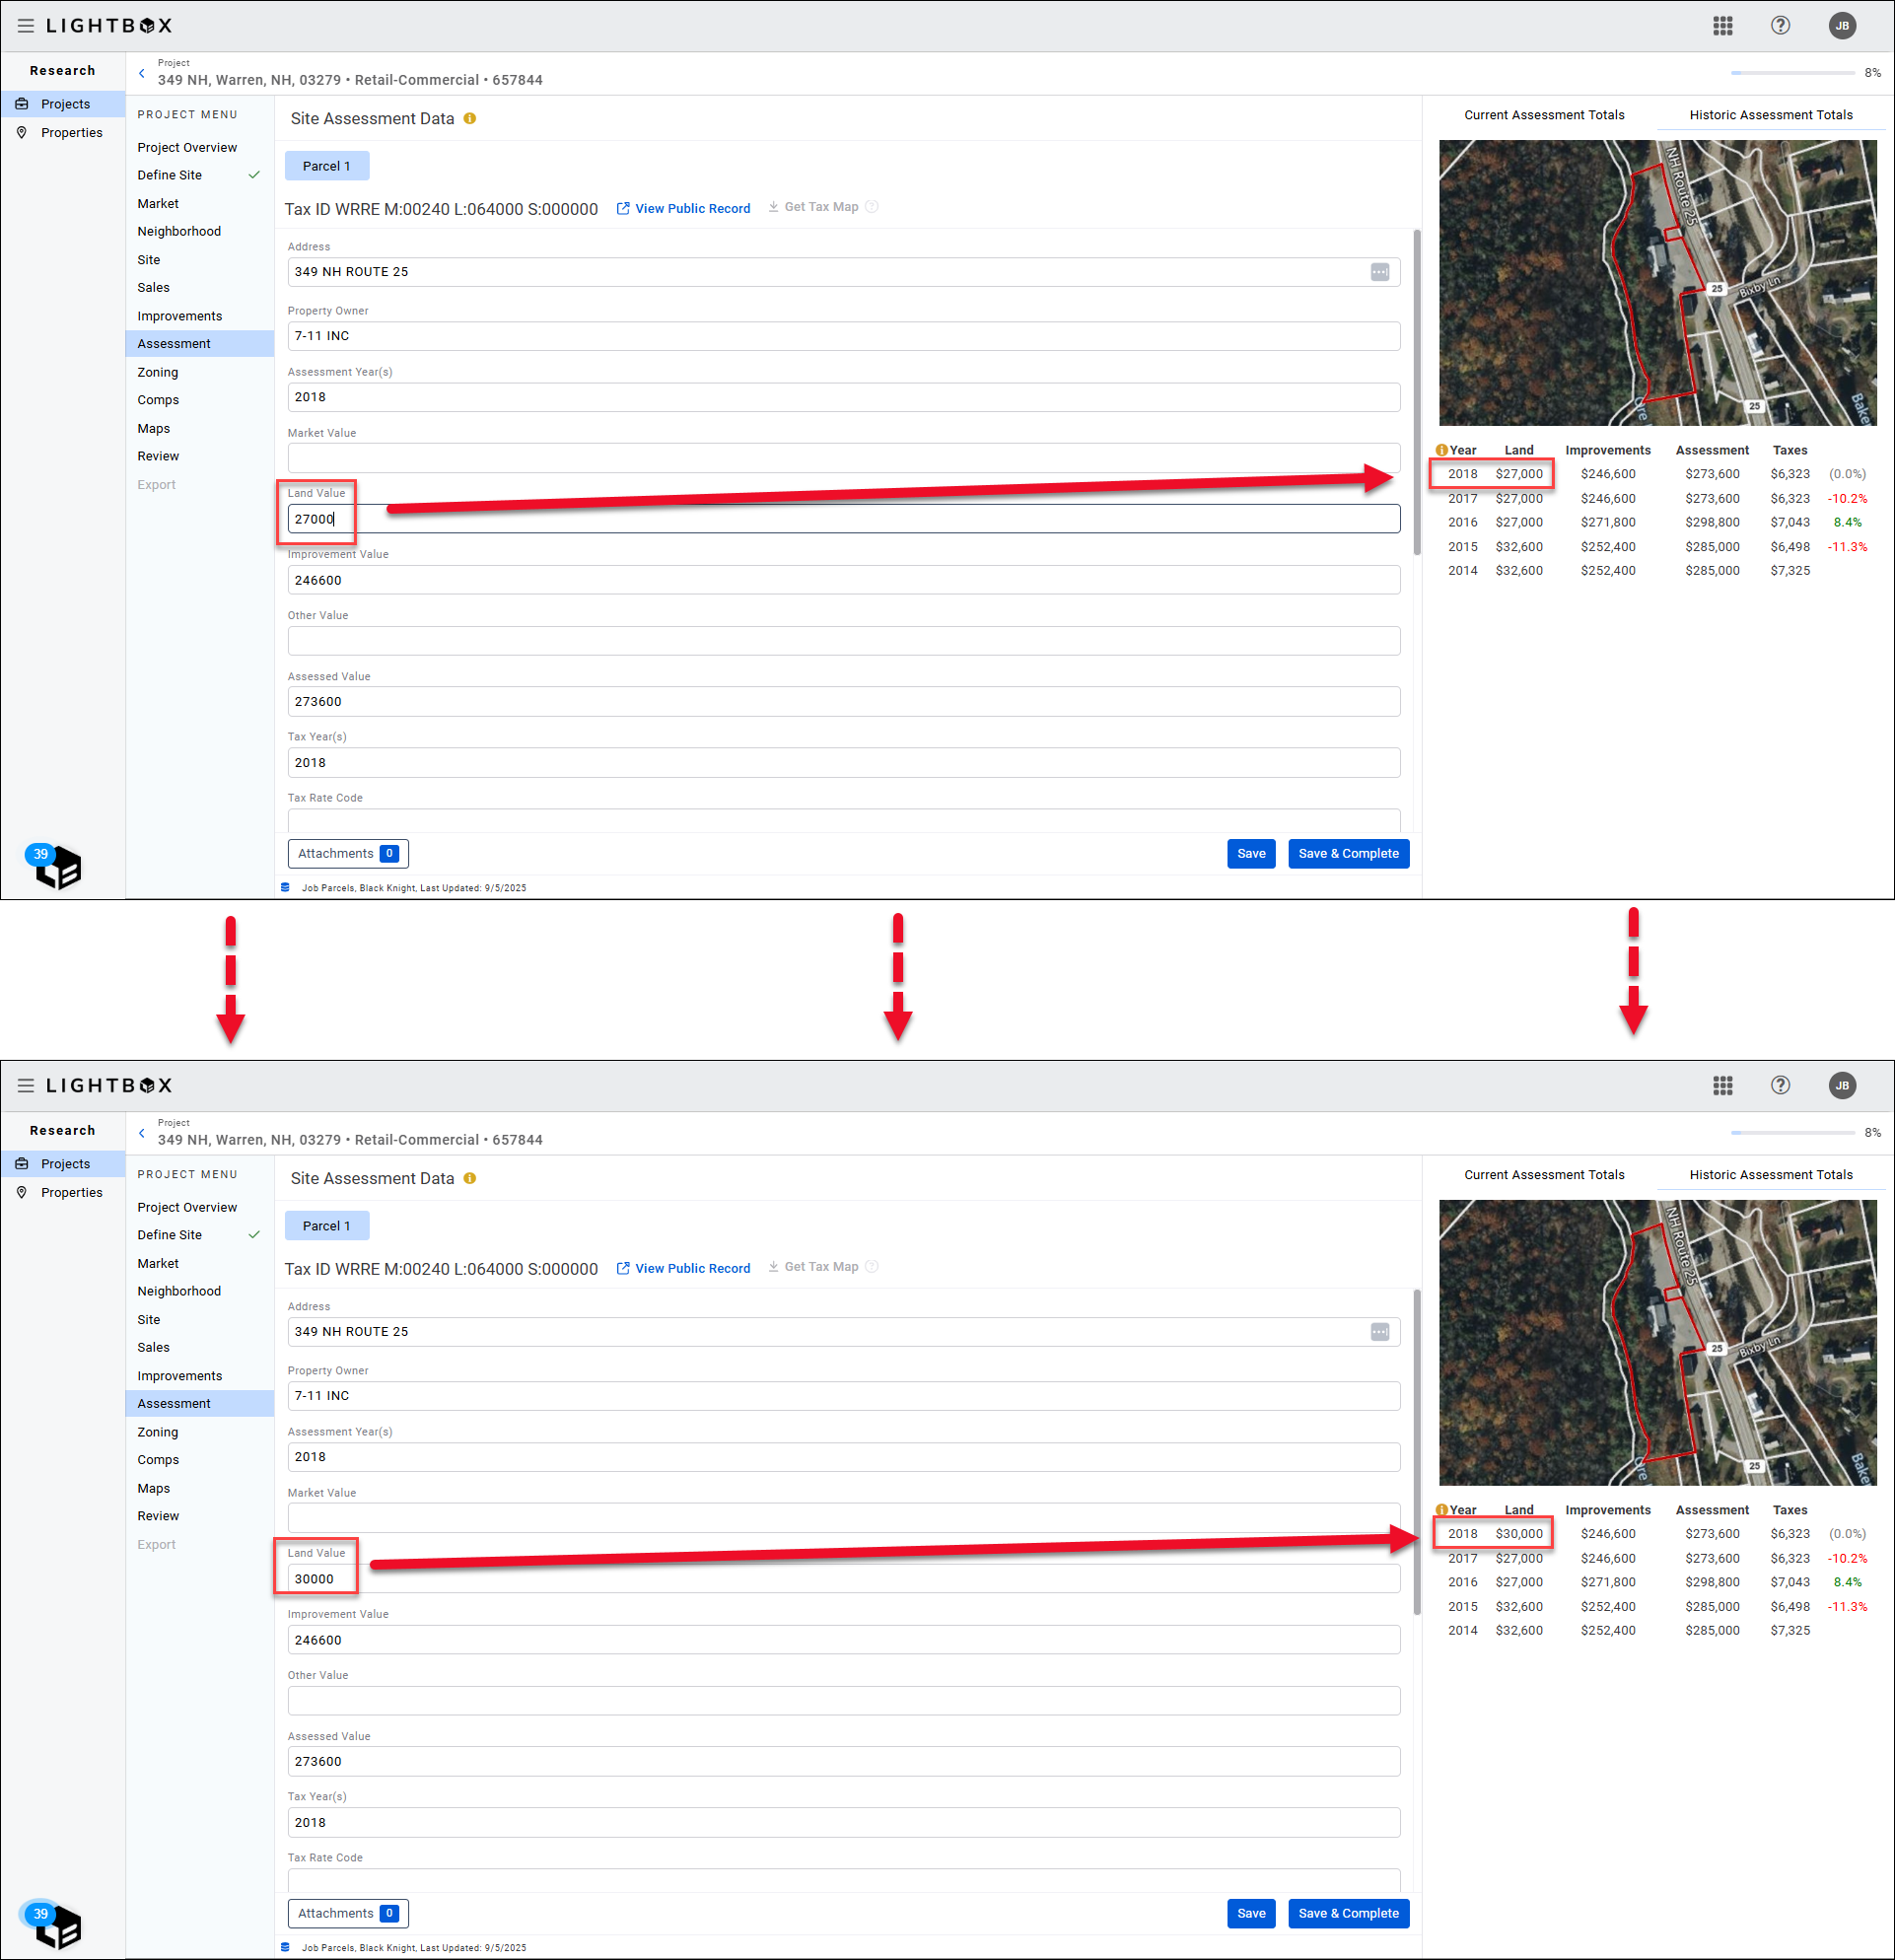
The Historical Assessment data is aggregated. Updating a field from which the historical data is derived updates the corresponding field(s) and calculations in the Historical Assessment Total tab.
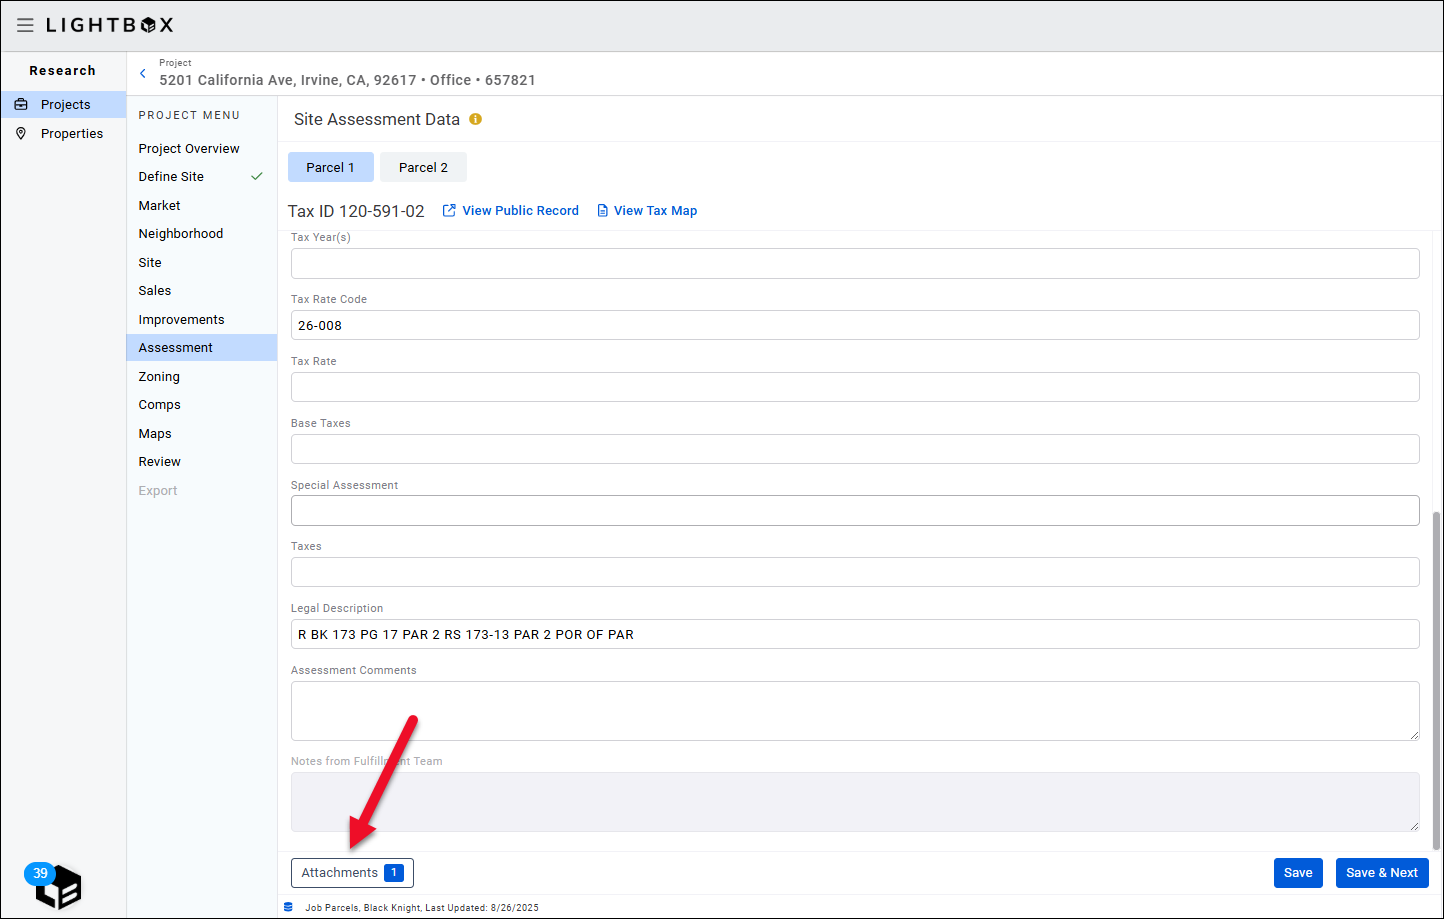
Optionally, attach the screenshot of the assessor’s parcel report by clicking the Attachments button.
After clicking the Attachments button, the Manage Documents modal will appear. Click Add File.
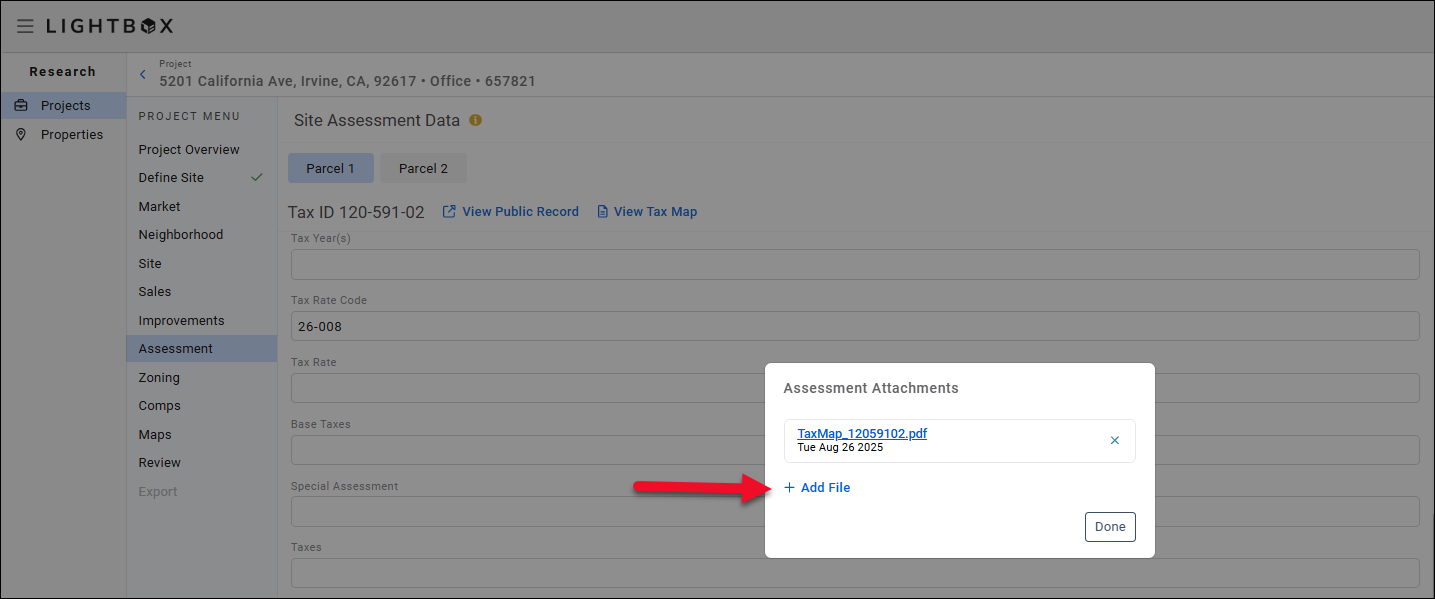
Click Browse File.
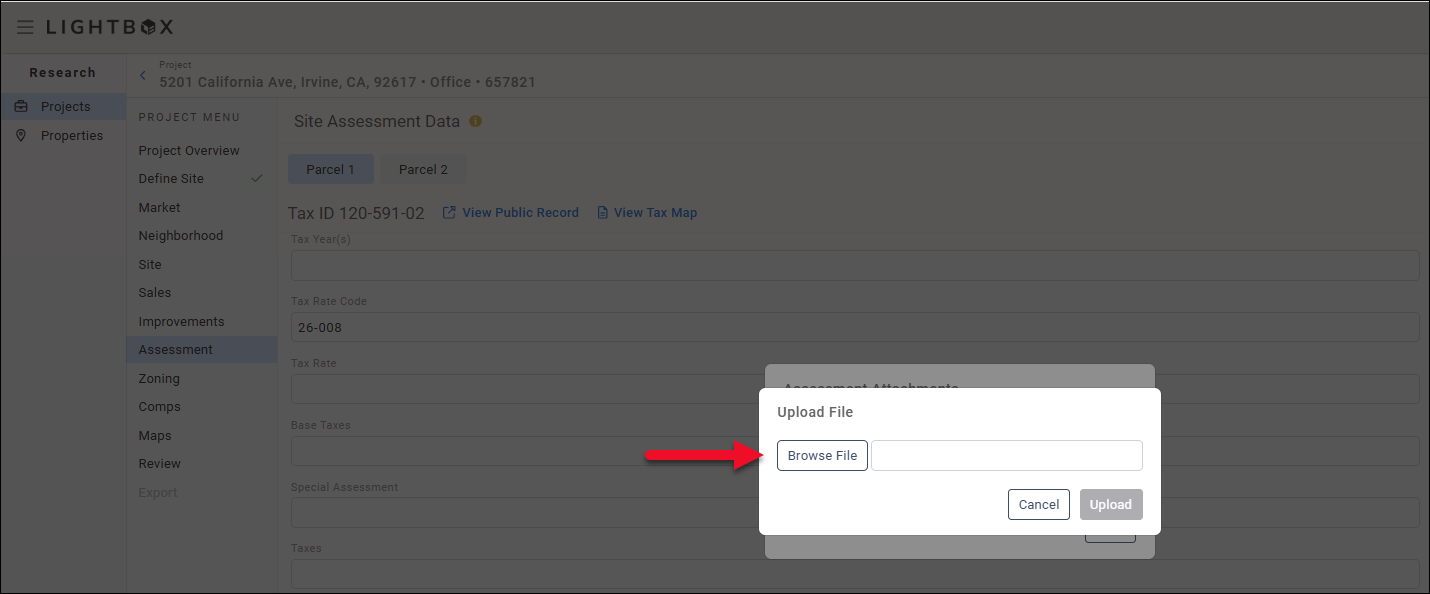
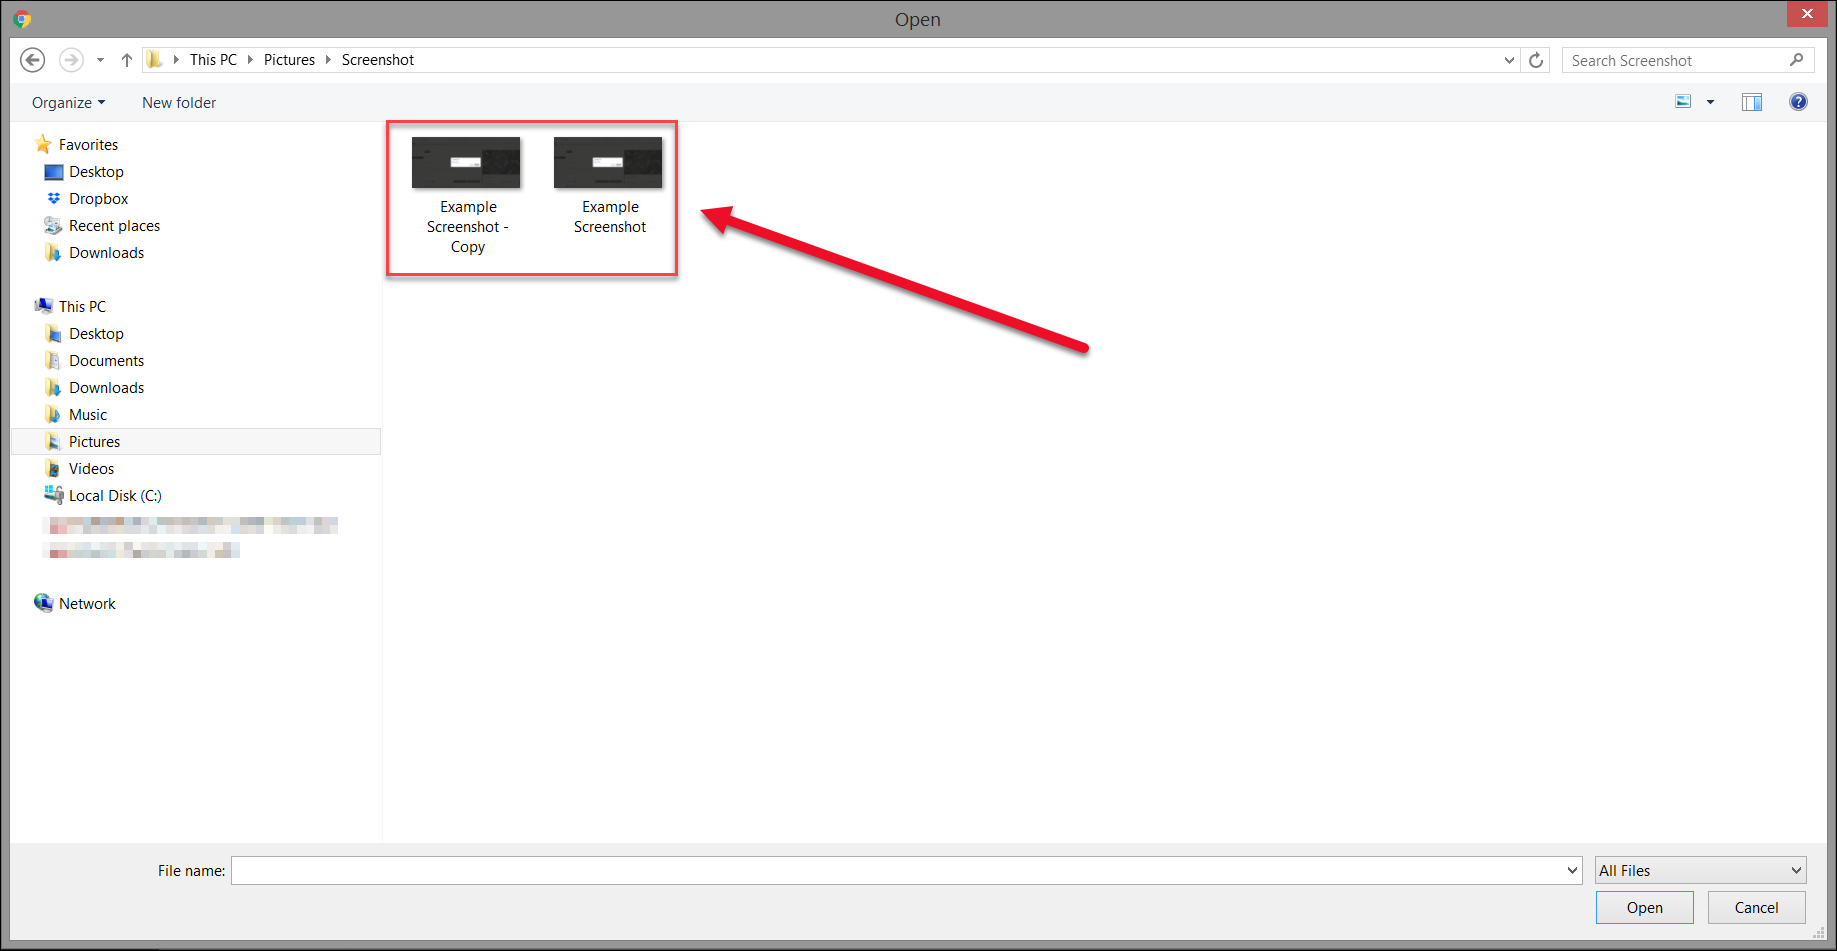
A new file explorer window will open. Browse to the file location on your computer and then double-click the file to upload it. The file explorer window will close.
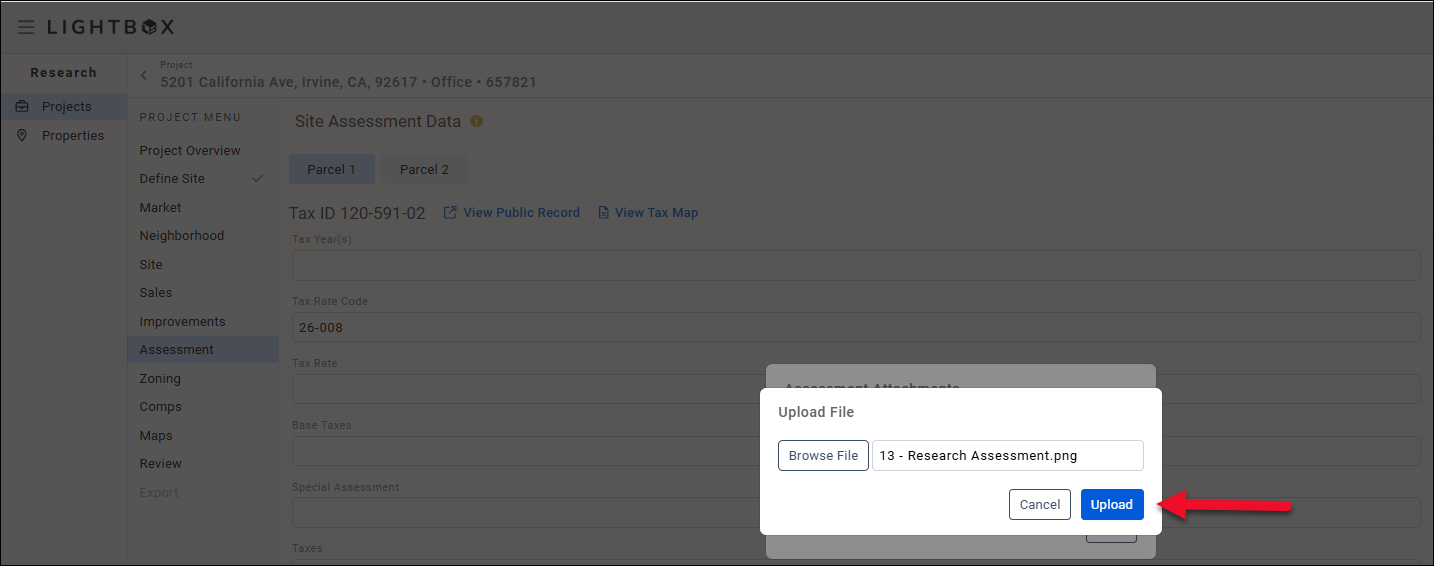
Click Upload in the modal to complete the file upload process.
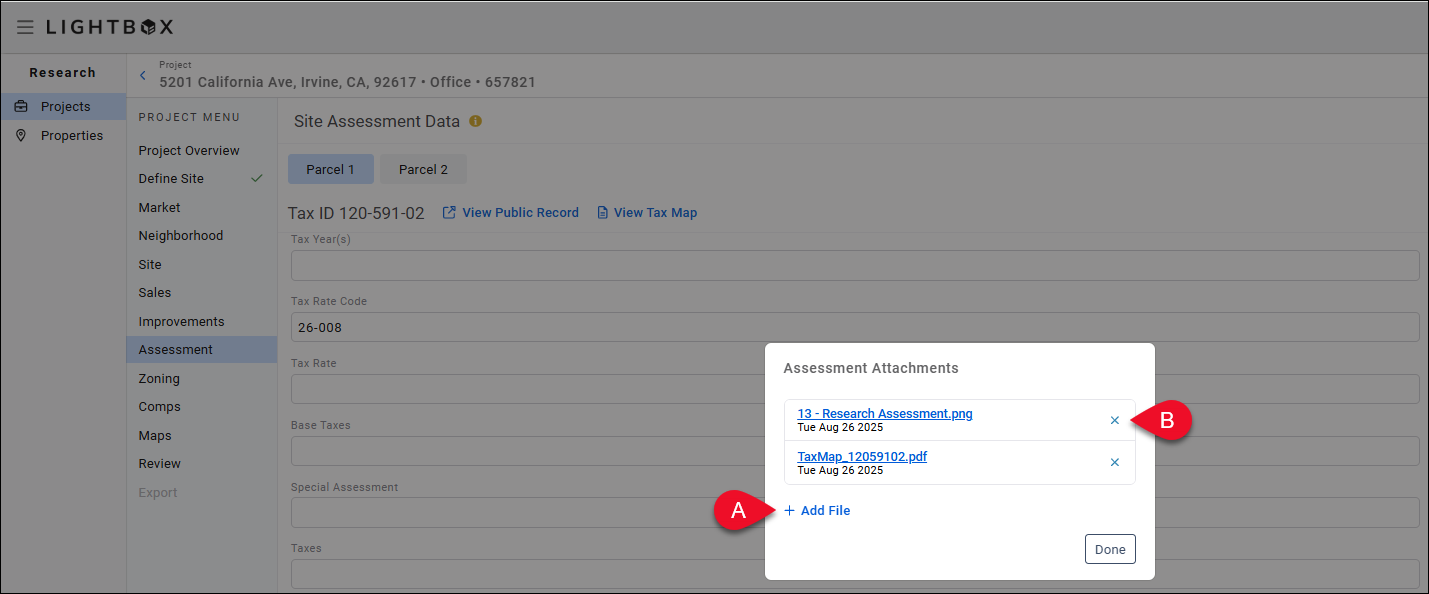
A. Click Add Files to upload additional files.
B. Click the Delete button next to a file to delete that file.
Click outside the Manage Documents modal to close the modal.
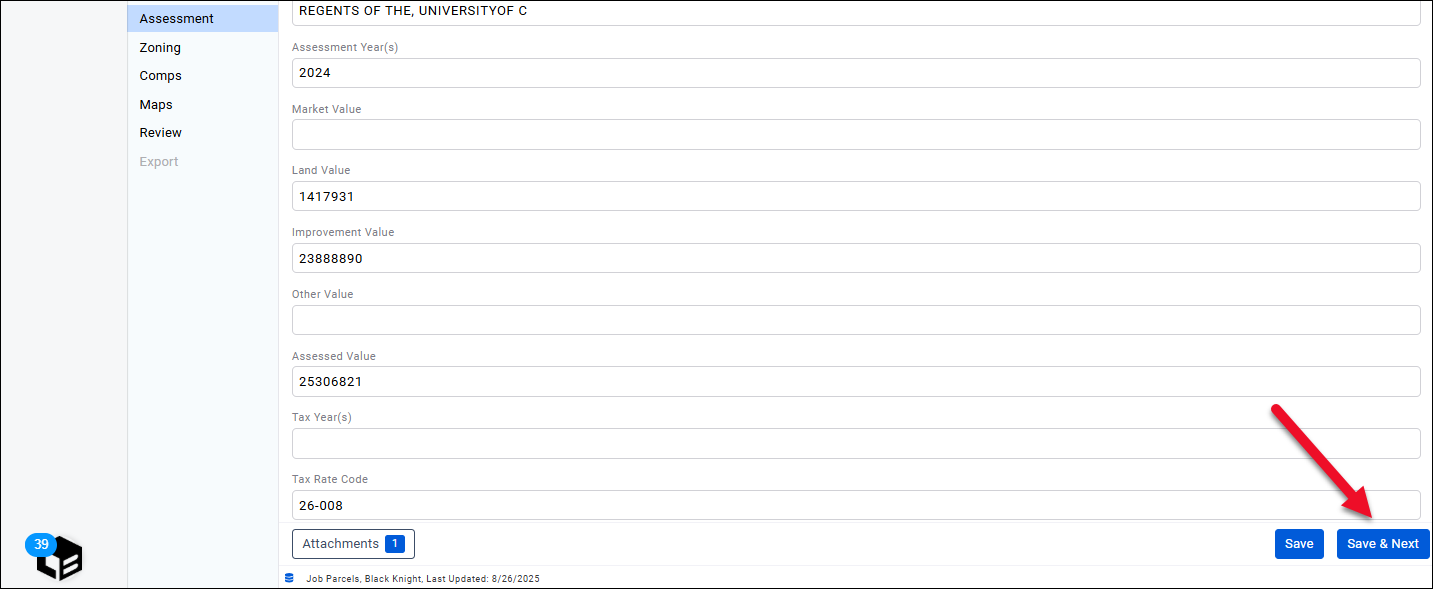
Once the screenshot has been uploaded, the Attachments label will change from “0” to “1” to indicate you have attached a file to the parcel.

Click Save & Complete to finalize the Assessment information and move on to the Zoning section.
Fulfillment Details
If certain data points cannot be verified by online sources, the fulfillment team will reach out via e-mail, phone call, etc. If after two business days, the fulfillment team does not receive a response, they will close out the request for verification with a note stating why/what was unable to be verified.
- All editable fields on the Assessment project page are part of our verification services, so long as the data fields can be verified by online sources.
- If Total Assessed Value and Total Taxes are unavailable, our fulfillment team will attempt to confirm the values via e-mail or phone call.
- Fields that are often unavailable: Land & Improvement Values, Tax Rate Code, Tax Rate, Base Tax & Special Assessments.
- Assessment and Tax Years may differ. The fulfillment team always provides the most current.
- The fulfillment team does not verify historical assessment and tax information.
- If a tax bill and/or assessor’s record is available online, the fulfillment team will create a PDF and attach it to the project.
- There are times when data from our third-party data provider, BlackKnight, cannot be verified. When this occurs, a note is provided in the fulfillment notes about what data was not verified.
- When our Tax Map vendor, First American, cannot provide a Tax Map, the fulfillment team will attempt to retrieve the Tax Map if it is available online.
- If parcel numbers within the Research application are out of date with the County’s GIS, the fulfillment team will update the Assessment module with the correct Parcel(s).
- If State Equalized value is available, the fulfillment team will add it in the fulfillment notes.
Was this article helpful?