- Print
- DarkLight
- PDF
Uploading the Report and Invoice
- Print
- DarkLight
- PDF
Once the Award has been accepted, several new buttons and features will become available for the Vendor in RIMSCentral. From the Awards tab, click View next to the accepted appraisal assignment.

The View screen will open. The Award Information section will contain several items that were not visible before accepting the Award.
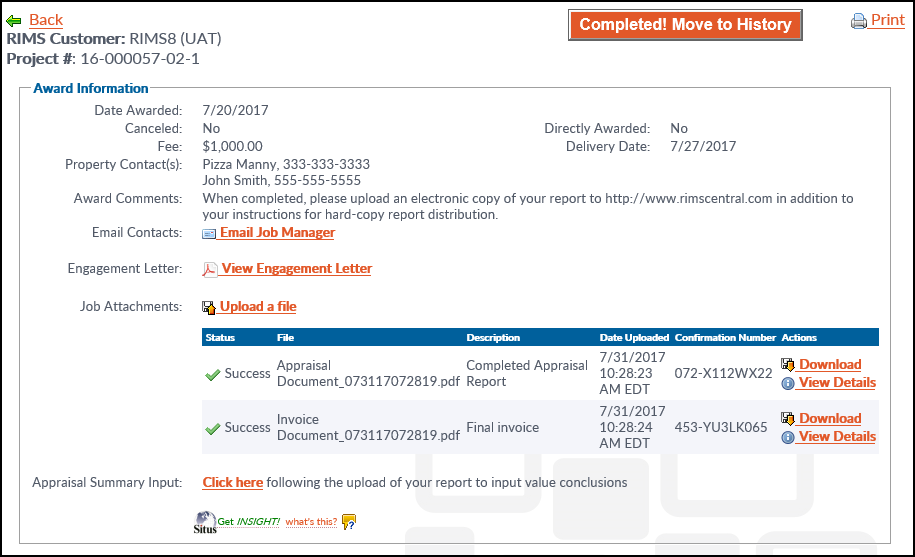
The buttons will vary slightly based on the specific financial institution and what they provide and require. The buttons below are fairly standard, however.
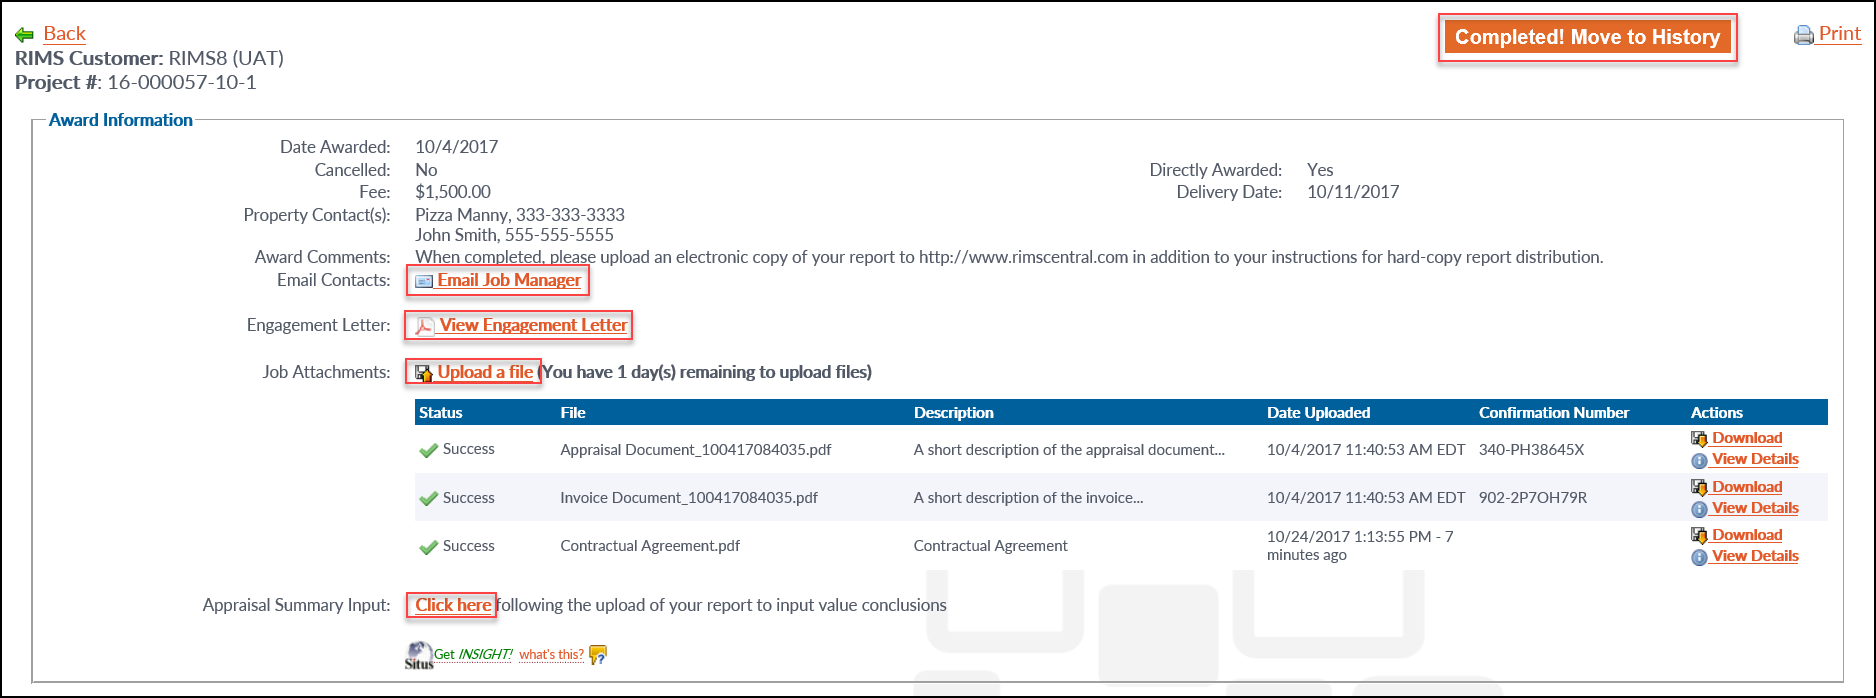
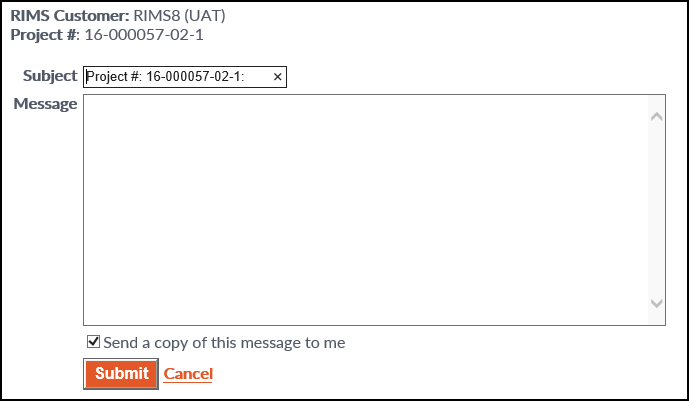
Email Contacts
Click to open a new window and send a message to the Job Manager.
Engagement Letter
Click to view or download a copy of the Engagement Letter.
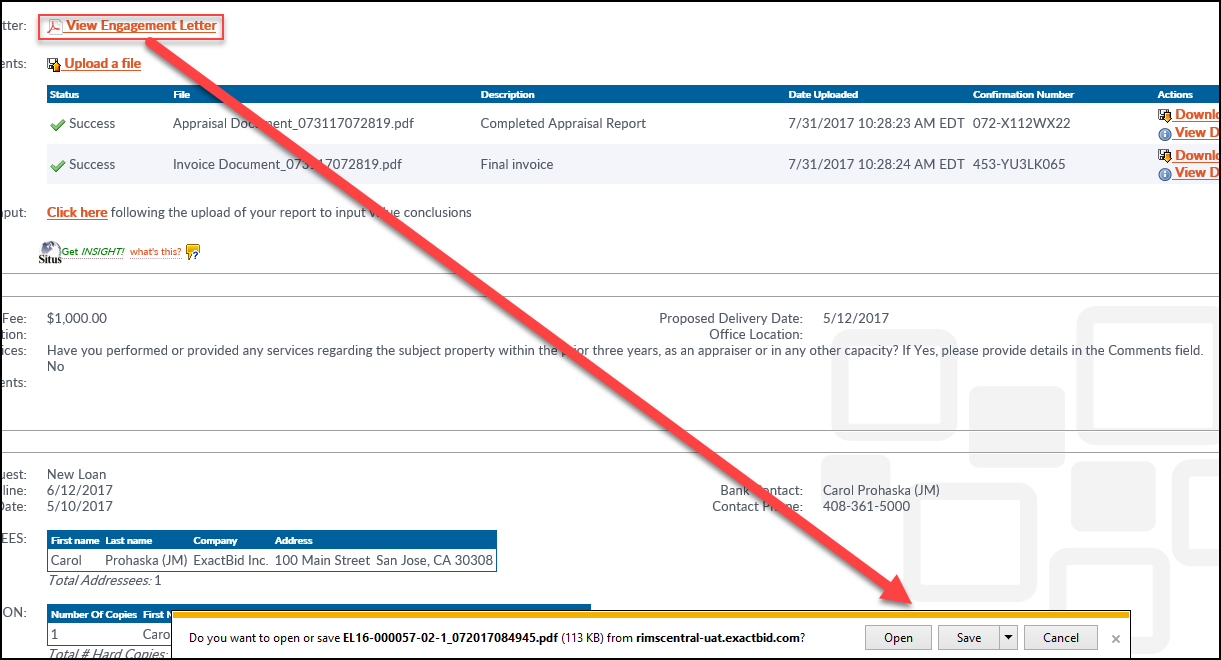
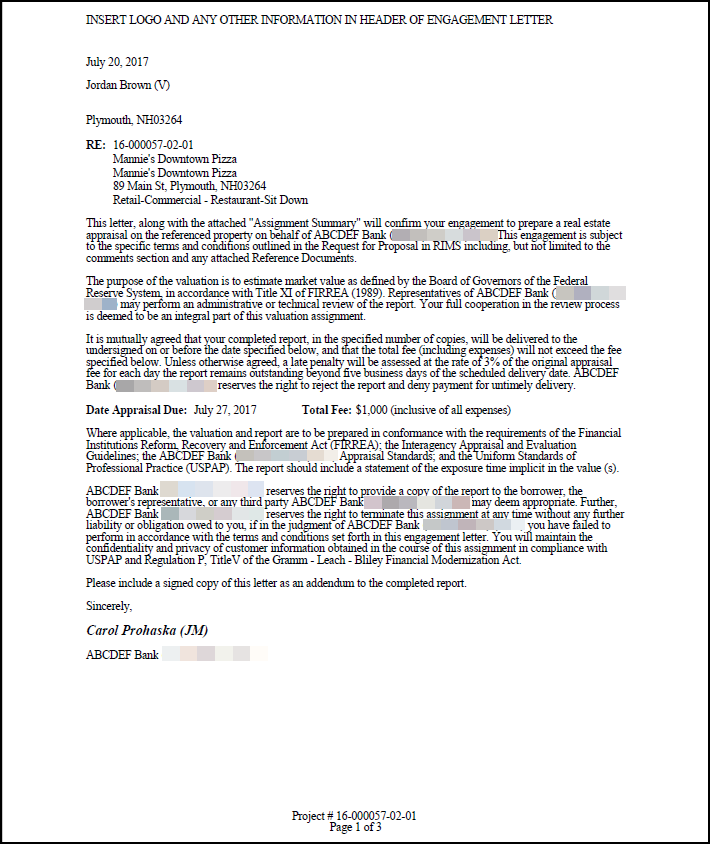
Click Save to save a copy of the Engagement Letter to your computer. Click Open to open it without saving. The Engagement Letter will contain information specific to the current Appraisal Assignment, along with boilerplate text from the financial institution's Engagement Letter Template.
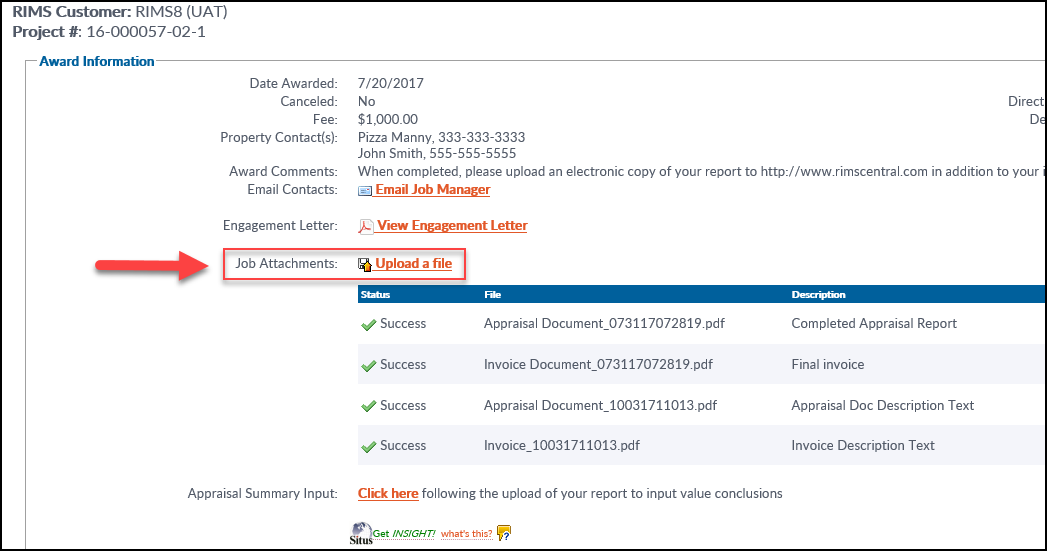
Job Attachments
Click the Job Attachments link to upload the final report, as well as an Invoice and other documents.
There are three file upload areas on this page, detailed below:
- Upload your Final Report
- Upload your Invoice
- Upload Other Files
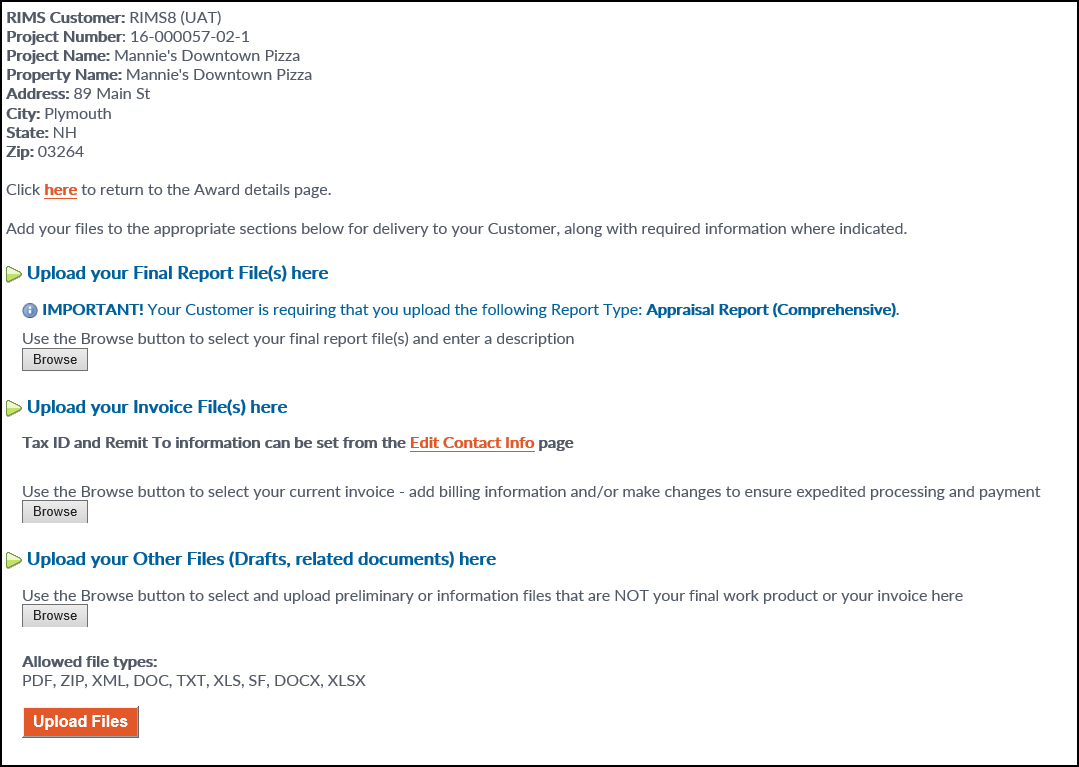
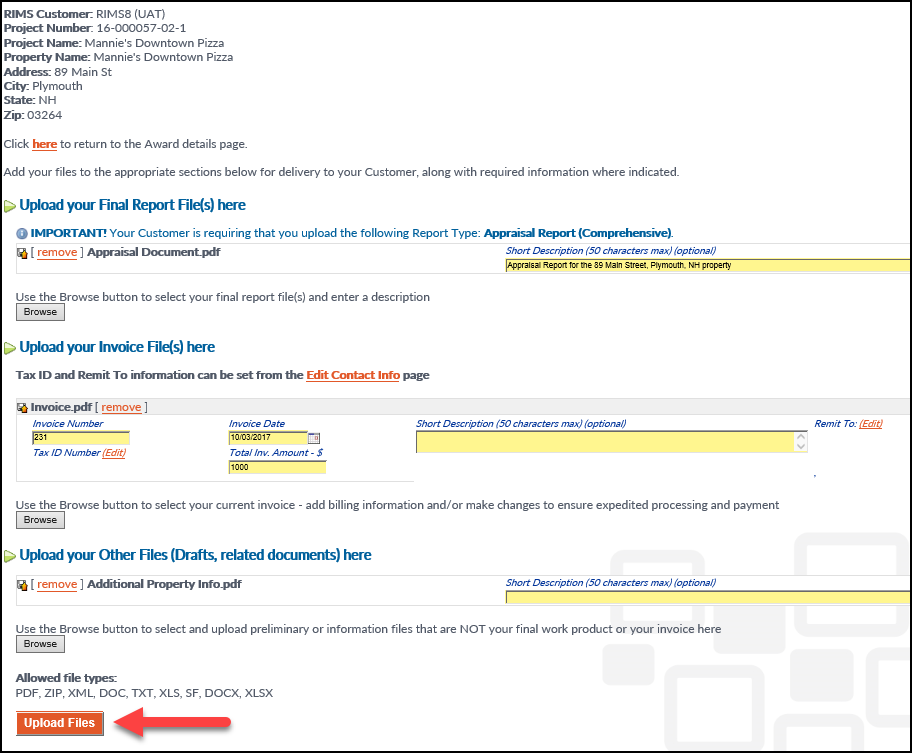
Upload your Final Report File(s) here: Click to browse to your computer and upload the final Report. Once it has been uploaded, a new, optional description field will appear.

Upload your Invoice File(s) here: Click to browse to your computer and upload an invoice. Once an invoice has been uploaded, several new fields may appear. Enter the Invoice Number, Invoice Date, Total Inv. Amount, and Short Description (optional). Two fields will remain: Tax ID Number and Remit. These fields can be completed by clicking the Edit button next to each and entering the values manually. They can also be prepopulated by clicking on the Edit Contact Info button and filling in the values there. For this and future invoices, the Remit To and Tax ID Number information will prepopulate.

Upload your Other Files (Drafts, related documents) here: Click to browse to your computer and upload optional, supplementary documents. Once one or more documents have been uploaded, an optional description field will appear.
Once the Appraisal Report, Invoice, and any other files have been uploaded, click the Upload Files button in the lower left-hand corner of the screen.
The page will reload with a new message.

Now it is safe to close the Upload a File page and return to the previous page by clicking the here button in the upper left-hand corner of the screen.
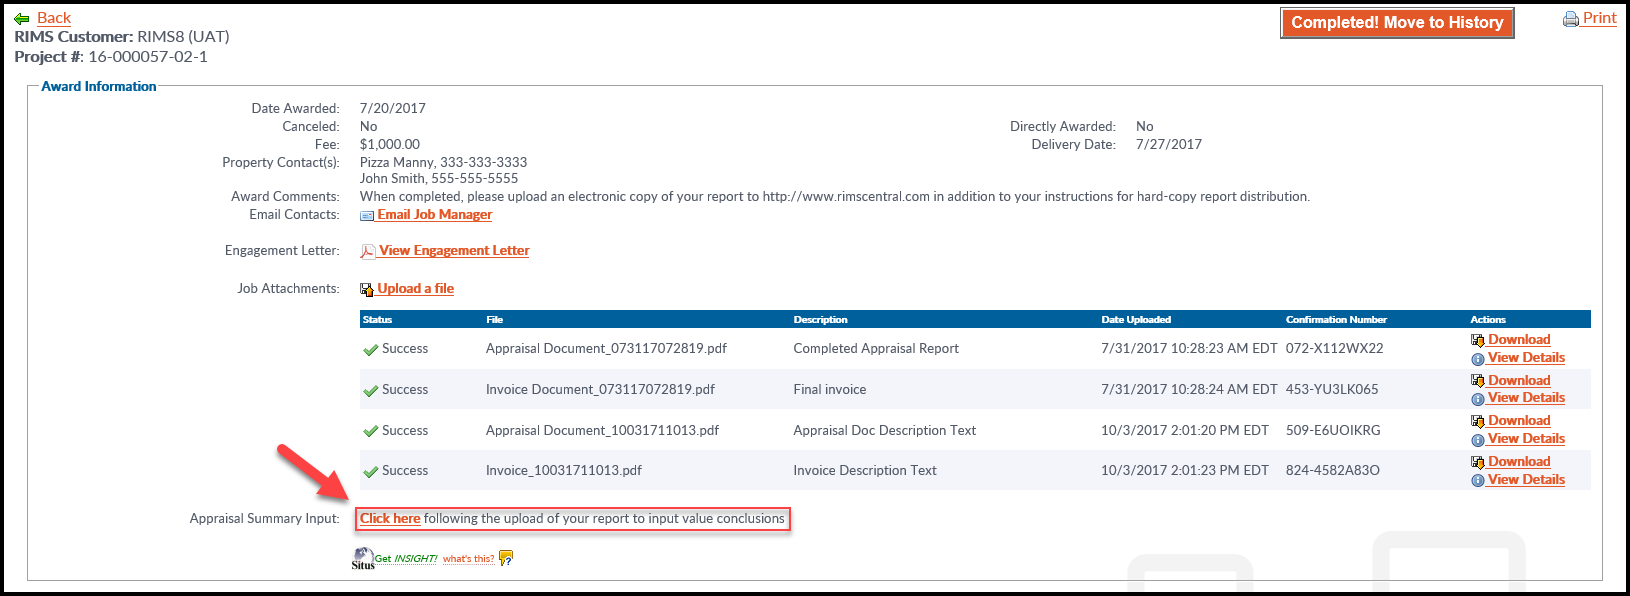
Upon returning to the previous page, the newly uploaded files will be listed, along with their status. A status of Success means the files have been uploaded to the RIMS Core (bank/institution) site and are available for the Job Manager to review.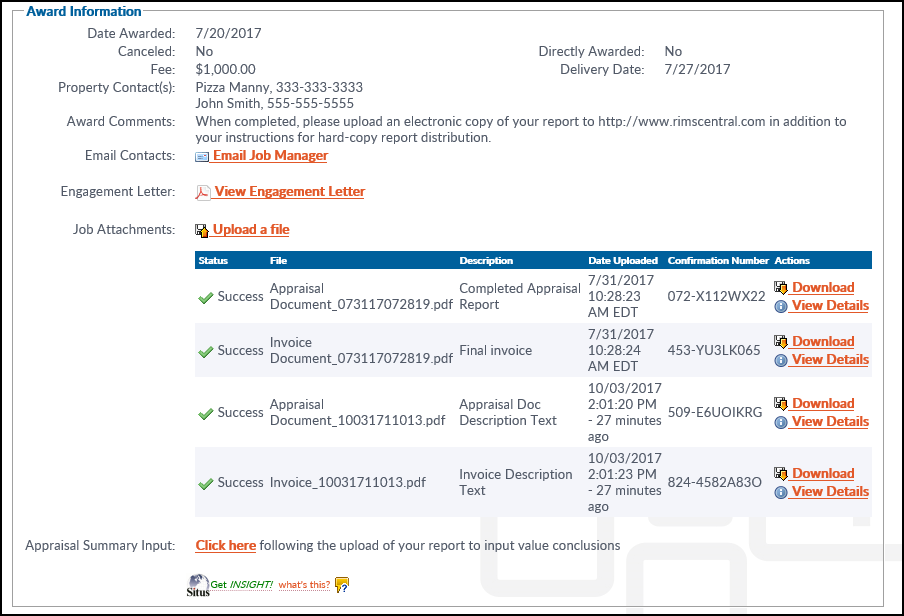
In the example above, the documents have successfully uploaded.
Appraisal Summary Report
The Appraisal Summary Input button is next. This allows the Vendor to input the appraisal summary information.
Click the Click Here button to open the Appraisal Summary page.
.png)
Enter the information required by the assignment. Note that if Platform Integration is enabled, some or all of the fields may already be populated. To add additional premises, click the Add Premise button.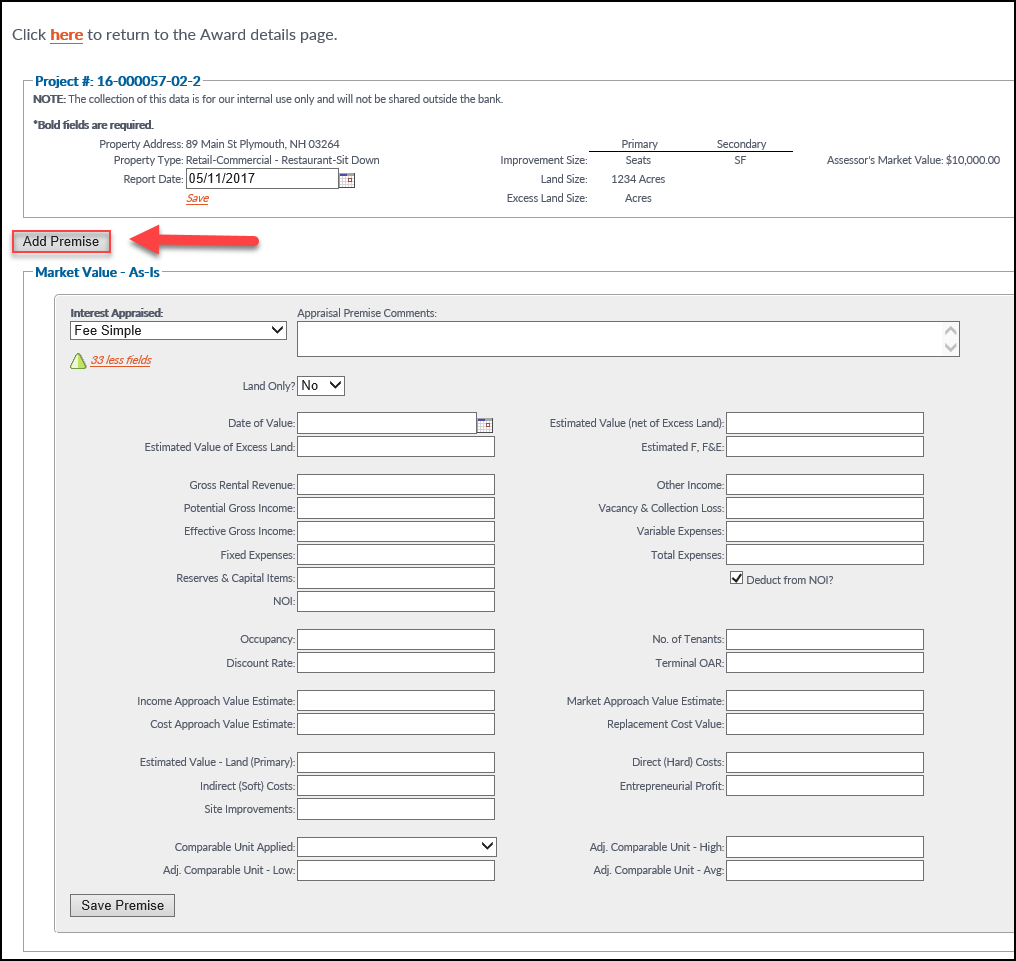
Once all the required data has been entered, click Save Premise. Note that there might be multiple premises. Once the information has been added for a premise, be sure to click Save Premise before moving on to the next premise. Upon saving, the data will be sent to the RIMS Core site.
It is now safe to return to the Award Details page.
Completed! Move to History
Once all of the required information has been entered, and all files uploaded, the assignment can now be marked as Completed. Click the Completed! Move to History button in the upper right-hand corner of the page.
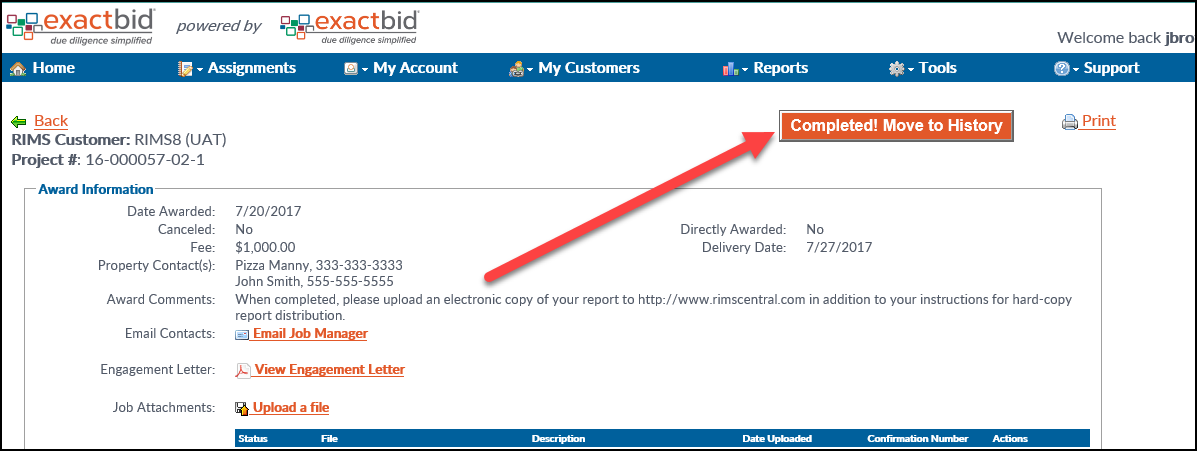
A pop-up will request confirmation.
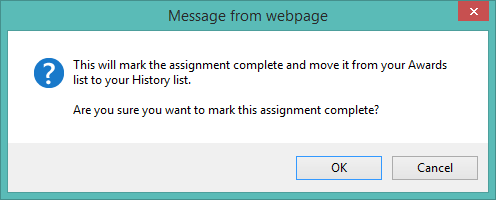
Upon confirmation, the page will close and the user will be returned to the Awards tab. The assignment will no longer appear in the Awards tab; it can be found in the History tab.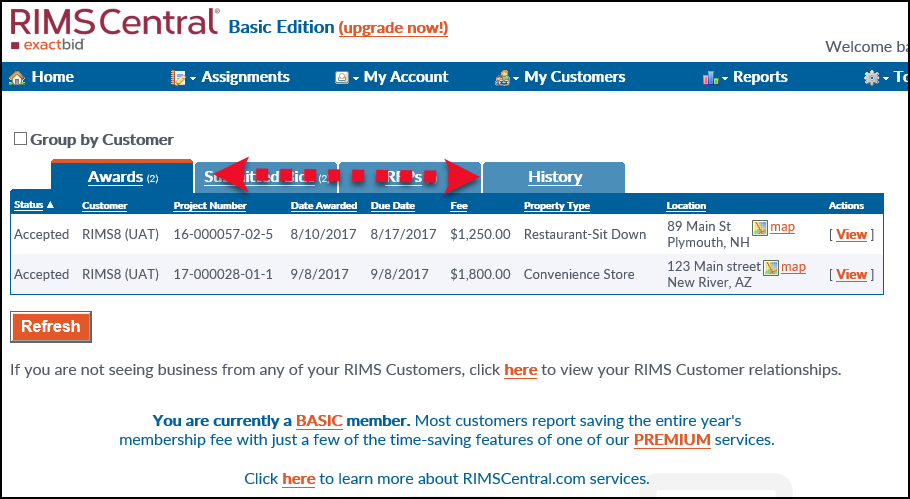
.png)
