- Print
- DarkLight
- PDF
Running a Report
- Print
- DarkLight
- PDF
To run a Report, navigate to the Personal Reports, Shared Reports, or Global Reports page. For this example, we will use Personal Reports.
There are three types of items found in Personal Reports, Shared Reports, and Global Reports.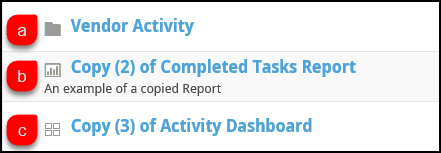
a. Folders: Folders contain Dashboards and/or Reports, and are used to organize those items.
b. Reports: The primary tool of Ad Hoc reporting.
c: Dashboards: Dashboards display a specific selection of Reports, making it easy to quickly view related data.
To run a Report, simply click on the Report title. It's also possible to schedule a Report to run later.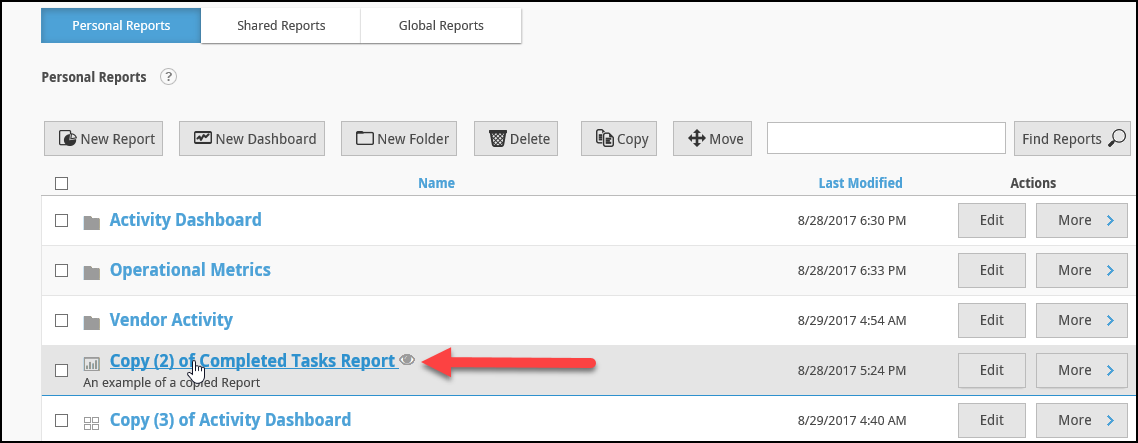
The Report will open in a new tab or window. Note that some reports, like the example provided here, allow the user to input a filter value before loading the Report itself.
Enter the desired values and then click Run or Run and Hide Parameters. The Report data table will load.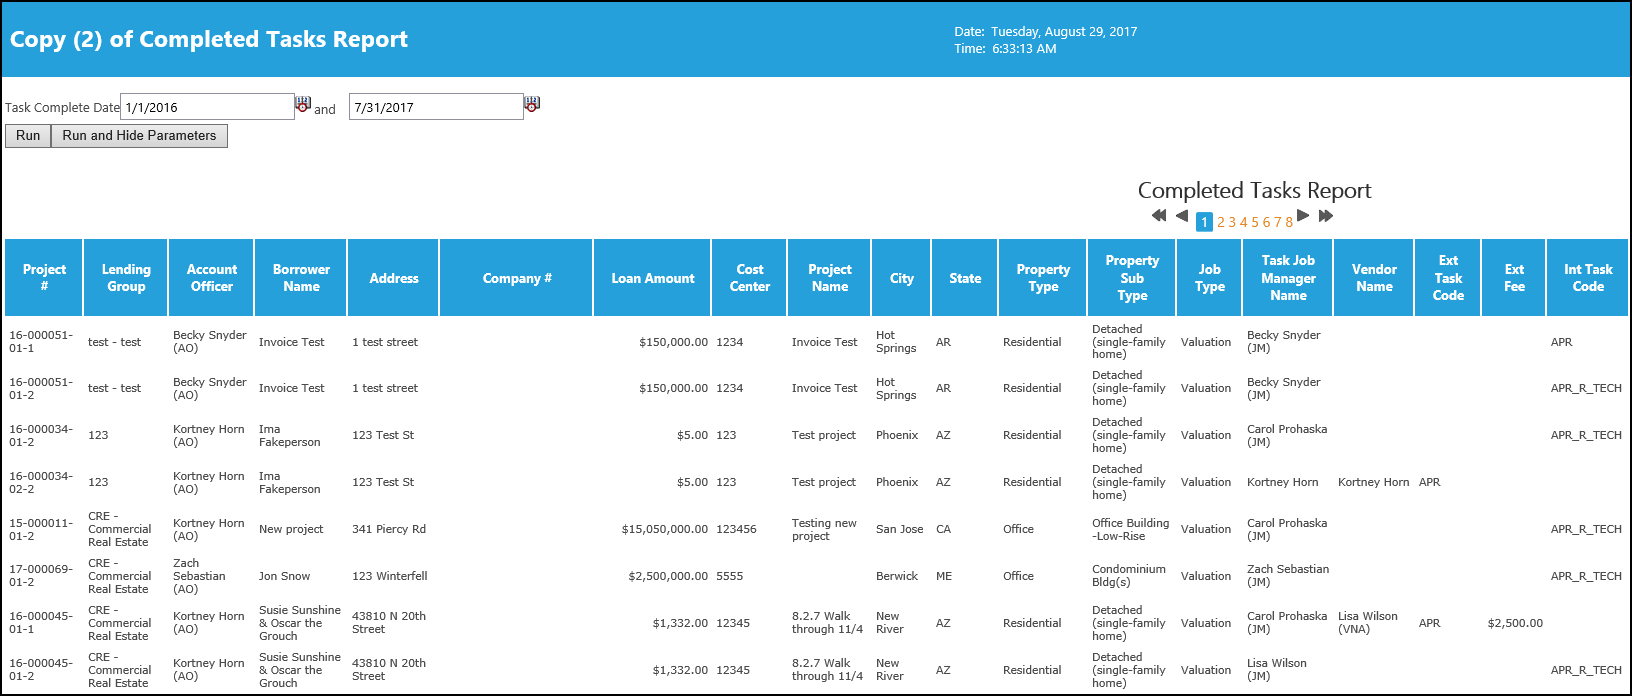
Depending on the Report settings, some columns may have configuration controls. Hover over a column to make the controls (if there are any) visible.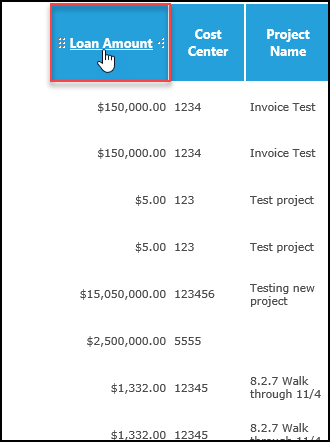
- Click the and hold the six dots on the left to drag and drop the column in a different position.
- Click and drag the four arrows on the right side of a column header to increase/decrease the column width.
- Click on a column header title to sort the table by that column in ascending or descending order.
Depending on Report settings and length, the Report might also include controls to navigate multiple pages of data.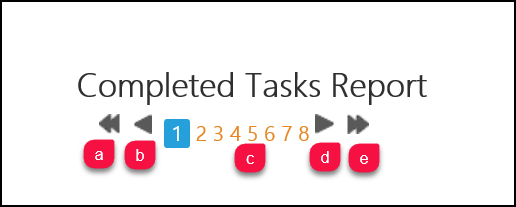
a. Go to the first page of the Report.
b. Go back one page.
c. Go to the corresponding page number.
d. Go forward one page.
e. Go to the final page of the Report.
Depending on settings, the Report might also include one or more options to Export the data.
In this example, options for exporting in Excel, Word, and PDF format are available. The fourth item is email.
Click on a button to export in the chosen format. Depending on browser settings, the file may download automatically or it may open in a new window and require additional steps to be downloaded.
Scheduling a Report
To schedule a Report to run on a specific date or interval, hover over the More button next to the desired Report on the Personal Reports page and then click Schedule.
A new screen will open, listing any schedule items for the Report.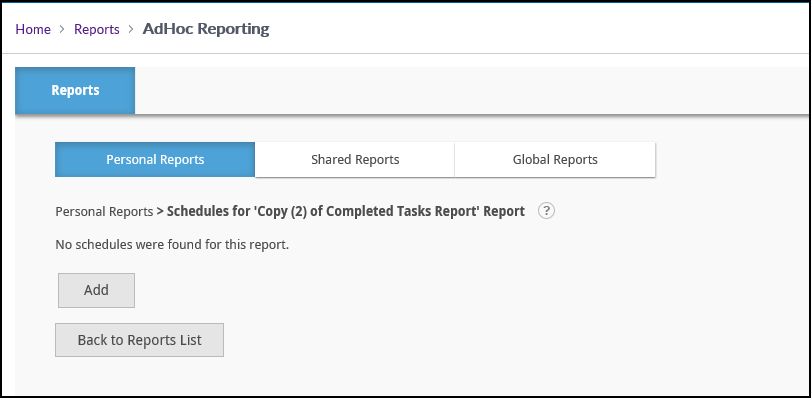
Click Add to add a new schedule item.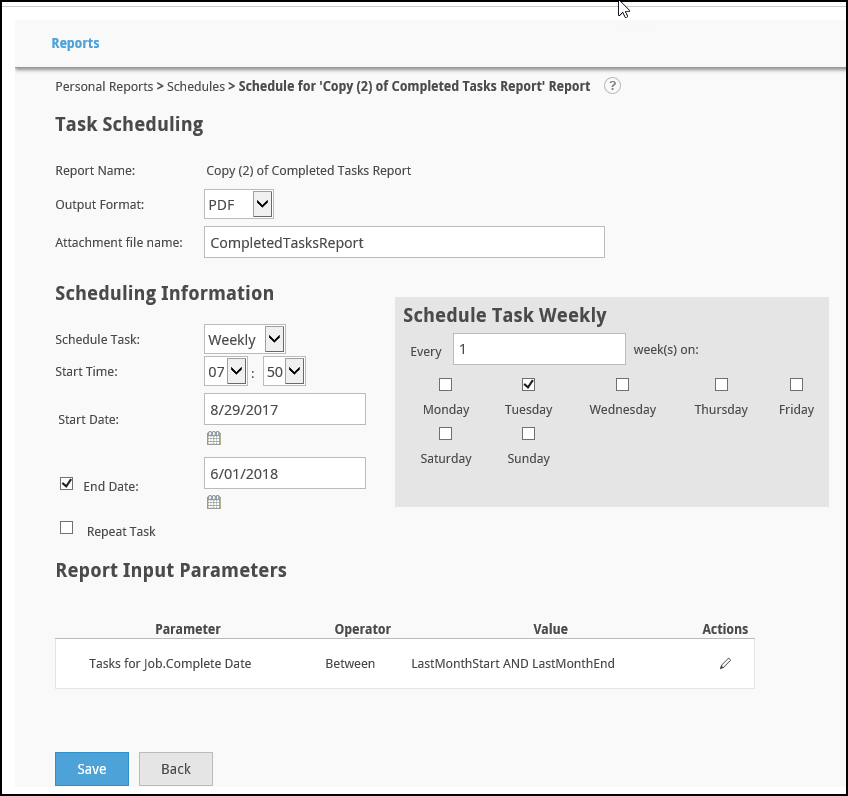
In the example above, the Report is scheduled to run every Tuesday at 7 AM until 06/01/2018. The output format is a PDF, which will be emailed to the Report Schedule creator.
Click Save once the form has been filled out. The Schedule management page will open again, with the new Schedule item listed.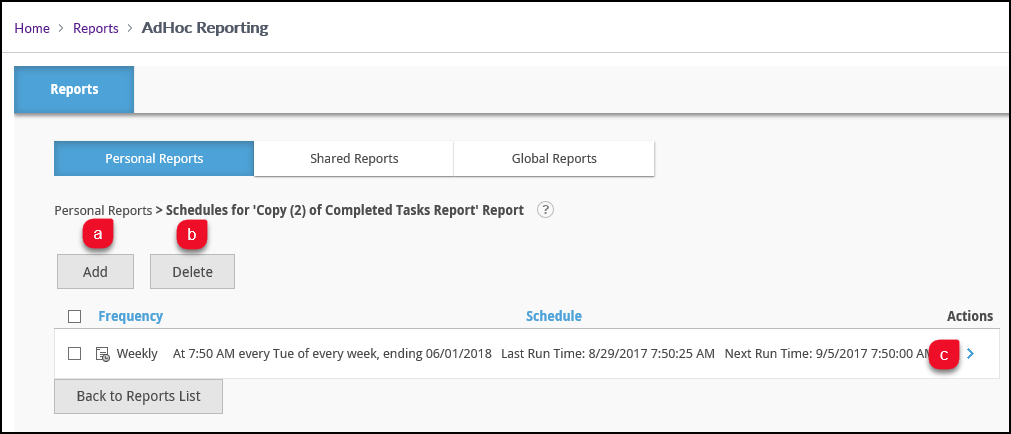
a. Click to add another Schedule item.
b. Check the box next to any Schedule item and then click Delete to delete that item. Multiple Schedule items can be selected and deleted at once.
c. Hover over the blue arrow to see two additional buttons:
- Modify Schedule: Edit the Schedule item.
- Change Subscription: Opens a new screen in which the user can subscribe or unsubscribe from the Schedule.
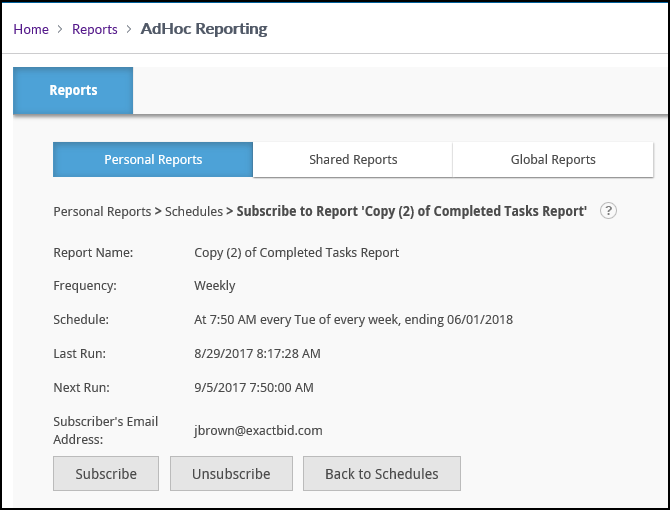
Click Subscribe to subscribe to the Schedule. Users can only subscribe to Schedules for themselves, not for others. Note that while Schedules can be created, until the Subscribe button is clicked, you will NOT receive the Scheduled Report(s).
After subscribing, the Change Subscription page will close and reload the Subscriptions screen. Hover over the blue arrow again and click Run Schedule; a copy of the Schedule will be sent to your email.
.png)
