- Print
- DarkLight
- PDF
Role Management
- Print
- DarkLight
- PDF
Each User Type (ie, Job Manager and Account Officer) within RIMS is created with a Base Role that defines what those Users have permission to do. With Role Management, additional Roles can be created and layered on top of the Base Role to augment a specific User or group of Users' permissions.
| To access Role Management, login to RIMS as a Content Administrator. Navigate to the System Settings page, then click on Role Management in the Security section. | 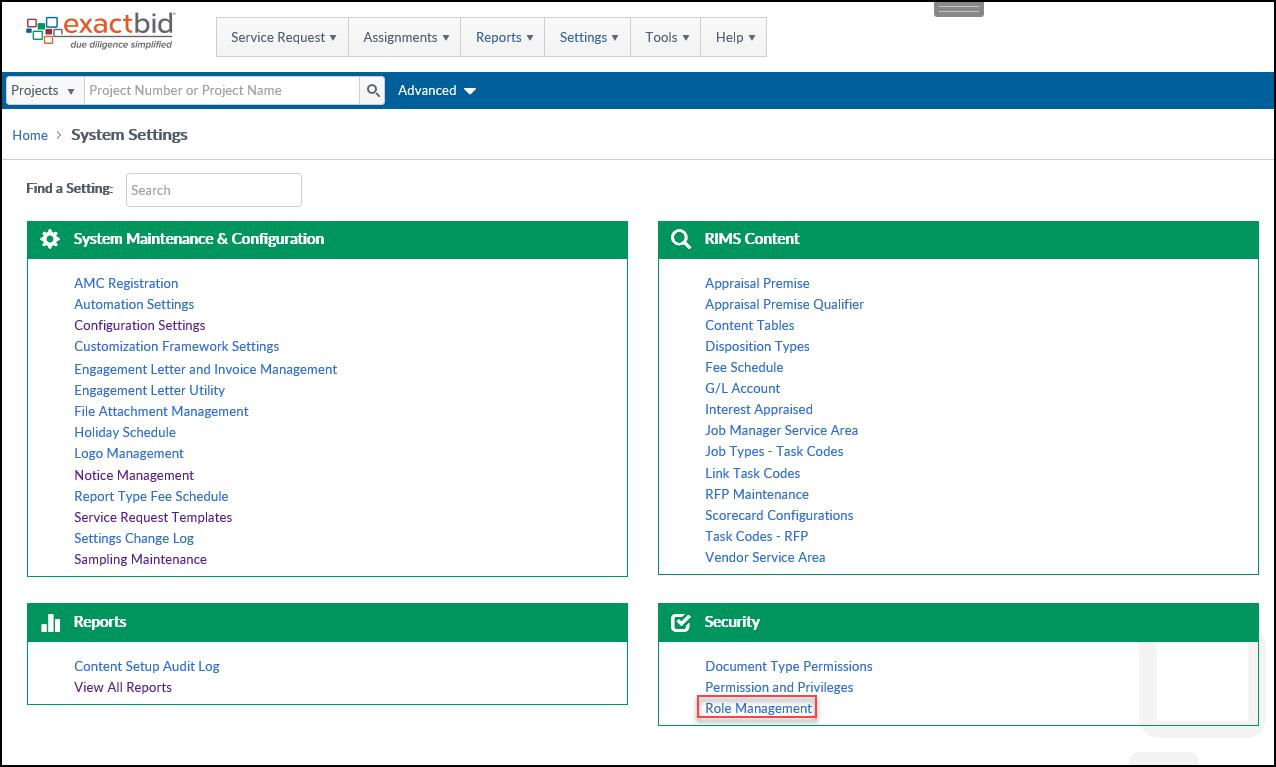 |
| The Role Management screen will load with a list of all the existing Roles. | 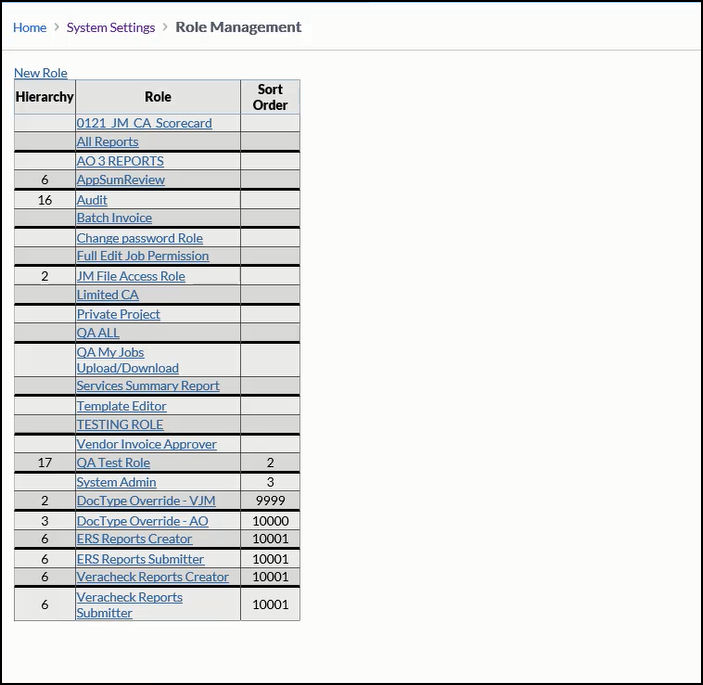 |
As an example scenario, RIMS Support has removed the ability of the Job Manager User Type to see the Summary/Review in the Project Console. This disallows all Job Managers from accessing that feature. Note that Content Administrators do not have the ability to modify the Base User Type Roles - that is limited to RIMS Support only. | 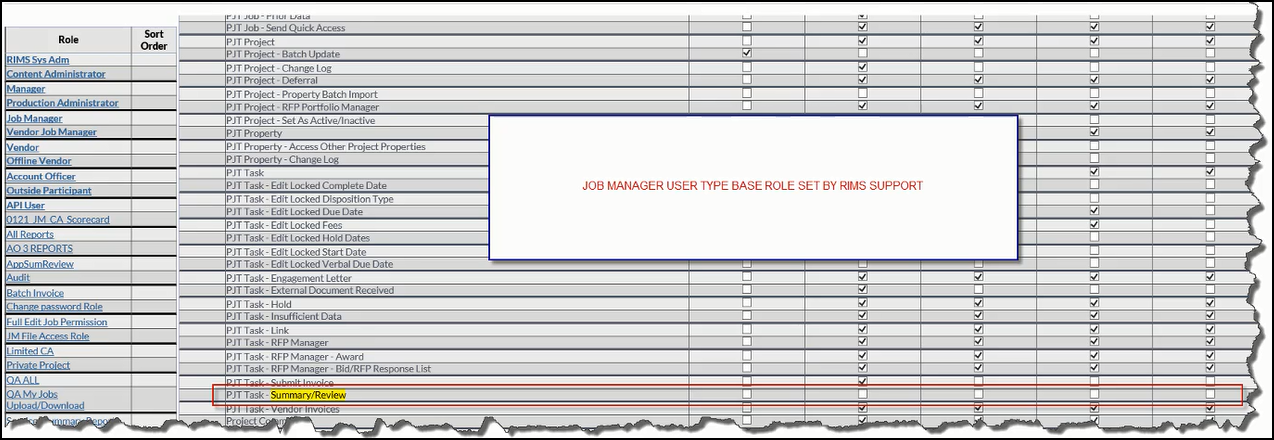 |
With Role Management, a Content Administrator can then selectively grant access to the Summary/Review tool for specific Job Managers. To do so, click New Role in the upper left-hand corner of the Role Management screen. | 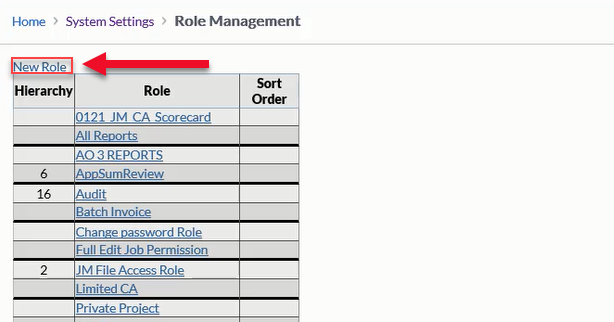 |
| Enter a Name and a Hierarchy. | 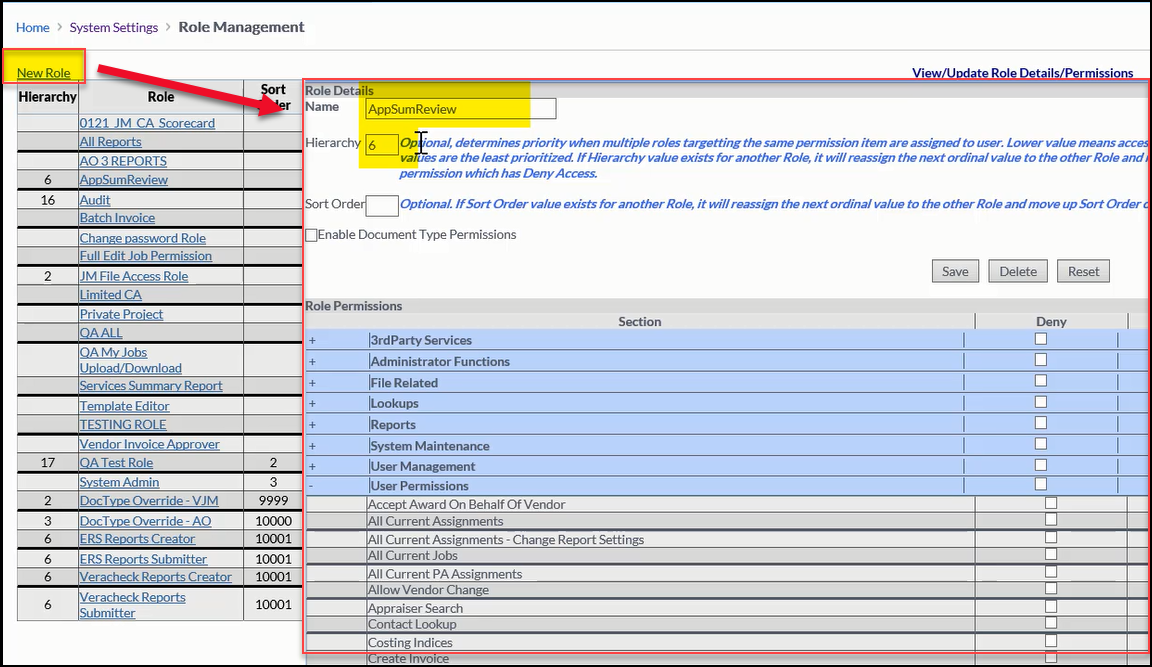 |
| The Hierarchy determines which Role supersedes others in the event of a conflict. For example, if one Role grants a User View permissions for a feature while another also grants Add and Update permissions, the Role with the lower Hierarchy number determines what level of access that User has for the feature in question. |  |
| With the new Role, limit the permissions to the feature in question - in this example, Summary/Review. Check the desired boxes. |  |
| Then navigate to the top of the screen and click Save. |  |
| A pop-up message will appear once the change has completed saving. Click OK. | 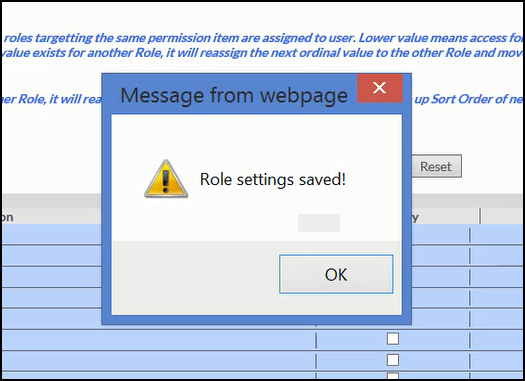 |
| To apply the new Role to the User who should have access to Summary/Review, login as a Content Administrator and search for the User. | 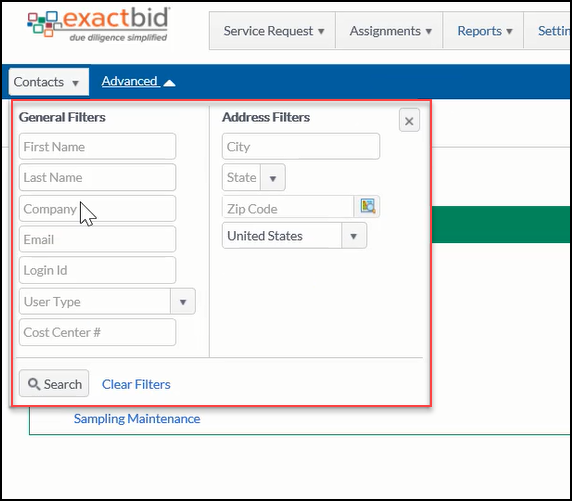 |
| Select the User to which the new Role will be applied. | 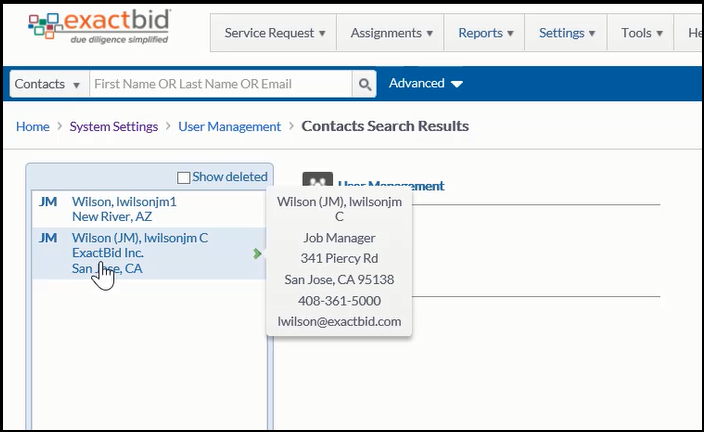 |
| Then click on View Permissions. | 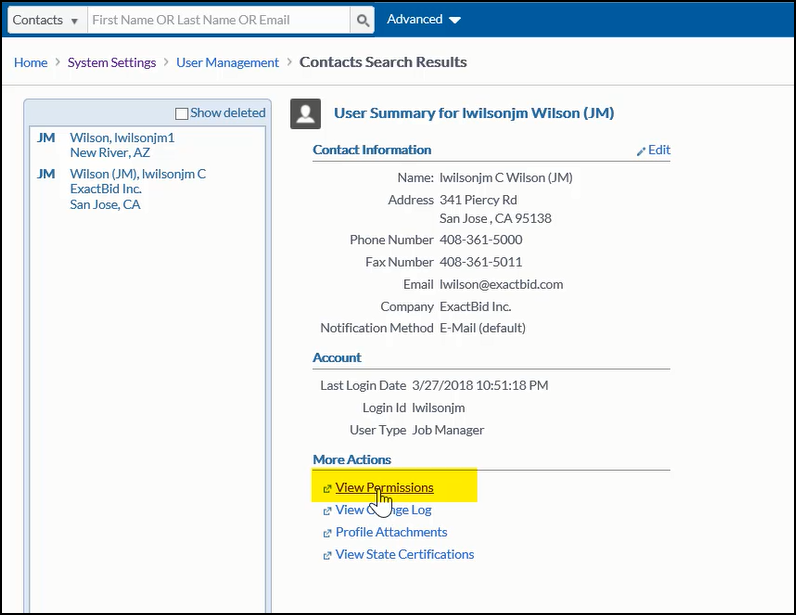 |
| A list of all the possible Roles that can be selected for that User will appear. Click the checkbox next to the newly-created Role to apply it. | 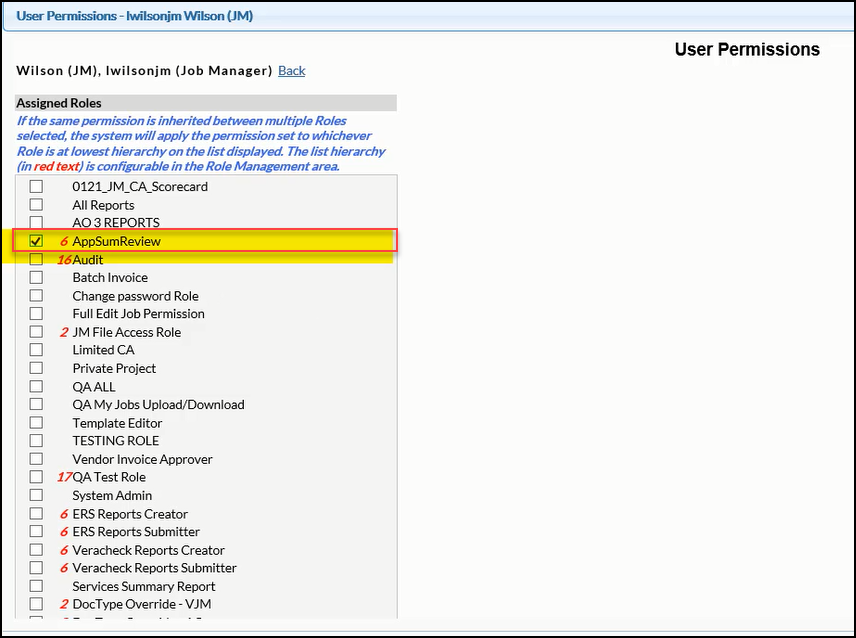 |
| Once the change has been made, click Save Assigned Roles at the bottom of the screen. | 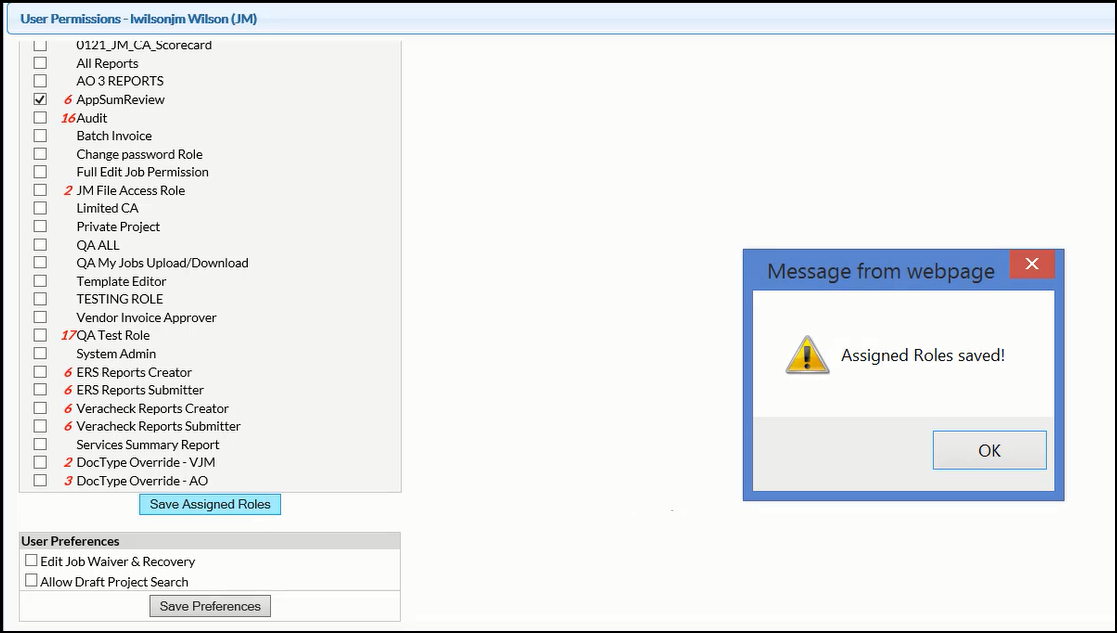 |
Now login as the modified Job Manager and navigate to a Task with an Appraisal Summary/Review before. The Appraisal Summary/Review will now be available. If that same Task was viewed as a User without the new Role applied, the Appraisal Summary/Review button would be hidden.
Login as a Content Administrator and return to the Role Management screen. Click on a Role. To see hidden Permissions, click on the plus symbol at the left-hand end of a row. Click the minus symbol to collapse the row again and hide the Permissions items nested underneath.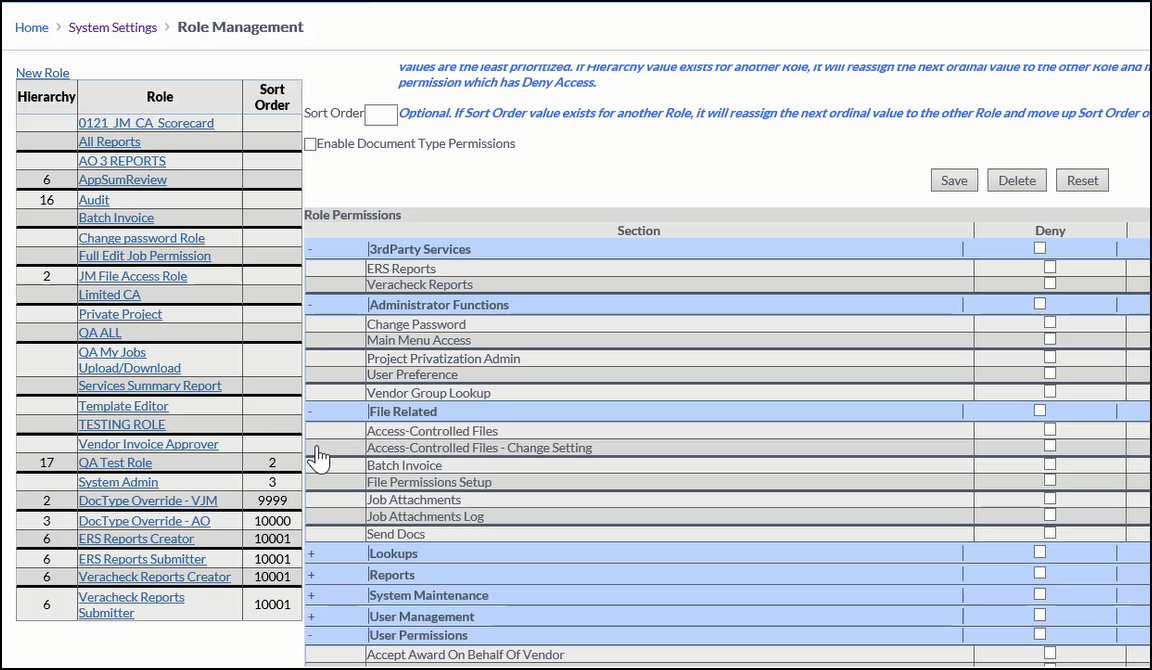
Deny: Takes precedence over everything. A Deny permission will overrule all other permissions, regardless of Hierarchy or other Roles that grant access. To Deny access to a feature, lookup table or Report at the Base User Type level and then selectively allow some Users access with Roles, contact RIMS Support. Only RIMS Support can modify the Base User Types. | 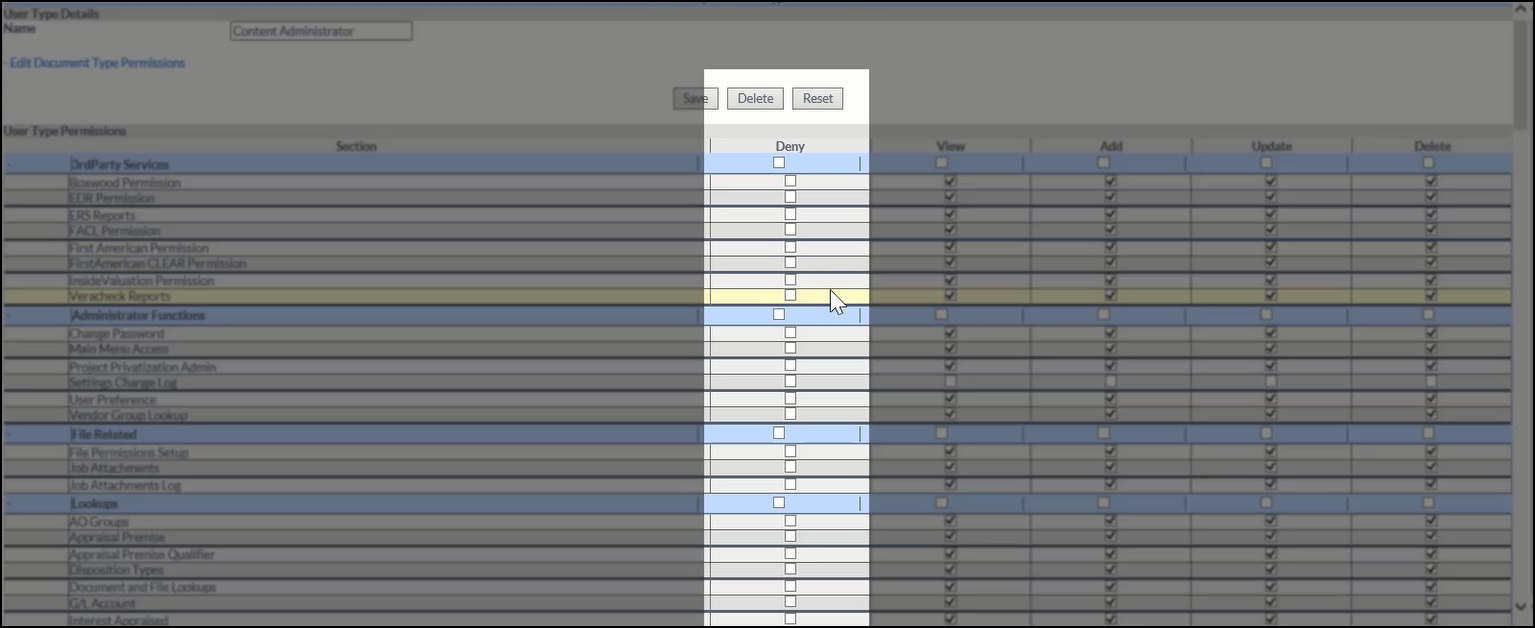 |
View: Users with this permission can view a feature, but will not have the ability to save any changes. | 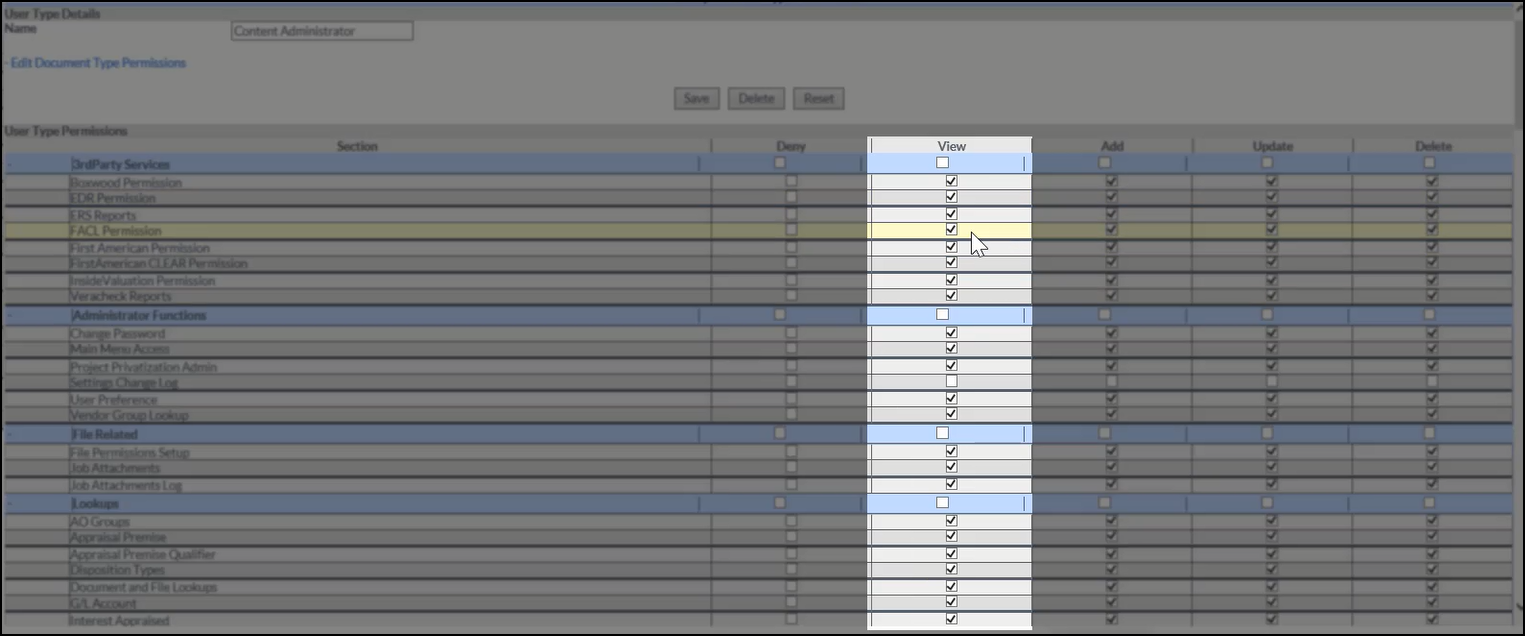 |
| Add: Allows the User to add a new item. | .png) |
| Update: Save changes to an existing item. | .png) |
| Delete: Delete an existing item. | .png) |
Deny/View/Add/Update/Delete permissions are available for each item, even if it's not relevant for that particular feature. For example, it's not possible to add new Reports, even though an Add permission exists in Role Management.
There are some hardcoded restrictions based on User Type. For example, the Job Manager User Type shouldn't be able to make Profile Configurations. While it's possible to check the boxes in Role Management that appear to grant that permission, the hardcoding won't actually allow the change to be made.
.png)
