- Print
- DarkLight
- PDF
Enabling Scheduled Notices
- Print
- DarkLight
- PDF
Scheduling Notices is a two-step process. First, activate the appropriate Notice Template and set the Recipients. There are several Notice Templates, all of which fall under the Scheduled category.
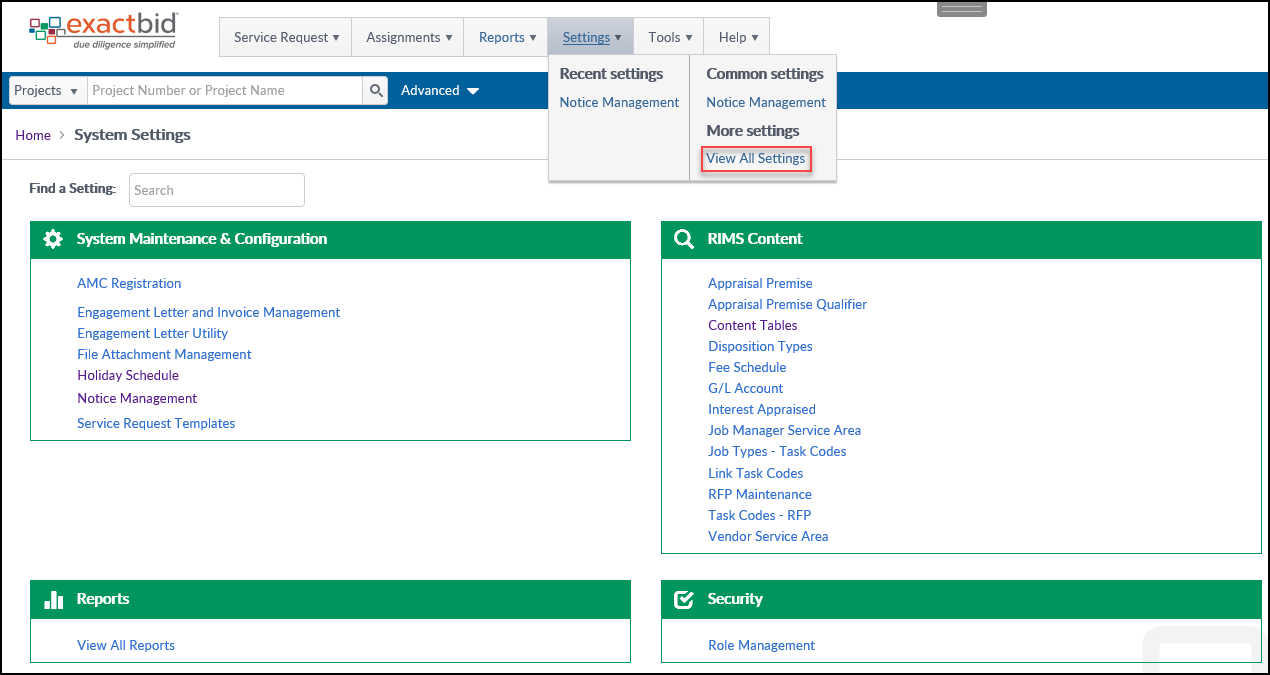
Next, click on the Settings button at the top of the page. Click on the Lending Group button if it appears under the Recent settings or Common settings. Otherwise, click on View All Settings.
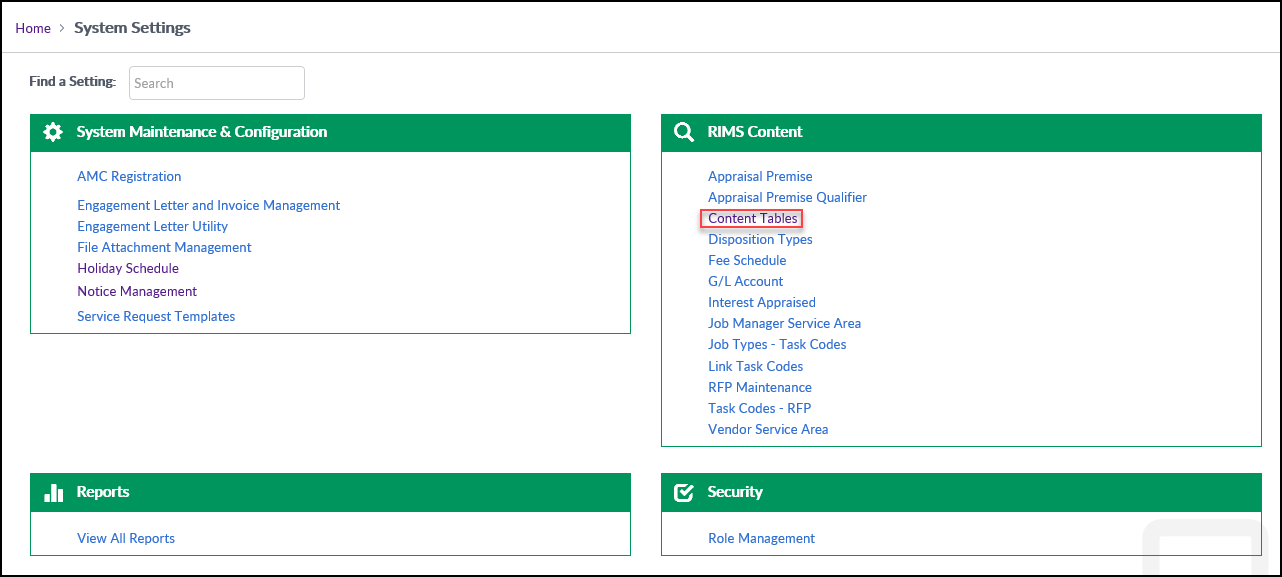
On the Settings page, click on Content Tables.
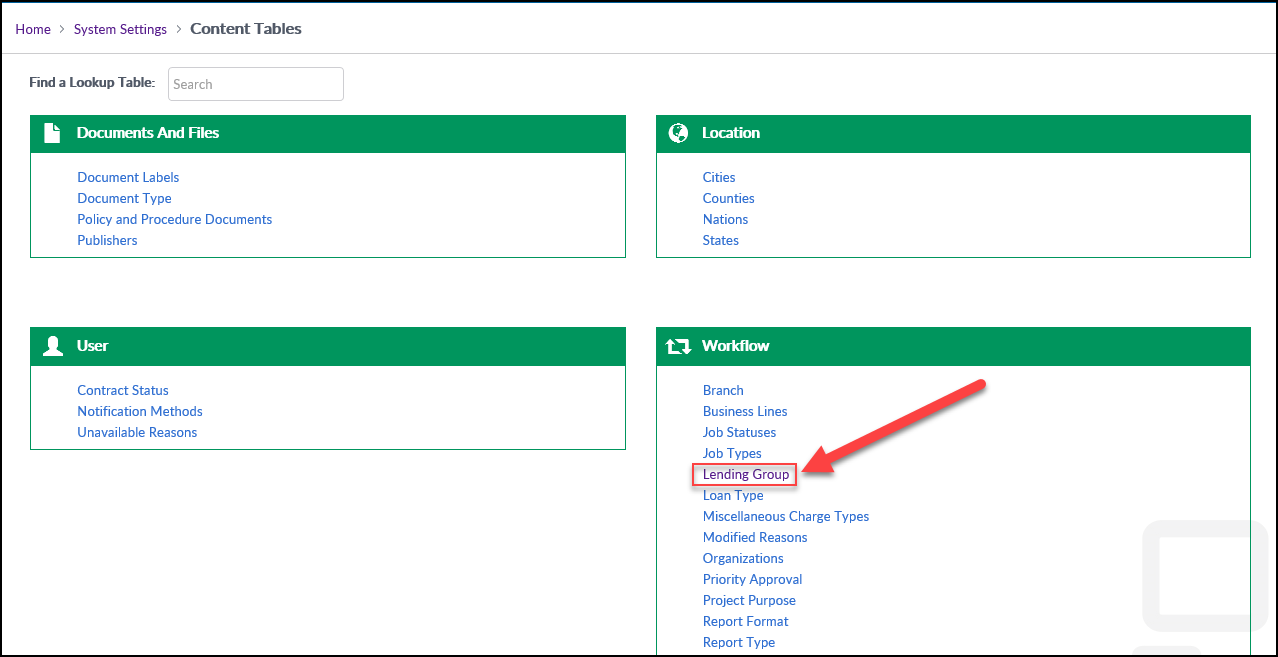
Next, click on the Lending Group button.
For every Lending Group and every Scheduled Notice activated in Notice Management, use the drop-down to set the number of days for each Job Type. Setting by Lending Group allows Scheduled Notices to be sent at a different interval for each line of business.
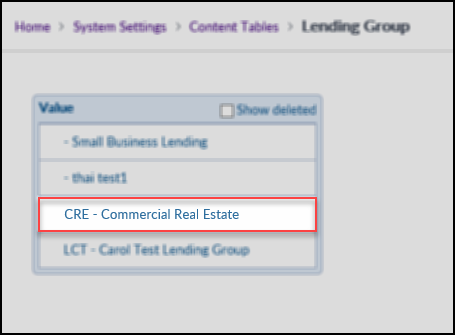
For example, click on one of the Lending Groups:
The Lending Group screen will open.
Click on the drop-down menu in the RFP Verification row, Construction column, and change the value.
In this example, if "3 days" is selected, the RFP Verification Notice will be sent three days after the Award Date for a Construction Job. Click Save once all desired changes have been made.
.png)
