Search
- Print
- DarkLight
- PDF
Search
- Print
- DarkLight
- PDF
Article summary
Did you find this summary helpful?
Thank you for your feedback!
Overview
The Search utility allows you to search and insert data from your organization’s extracted data.
Supported Data
The Data Import module currently supports extracted appraisal report data from the organization’s requested queue. This feature requires a subscription.
Using the Document Search
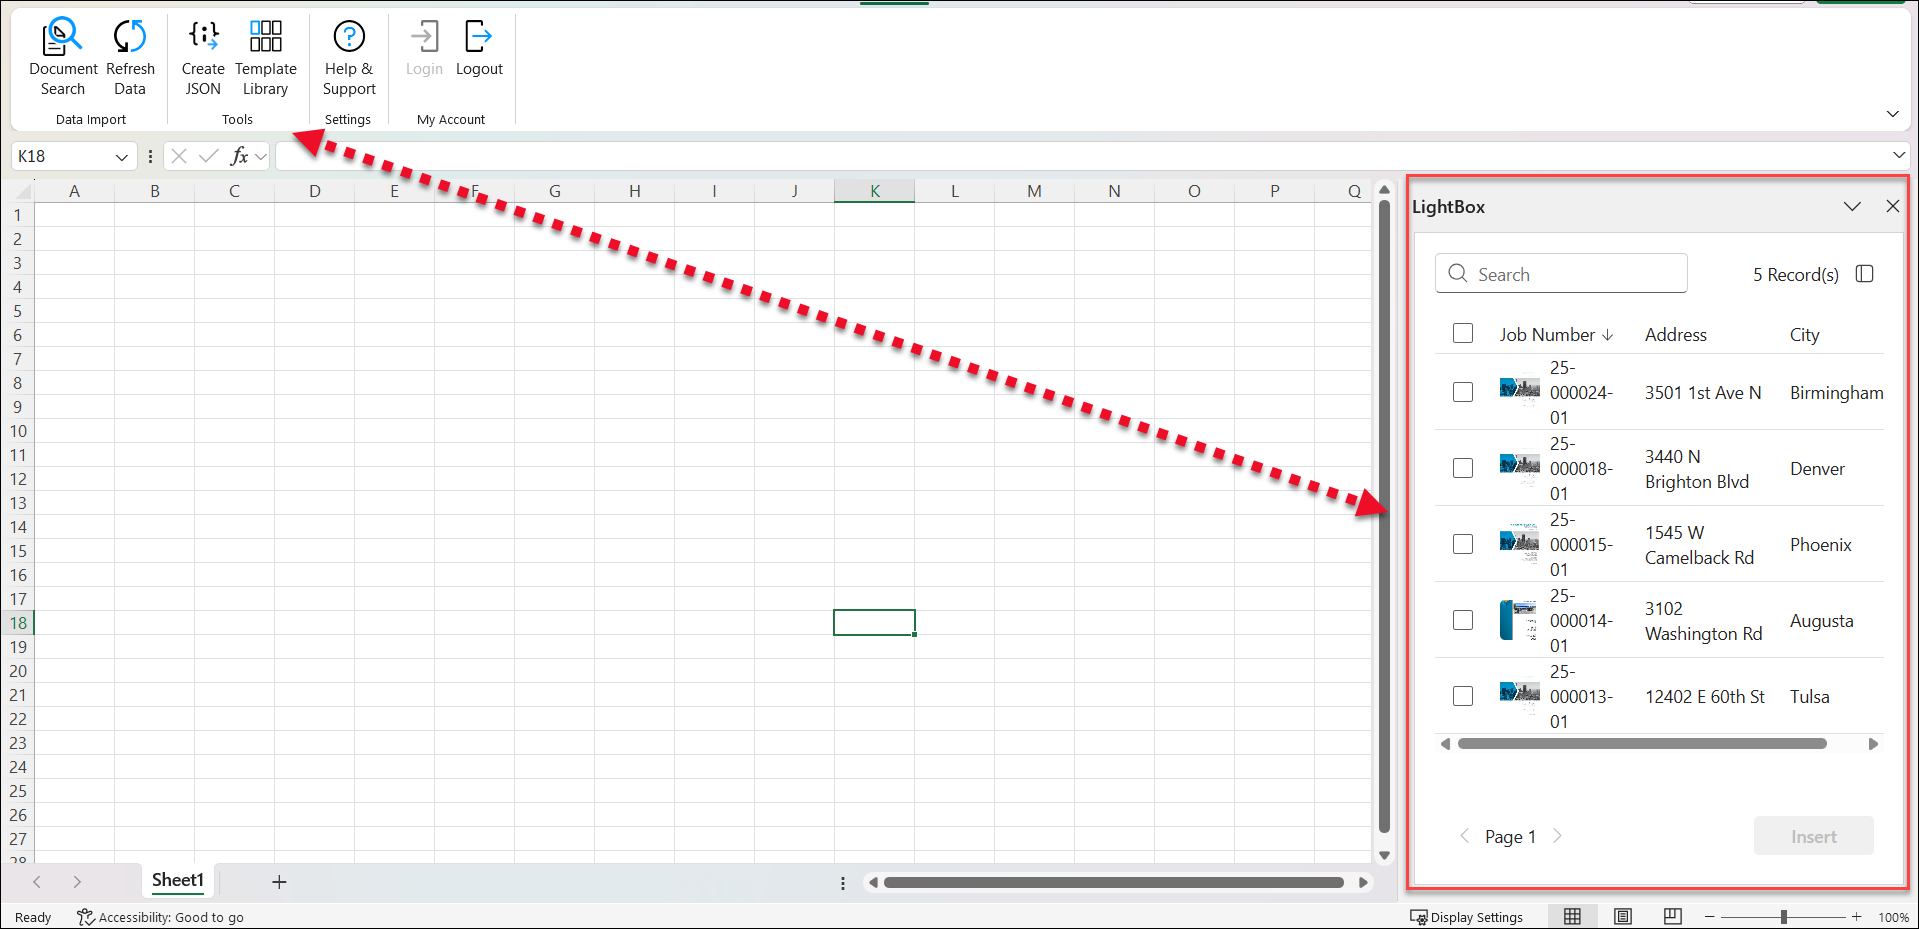
Click the Document Search button in the LightBox Excel Add-in ribbon. The task pane will open on the right.
Searching and Filtering | |
|---|---|
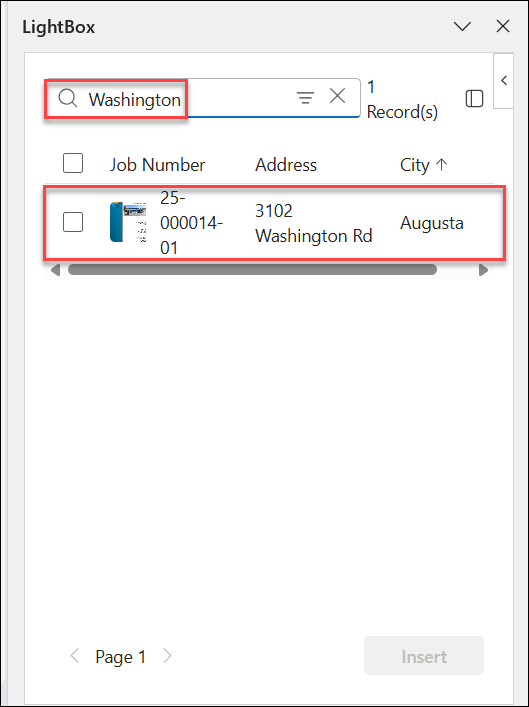
Enter a search phrase in the search bar at the top of the task pane to dynamically search the available documents. |
|
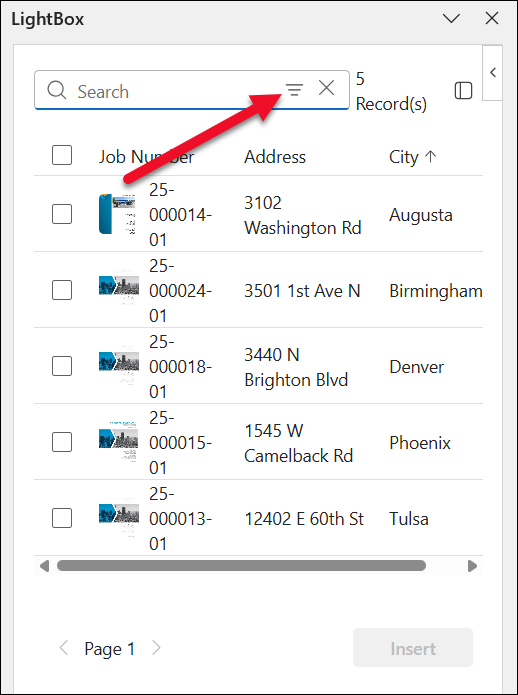
Click the filter icon in the search bar to expose the advanced search filter panel. |
|
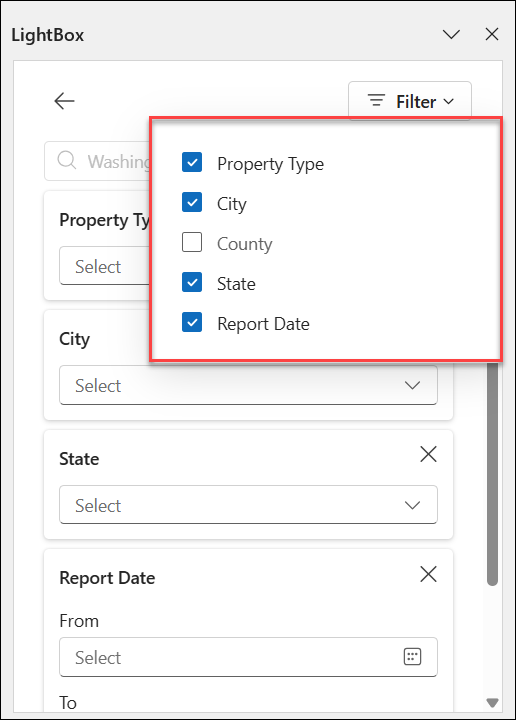
Click the Filter button on the right to expose a menu listing the columns by which you can filter. Unchecking a box removes that column from the filter panel. In the example on the right, County will not appear in the filter panel. |
|
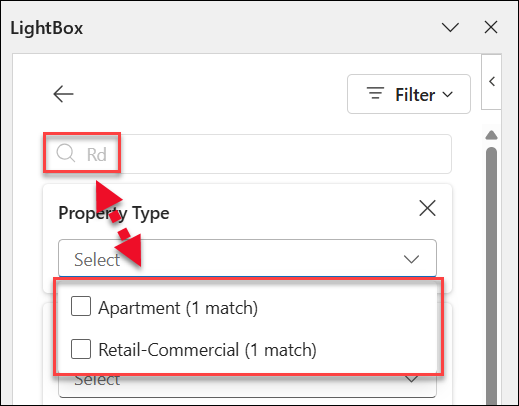
Click one of the dropdown menus to expose the filtering options for that column. In the example on the right, the search phrase ‘Rd’ has been entered. For the Property Type column, there are two Property Type options—Apartment and Retail-Commercial—both of which have a single record that matches. Report Date is unique in that it requires you to enter a From date and a To date. |
|
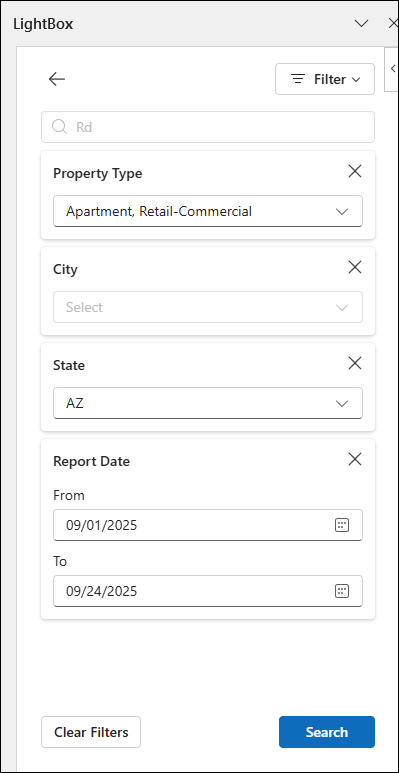
Check one or more boxes under one or more column dropdowns, and/or enter a Report Date range. Then click Search to conduct a search for the search phrase with those filters applied. In the example on the right, two Property Type selections have been made (Apartment and Retail-Commercial), one State selection (AZ) have been, and a Report Date range has been defined. No selections have been made for the City column filter. |
|
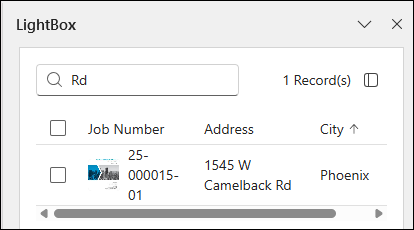
Any records that meet at least one of the selections from each column (Property, State, Report Date, etc.) will be displayed. If a Report Date range has been defined, only records that fall within that range will be displayed upon searching. In the example on the right, a single record meets the filter criteria. |
|
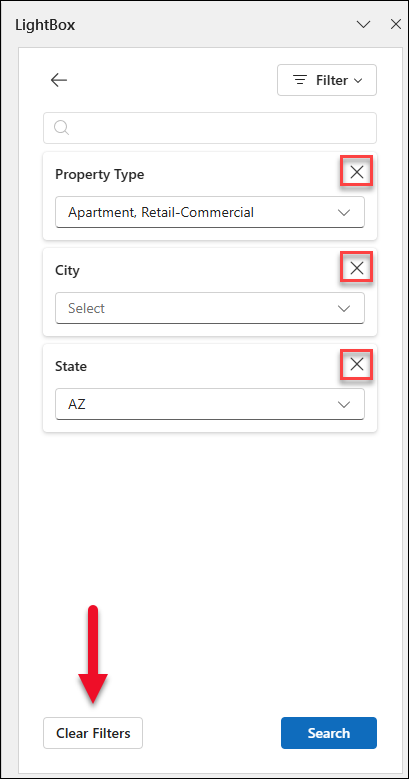
To clear the filters, return to the filter panel and either click the X next to a single filter to clear it, or click Clear Filters at the bottom of the panel to clear all filters. |
|
Column Management | |
Click the icon in the upper right corner of the task pane. This exposes the column chooser, which allows you to add/remove columns from the pane. |
|
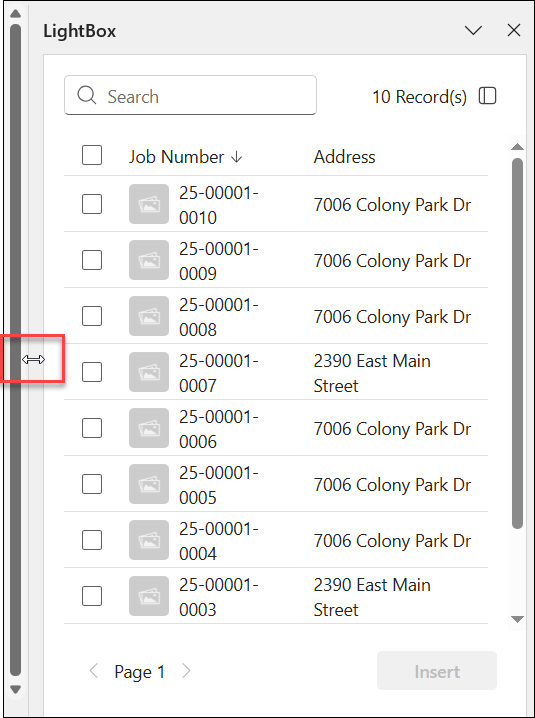
Hover over the edge of the pane; click and drag to increase/decrease the width of the pane. |
|
Sorting by Column | |
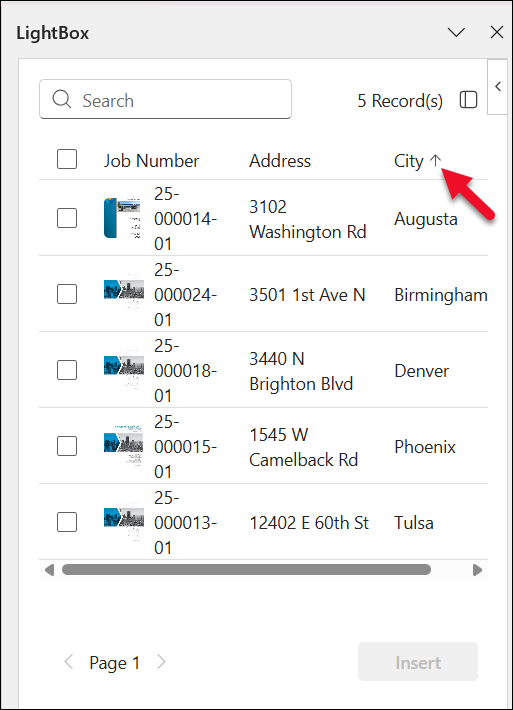
Click a column header to sort by that column. Click the same column header a second time to reverse the search order. In the example on the right, the records are sorted by City. |
|
.png)
Inserting Data - Data Types
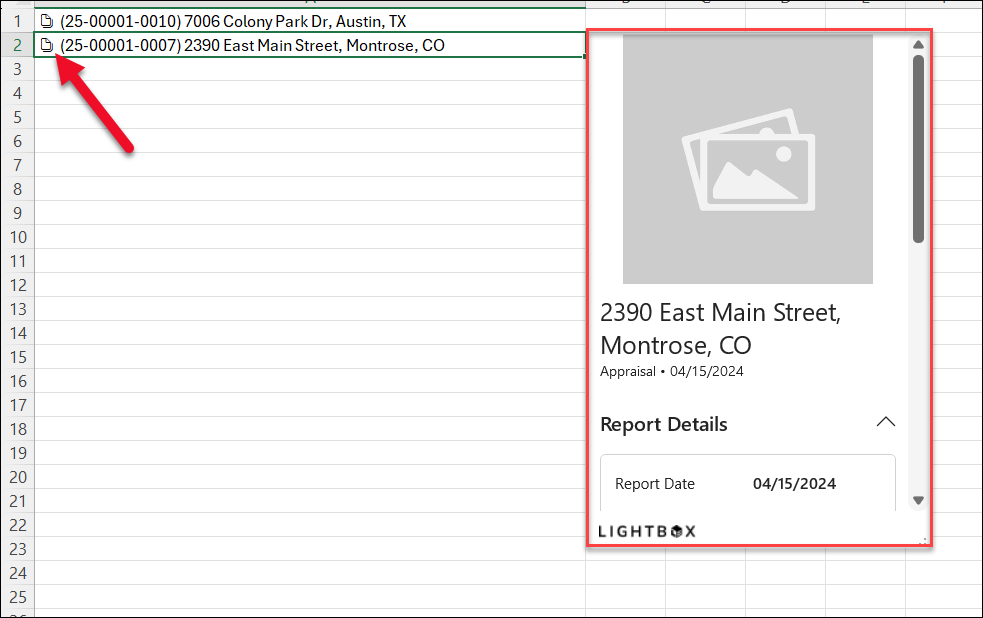
Click a cell in your worksheet, check the box next to one or more root entities in the task pane, then click the Insert button.
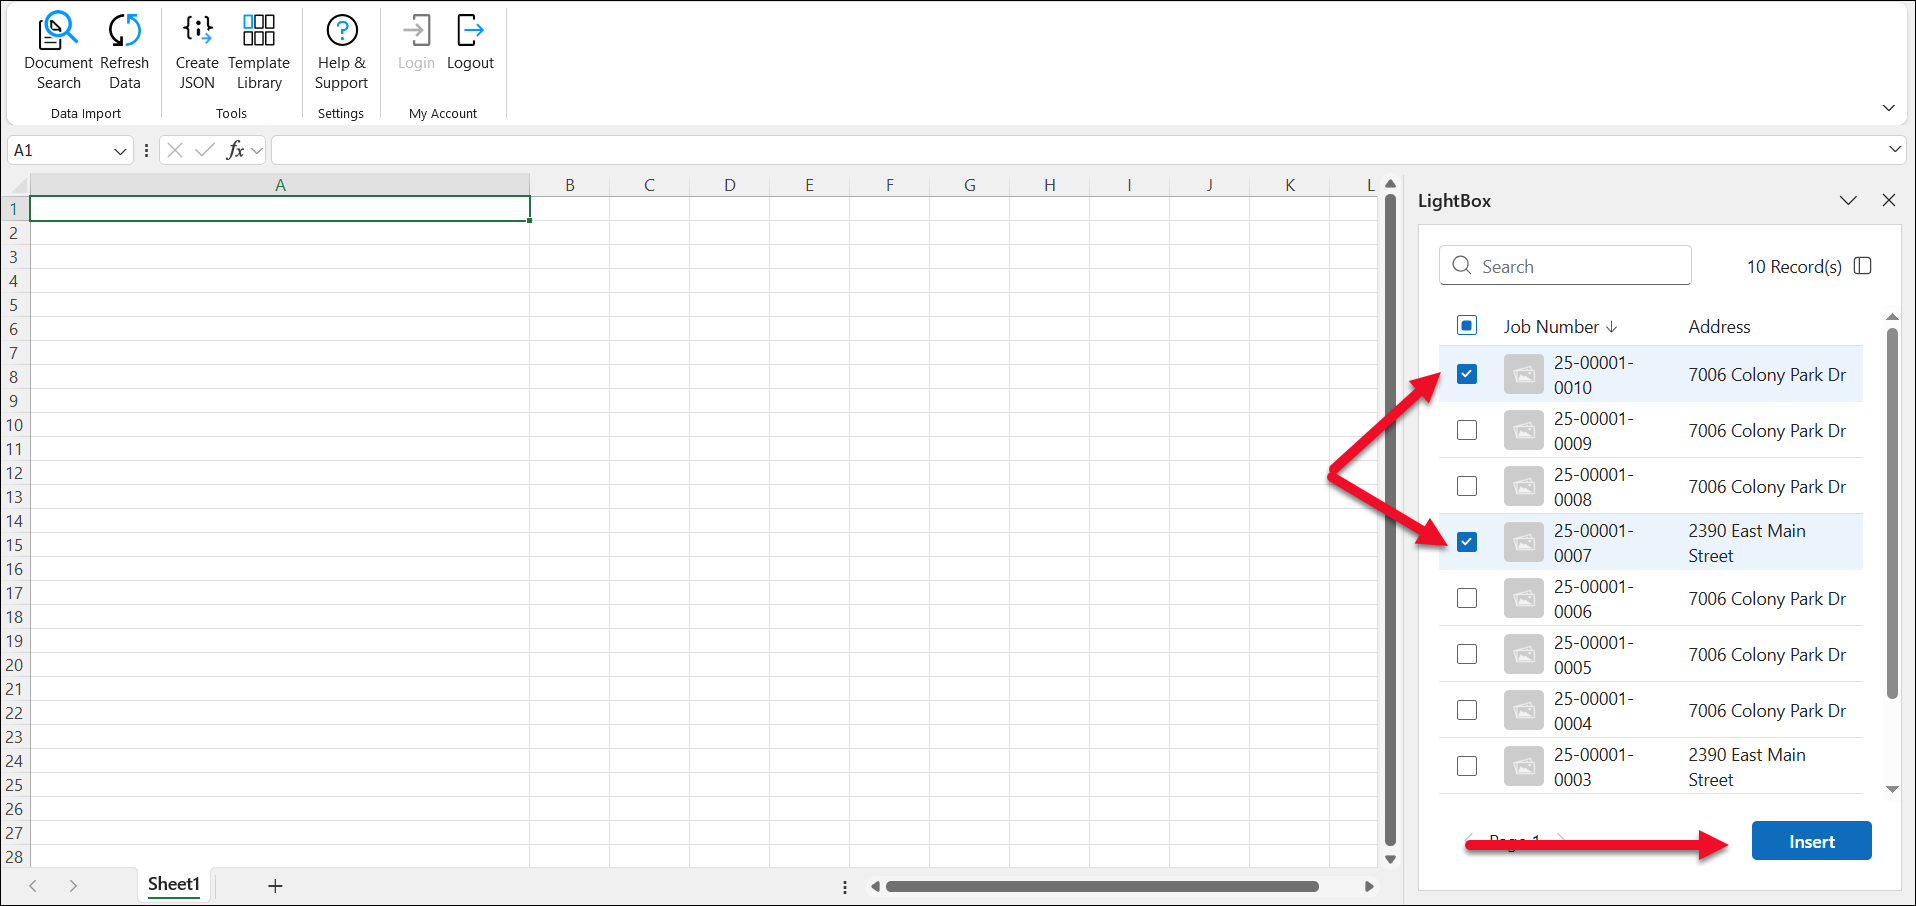
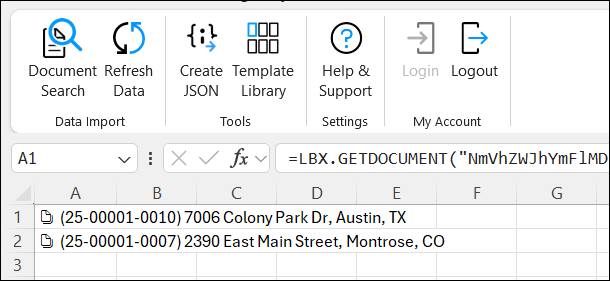
This will insert the root entities within the worksheet cell. If more than root entity was selected in the task pane, each one will be inserted in its own cell, moving top to bottom in the worksheet.
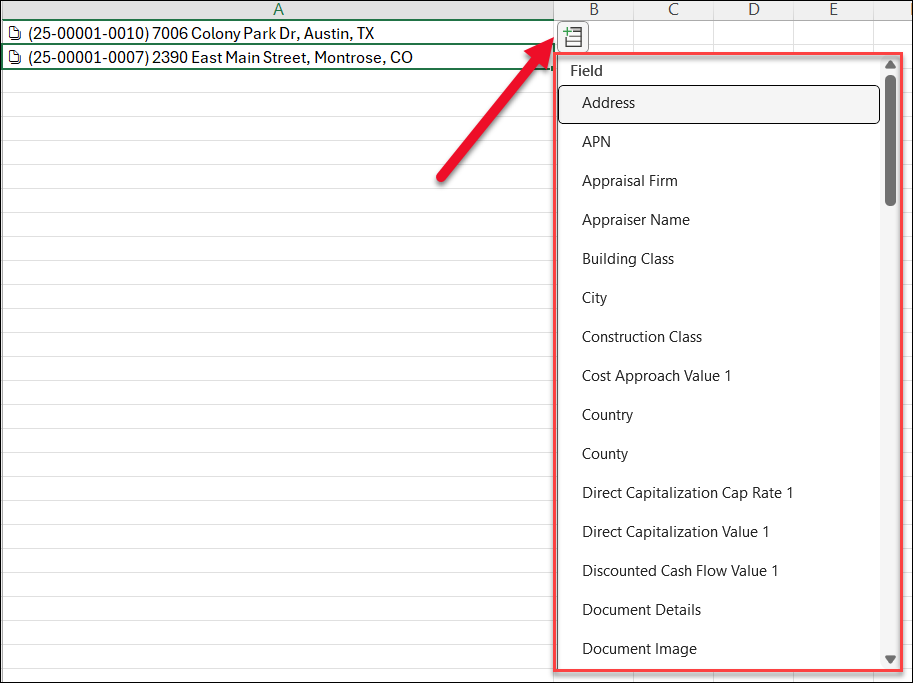
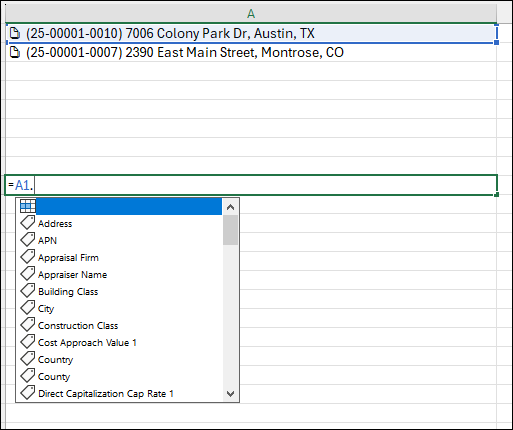
Then, there are three methods by which supported data fields can be easily added to the Excel worksheet:
|
|
|
|
|
|
Was this article helpful?