Installing the LightBox Excel Add-in
- Print
- DarkLight
- PDF
Installing the LightBox Excel Add-in
- Print
- DarkLight
- PDF
Article summary
Did you find this summary helpful?
Thank you for your feedback!
The LightBox Excel Add-in is available in the Microsoft Excel Add-ins manager. Follow the instructions below to download and install it.
Installation as a single user (not organization/admin managed)
Open Excel
Desktop : Click on the Insert ribbon > Get Add-ins (or My Add-ins). Web: Click on the Home ribbon > Get Add-ins (or My Add-ins).
Click My Add-ins.
The Office Add-ins modal will open.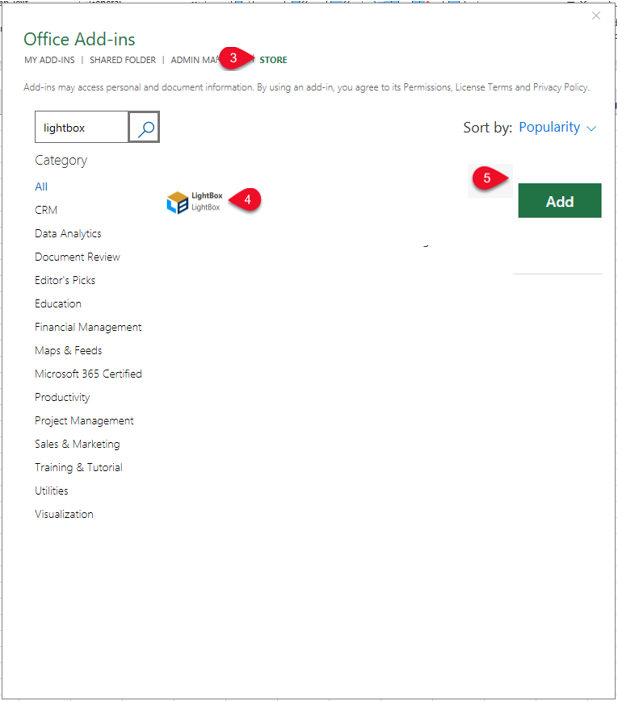
Click Store.
Search for the LightBox add-in.
Click the green Add button at the bottom of the modal.
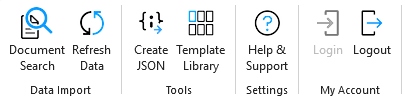
The modal will close, and the LightBox add-in will appear in the ribbon.
Installation via a Microsoft 365 Admin (Organization-managed)
Go to the Microsoft 365 Admin Center: https://admin.microsoft.com
Navigate to:
Settings > Integrated apps > Add-ins tab.
Or use the shortcut: Settings > Add-ins and apps > Deploy Add-in.
Click Deploy Add-in.
Choose "Choose from the Store", search for the LightBox Excel add-in, and select it.
Follow the wizard:
Accept permissions.
Choose who gets the add-in:
Everyone
Specific groups
Specific users
Finish deployment.
📌 The add-in will automatically appear in the users' Excel ribbon, usually after a short delay or next restart.
Whitelist information
The LightBox Live add-in for Excel uses the Microsoft Office Web Add-in runtime and requires outbound HTTPS (port 443) access to our add-in hosting domain and API endpoints. If these are blocked or SSL-inspected in a way that breaks Office.js, Excel custom functions will return
#NAME?because they fail to register.Please whitelist:
https://excel.lightbox.live/ (Application)
https://api.lightboxre.com (APIs)
https://login.lightboxre.com/ (Authentication)
https://us.i.posthog.com/ (Metrics)
Also confirm Office Web Add-ins are not disabled via Group Policy.
Was this article helpful?