Target Sites
- Print
- DarkLight
- PDF
Target Sites
- Print
- DarkLight
- PDF
Article summary
Did you find this summary helpful?
Thank you for your feedback!
Learn how to create a project database using the LightBox Vision Builder Developer Edition with our Builder Target Site layers. Input information on sites, contacts and owners to view, search and do reports on.
Creating a Target Site
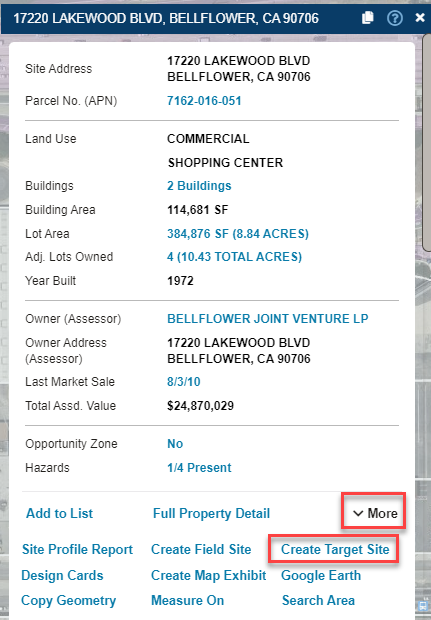
1. Click on your desired property on the map to identify it. The Location Information Panel appears.
2. Click More on the summary card and select Create Target Site (if you do not see this command you are not on the Builder version of LightBox Vision and this feature is inaccessible).
3. Select the project you would like to save your data to (or select New to create a new project). Either choose an existing scenario or enter a Name for a new one.

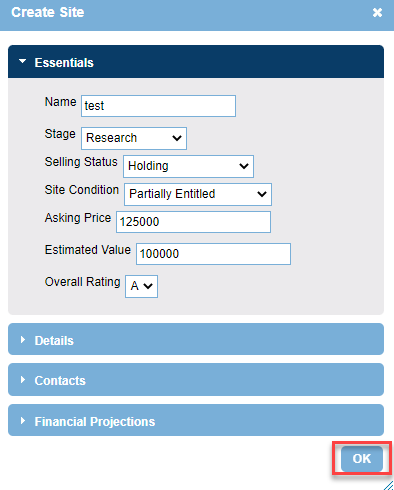
4. Fill in your desired fields in the Create Site window to record personal insights and your research data about the site.
5. When you've completed filling in the form, click OK at the bottom of the Edit Site window. Your Target Site is created and a target sites layer will be placed in your Layers Panel.
Note:
The parcel will be shaded a color based on the stage selected in the form. You can view the style in your layers menu legend which is available by clicking the down-arrow icon next to the layer Target Sites.

Viewing a Target Site
1. On the Layers Menu, enable the Target Site layer project name and toggle on the tooltip.

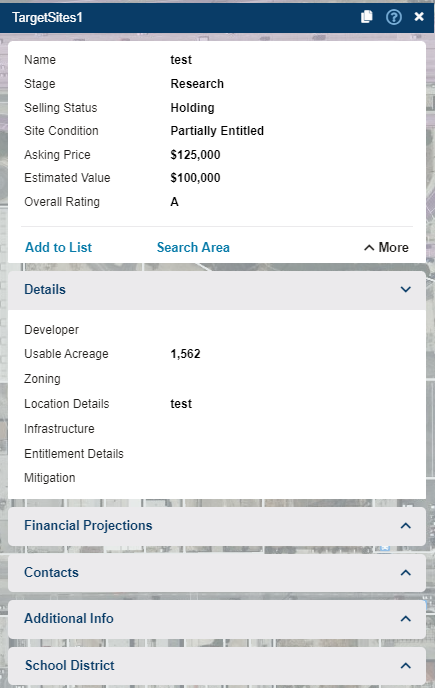
2. Select the colored Target Site polygon to choose the option for your Target Site name 
3. The Target Site Info window appears.
Editing Target Sites
1. On the Layers Menu, enable the Target Site layer project name and toggle on the tooltip.
2. Select the colored Target Site polygon to choose the option for your Target Site name
3. The Target Site Info window appears. Choose More and Edit Attributes to make changes on the form that appears. Choose Save after editing.

Was this article helpful?