LightBox Vision for Mobile
- Print
- DarkLight
- PDF
LightBox Vision for Mobile
- Print
- DarkLight
- PDF
Article summary
Did you find this summary helpful?
Thank you for your feedback!
LightBox Vision is a cloud-based mapping application that helps over 20,000 commercial real estate brokers, home builders, and developers find off market opportunities, beat the competition, and win more deals.
With the LightBox Vision mobile app (referred to as LandVision on the app store), you're able to significantly enhance your efficiency while working out in the field and on the go.
Regardless of where you are, our mobile app enables you to:
View properties on the map and their associated data, including parcel boundaries, ownership, tax data, transaction history, and more...
Capture text, photo and voice memo notes based on the location of the properties you visit.
Add contact information manually anywhere or from your phone's address book, including name, phone number and photo, and associate them with specific properties.
Get directions to a property of interest using mapping apps.
Since LightBox Vision Mobile is cloud-based, all of the information that is captured during your property visits is automatically synced back to your desktop in real-time or as soon as you regain connectivity.
There may be a 5 minute synch delay depending on cellular coverage or wifi connectivity
Note:
The mobile app can be found in the Apple App store using keyword search "LandVision". Android devices used to be supported and are not supported at this time.
The mobile app was designed for usage on a phone device. Please know that if you try to use the app on a tablet, that functionality may not work as efficiently and it is recommended to use the browser of your tablet to sign in to LightBox Vision similar to how you would sign in on a desktop computer.
LightBox Vision™ Mobile Features & Functions
Locate Field
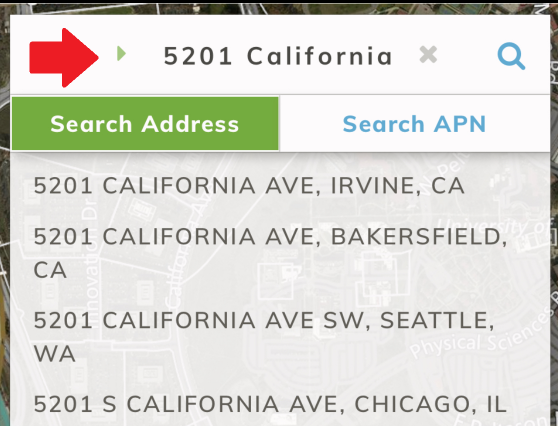
The Locate Field allows you to find a specific location on the map using an address, an Assessor Parcel Number (APN), a landmark location by name, or latitude/longitude.
As you are typing out the address, simply select one of the locations in the auto-complete list below the Locate field, or tap the magnifying glass icon next to the Locate field.
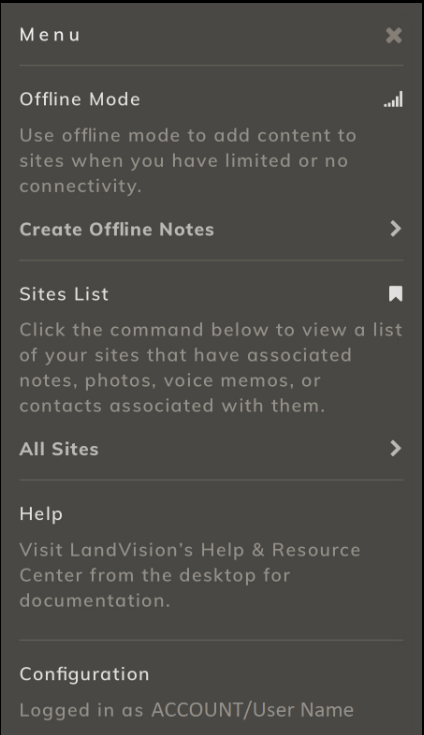
Options Menu
Offline Mode offers the ability to still conduct work offline even if you have limited or no internet connectivity. Create annotations that will synchronize with your LightBox Vision™ account once you are reconnected online.
Sites List is where you can view your entire collection of properties, regardless of your location, that you have created annotations for or added media to, all in one place.
Help section directs to this documentation so you can view more details about the features and functionality of about LightBox Vision™ Mobile.
Configuration shows what account and user name LightBox Vision™ Mobile is currently logged in under.
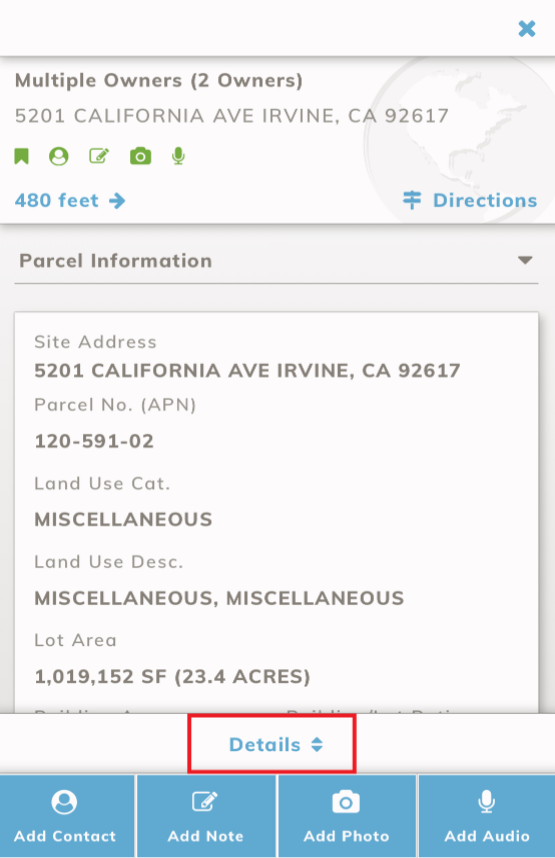
Property Details
Tapping on a property (parcel) on the map screen, or locating it using the Locate Field, will bring up some of the property details where you can gather more information about the properties you visit, as well as view any annotations you have added to the property.
Note:
The parcel details provided on the Mobile App will not contain as many fields of data as what can be viewed on the desktop version of LightBox Vision
Get directions to the location, add your own written or audio notations, images, as well as link contacts from your mobile device's contacts list to the property.
Main Screen Menu Buttons
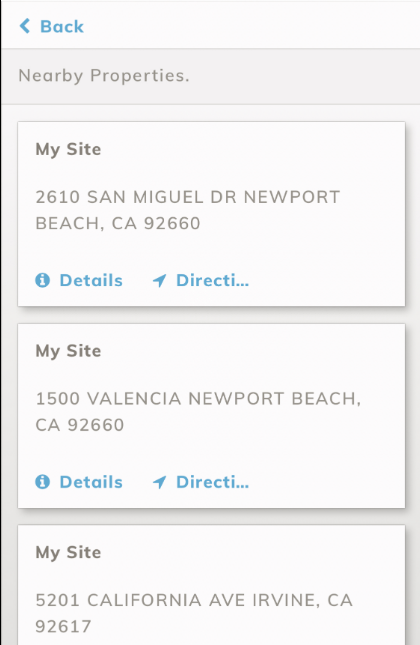
Bookmarks Icon
Tapping on the bookmark icon will open a list of any nearby properties that you have added any notations, images, voice memos, or contact information to.

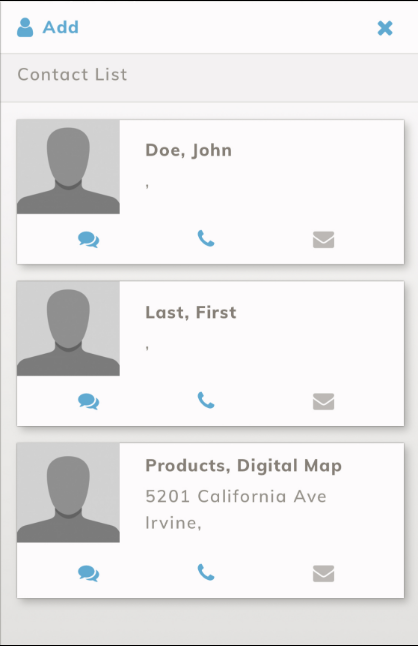
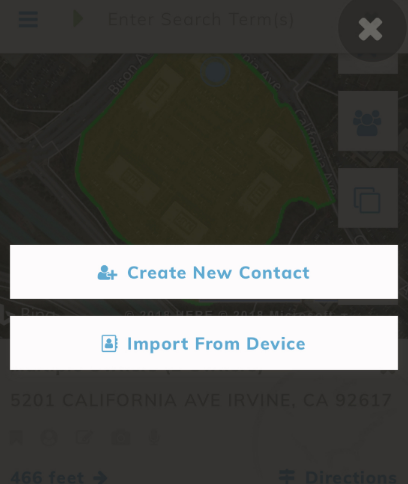
Contacts Icon
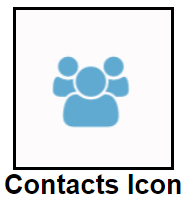
Tapping on this icon will open a list of all contacts that have been created from within LightBox Vision™ Mobile or imported from the contacts list on our device. New contacts can also be added by tapping the Add button at the top of the window.
Tap the Add command at the top of the window
Create New Contact
1. Select an Option. You can choose to use a contact that was previously entered in LightBox Vision™ Mobile or Create New Contact by entering the contact information.
2. Tap Next to continue.
3. If you choose to enter a new contact, fill in the required fields or if you are using a previously created contact in LightBox Vision™ Mobile, review the information to confirm this is the correct contact.
4. Tap Next to complete the process.
Import From Device (this will open the contacts list on your mobile device)
1. Select the contact you want to add to the property.
2. Tap Next to continue.
3. Review the contact information to confirm it is the correct contact.
4. Tap Next to complete the process.
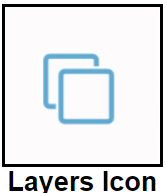
Layers Icon
Tapping on this icon will open a list of data layers that can be toggled on or off in LightBox Vision™ Mobile to help get a more comprehensive view and understanding of a property.
GPS Location Icon
Tapping on this icon will center and lock the map view on your current GPS location, even if your current view is not of your location.
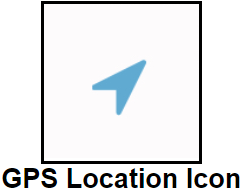
To unlock the map view from your position, simply pan/move the map.
Note:
The GPS location-based services for LightBox Vision™ Mobile needs to be enabled on your mobile device
Property Panel
The LightBox Vision™ property panel provides more in-depth information and functions regarding the specific property you have selected.
Along with this built-in information, you can add your own annotations (see below) as well as review them here later.
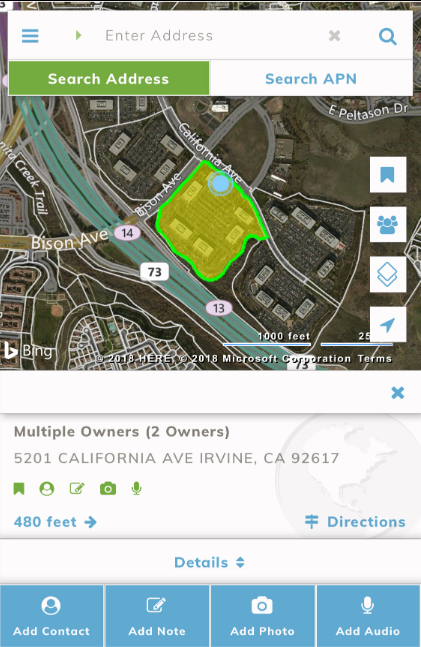
Distance Command
This command will display the distance from your current GPS position to the selected property.
If you explore the map by scrolling away from the property you currently have selected and want to return to it, tapping on this command will center the map view back onto the selected property.
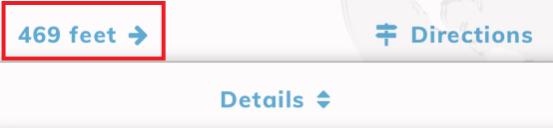
Directions Command
This command will open a window with a list of navigation apps on currently on your mobile device that can be used to calculate a route to the selected property from your current GPS position.
Google Maps
Apple Maps
Uber

Property Details Command
This command will expand the detailed information section for the selected property to provide additional information.
Simply scroll down the Parcel Information panel once it is opened.
Property Panel Annotation Buttons
Note:
All of the annotation features below will synchronize with your desktop version of LightBox Vision™ so that you can view any notes you have taken while in the field back on your desktop computer.
To read more information on how to view your annotations in LightBox Vision™ on your desktop computer, click here.
Contact Button
Tap the Add Contact button to open the Contacts window to manually add a contact or import it from the contacts list on your mobile device and assign it to this property.

Create New Contact
You can choose to use a contact that was prevsiouly entered in LightBox Vision™ Mobile, or Create New Contact by entering the contact information.
1. Tap Next to continue.
2. If you chose to enter a new contact, fill in the required fields.
3. If you are using a previously created contact in LightBox Vision™ Mobile, review the information to confirm this is the correct contact.
4. Tap Next to complete the process.
Import From Device
This will open the contacts list on your mobile device.
1. Select the contact you want to add to the property.
2. Tap Next to continue.
3. Review the contact information to confirm it is the correct contact.
4. Tap Next to complete the process.
Note Button
Tap the Add Note button to insert a text note to a property that can be viewed later on your mobile device or desktop using LightBox Vision™.
1. Type your note into the field.
2. Tap Save Note to complete the process.

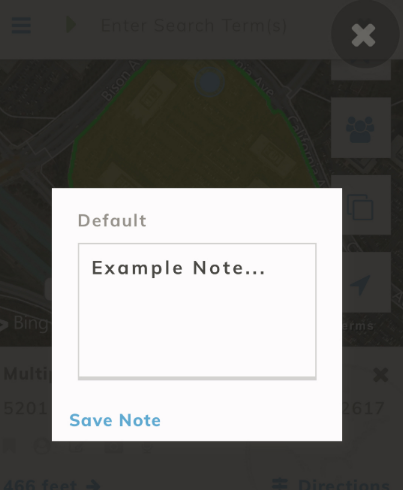
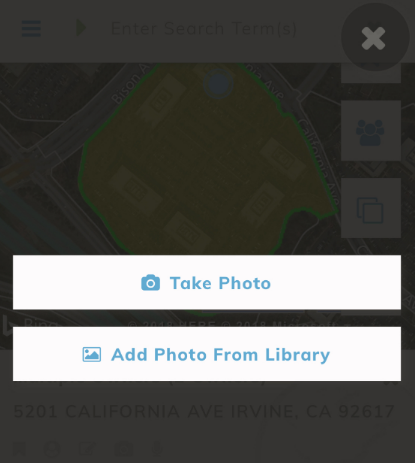
Photo Button
Tap the Add Photo button to add a photo note to a property that can be viewed later on your mobile device or desktop using LightBox Vision™.

Take Photo
This will access the camera on your mobile device to capture a photo on the spot.
An optional Title and Description can be added if needed.
Tap Add to activate your camera to take the photo.
After taking the photo tap Next to complete the process.
Add Photo from Library
This will access the photos currently in your mobile device's photo storage for you to select one of your own.
An optional Title and Description can be added if needed.
Once your photos are open select the one you want to use by tapping on it.
After selecting the photo tap Next to complete the process.
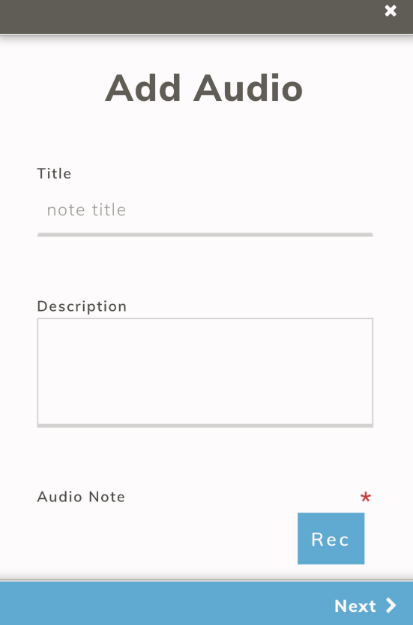
Audio Button
Tap this button to add an audio note to a property that can be viewed later on your mobile device or desktop using LightBox Vision™.
This will access the memo recording app on your mobile device to add an audio note to a property.
An optiona Title and Description can be added if needed
Tap the Rec Record button to access the voice recorder on your mobile device.
After you have recorded your audio note, tap Next to complete the process.

Troubleshooting Tips
In the event that there are difficulties getting in to the LightBox Vision mobile app, please attempt the following recommendations:
Android Notice:
The LightBox Vision mobile application is not supported by Android at this time and will not be available in the Google Play store.
Upon first use of the application, it is recommended to log in via wifi for establishing the first connection and thereafter the cellular data can be utilized.
Enable Location Services (found within the Privacy & Security section of the Apple iOs Settings).
Disable iCloud Private Relay (found within the Apple ID section of iOs Settings).
Disable VPN/Security services (found within the General section of Settings)
Clear phone cache and then uninstall and reinstall the application.
Was this article helpful?