Filter to Markup Layer
- Print
- DarkLight
- PDF
Filter to Markup Layer
- Print
- DarkLight
- PDF
Article summary
Did you find this summary helpful?
Thank you for your feedback!
Creating a markup layer from your search filter results is a quick way to copy parcel boundaries into a customized visual display on the map. This feature is available on the Commercial and Builder versions of LightBox Vision.
Creating a New Markup Layer
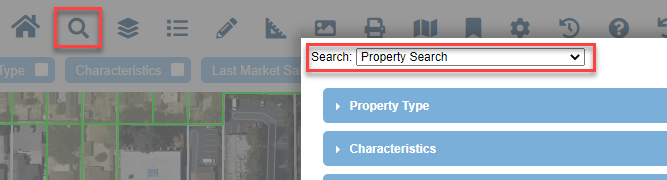
1. Run a search that contains the properties you'd like to tie to a new markup layer (the below example is utilizing the Property Search filter).
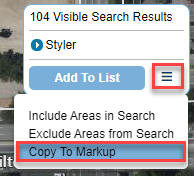
2. Click the down arrow in the Search Results box in the top right corner of the map. Choose Copy to Markup.
- Up to 500 results can be copied at a time per markup layer (the example below has 104 results).
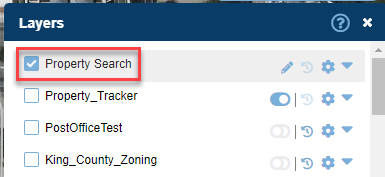
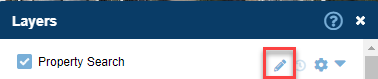
3. The Layers Menu displays your new markup layer at the top (ex: the layer name will be Property Search if it was the Property Search filter that was being used for the search)
Note:
Your new layer is temporary unless you save it. See below for saving instructions.
Save the Markup Layer
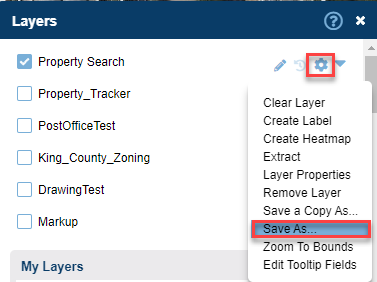
1. Click the Options icon to the right of the layer name.
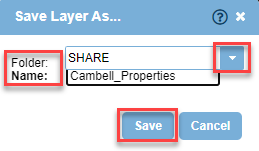
2. Choose Save as... in the menu. The Save Layer As... window opens.
3. Select a Folder to save the layer.
4. Enter the Name of the layer. Click the Save button.
5. The Layers Menu now displays your saved layer with its new name.
- The Drawing icon identifies the layer as the target layer. You can draw on it, place icons, labels, and overlays in this layer using the Drawing Tools in LightBox Vision (see documentation here for more details).
Note:
The Layers Menu will delete the temporary markup layer when you close LightBox Vision so make sure to save with the above instructions to keep a permanent copy.
Was this article helpful?