Create Custom Search Filters
- Print
- DarkLight
- PDF
Create Custom Search Filters
- Print
- DarkLight
- PDF
Article summary
Did you find this summary helpful?
Thank you for your feedback!
LightBox Vision™ includes a robust selection of Search Filters, and enables you to create your own custom search filters to find properties that meet your specific needs.
Creating Custom Search Filters
There are three basic steps to create custom search filters:
- Select the Create New Filter option from the layer that you'd like to tie your custom search filter to.
- Add Search Criteria to your filter.
Add one or more Groups to your filter to group together a similar search criteria.
Adding Search Criteria and Groups to Custom Search Filters
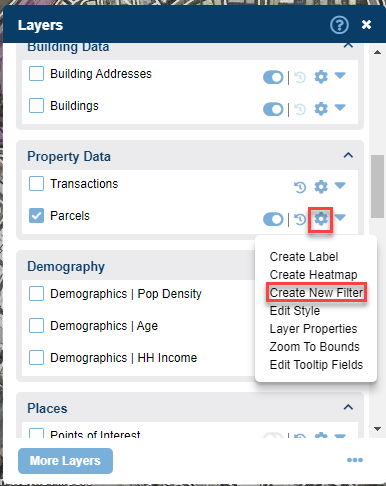
1. Click the Options icon Options Icon on the layer that you'd like to tie your custom search filter to.
2. Click Create New Filter on the Options menu. The New Filter box appears.
3. In the New Filter box:
- Type: Do not change the default, Standard.
- Name: Enter a Name for your new filter.
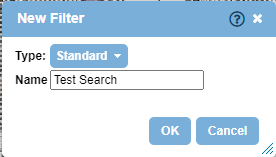
4. Click OK. The Filter Editor appears with the name of your new filter at the top.
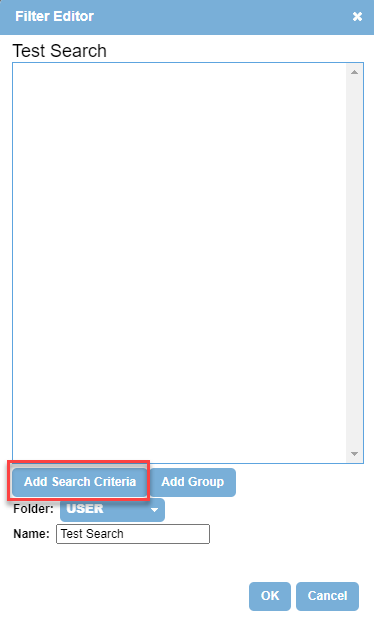
5. Select the folder in which to save your new filter by clicking the Folder Drop-down List at the bottom of the Filter Editor.

6. Add Search Criteria and Groups to your new custom search filter from the Filter Editor. (See below for instructions.)
Add Search Criteria to your Custom Search Filter
1. Click the Add Search Criteria button at the bottom of the Filter Editor. The Add Search Criteria box appears.
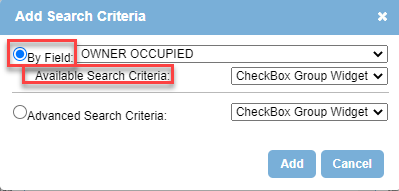
2. Use the default option, By Field, to add your search criteria:
- By Field: From the drop-down list, select the field which you'd like to tie your custom search filter to.
- Available Search Criteria: From the drop-down list, click on the selection method for your search criteria, for example checkbox or slider. Depending on your selected field, some widgets may not be available and will be un-selectable.
Note:
The Checkbox Group Widget will not show more than 50 listed field option, the alternative would be to use another widget.
3. Click the Add button to add the Search Criteria to the Filter Editor. The Search Criteria is listed in a box with a header.
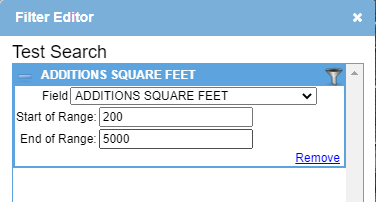
4. Enter the appropriate value(s) for your Search Criteria. The examples to the right show a range of values for Additions Square Feet, and how the values are displayed in a Range-Slider Widget.
Note:
In the Filter Editoryou can:
- Click on a Search Criteria box, and drag it up or down to a new location in the list of criteria.
- Remove Search Criteria from the Filter Editor by clicking the Remove Link at the bottom right of the Search Criteria box.
5. Repeat the steps above to add more search criteria.
6. After adding all your desired Search Criteria, perform one of the following steps:
- Add Groups to your filter (See below for instructions). OR,
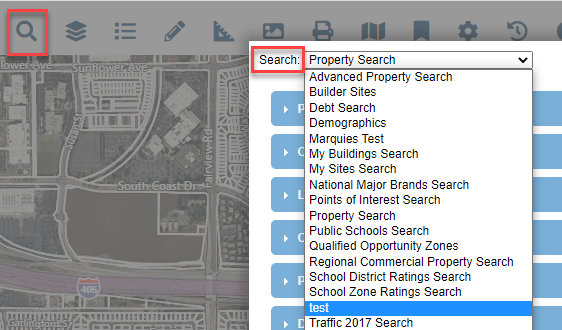
- Click OK at the bottom of the Filter Editor to create your custom search filter. Your Search Criteria appears on the Filter Bar, and your custom search filter is added to the list of search filters. Click the Search icon on the Main Toolbar to view your custom search filter in the Search Filter window.
Add Groups to your Custom Search Filter
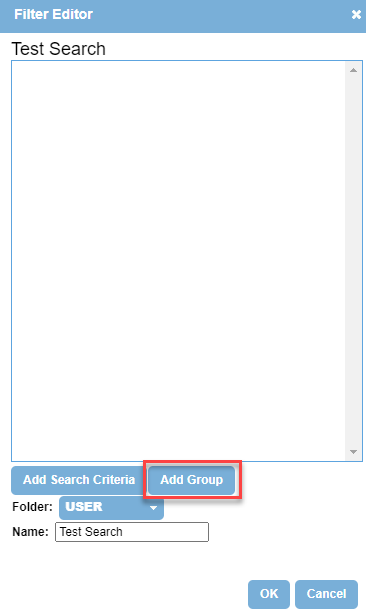
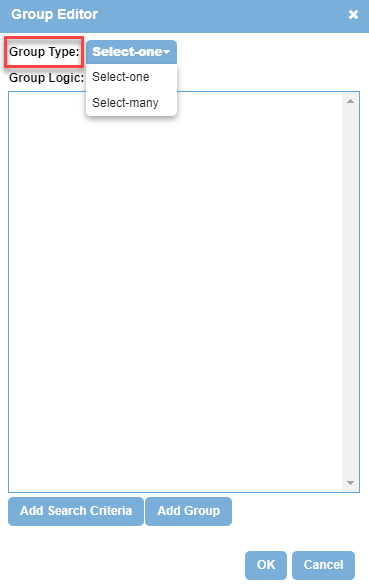
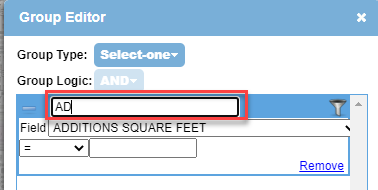
1. Click the Add Group button at the bottom of the Filter Editor. The Group Editor appears.
2. Select the Group Type in the Group Editor. There are two Group Types:
- Select-one: This type allows you to make only one selection in the Search Filter interface. In the example to the right for Owner Occupied, you can select only one criteria - No, Unknown, or Yes.
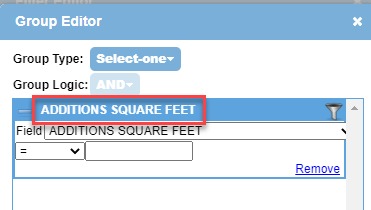
- Group Logic is grayed out because it does not apply to this type of Group.
- Select Many: This type allows you to make more than one selection in the Search Filterinterface, as in the example to the right for Assessed Value.
- Select the Group Logic, AND or OR. As an example of choosing the correct Group Logic, consider the Search Criteria, Multifamily and Single Family. Searching on Multifamily AND Single Family would not make sense. Those are mutually exclusive criteria. In this case, searching on Multifamily OR Single Family makes sense. It returns values for both criteria.
3. Click the Add Search Criteria button to add criteria to your Group. The Add Search Criteria box appears. See the section above for instructions to add Search Criteria.
4. After you have added all your desired criteria to your Group, click OK at the bottom of the Group Editor. Your Group appears in the Filter Editor. By default, your Group name is Criteria.
5. To rename your Group:
- Click the Group name in the header of the Group.
- Delete the current name and enter a new name.
- Click outside the header to set your new Group name.
6. Click OK at the bottom of the Filter Editor to create your custom search filter. Your Groups appear on the Filter Bar, and your custom search filter is added to the list of search filters. Click the Search icon on the Main Toolbar to view your custom search filter in the Search Filter window.
Editing or Deleting Custom Search Filters
Click the Search Filter options icon to the left of the Filter bar to clear, change, remove, edit or delete your custom search filter.
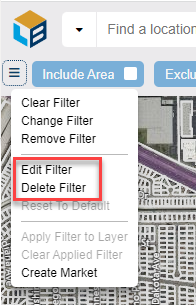
Note:
The search filter that needs to be edited or deleted must be chosen from the search filter options before doing the above step.
Was this article helpful?