- Print
- DarkLight
- PDF
Task Management
- Print
- DarkLight
- PDF
Purpose
This Job Aid describes how to create and edit the Task Management Rules that control how Services are assigned to users within Collateral360.
Audience
Lender Executives and Content Administrators.
Task Managing Overview
The Task Management tool allows qualified users to create and manage Rules which define how Services are assigned to users. When a new Service is created, the system checks the existing Rules and assigns the Service to the correct user(s).
Note: By default, Services that are added to Portfolio properties will not trigger the Task Management Rules.
To access Task Management, click Settings then click Platform Settings in the drop-down menu.

Click Task Management in the menu on the left.

The Task Management page will open.

A. This is an individual Task Management Rule. |
B. Click the ON/OFF toggle next to a Rule to switch that on/off. |
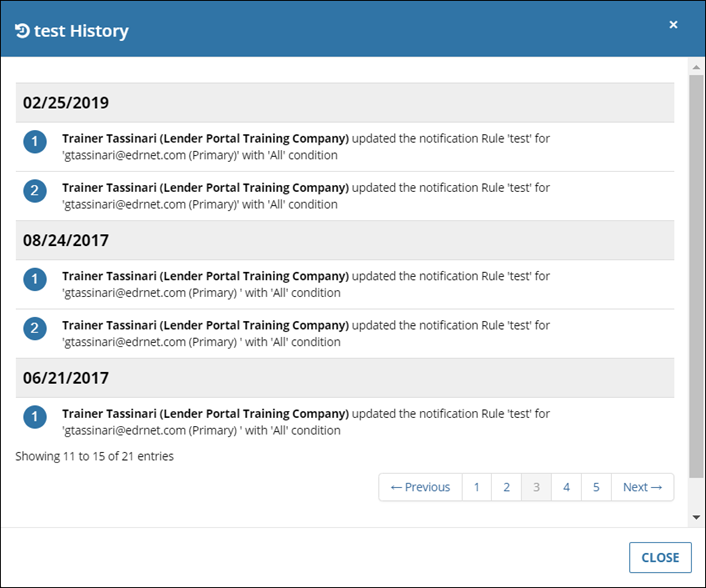
C. Click Actions next to a Rule to expose a menu containing three commands:
|
D. Click Actions to expose a menu containing two commands:
|
E. Navigate to another page of Rules by clicking a number or navigate forward/backward with the arrows.
|
F. Click Show All Rules to expose a menu containing three commands that allow you to filter the Rules:
|
G. Click Download as Excel to download .xlsx file containing all of the Rules. The export contains the following fields:
|
H. Search all Rules for a Name or Assignee email address. Enter the search phrase and then press Enter on your keyboard. |
Adding a New Rule
To add a new Rule, click Add a New Rule at the bottom of the Task Management page.

The Add A New Rule modal will open.

A. Click the Default Rule checkbox to make this a Default Rule. A Default Rule triggers only when no other Rule has triggered. This ensures that no Service is ever unassigned. You can only have a single Default Rule per company. You cannot define conditions for the Default Rule. When you click the Default Rule checkbox, the conditions fields (item D in the example image above) will be hidden. |
B. Enter a descriptive Rule Name. |
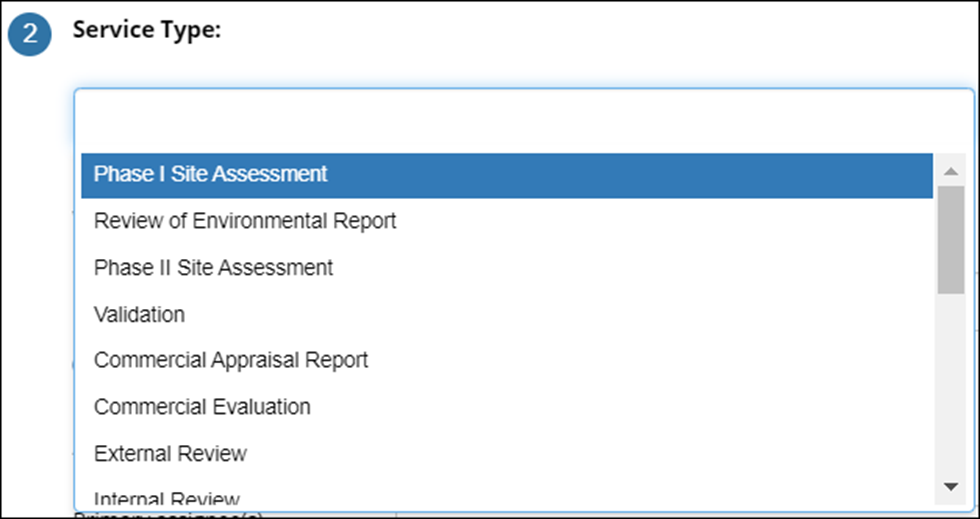
C. Click in the Service Type box. A drop-down menu will display a list of every Service available. Click a Service to add it.
You can add multiple Service Types to a single Rule.
Click the X next to a Service Type to remove it from the Rule. |
D. Add one or more conditions. When a new Service is created, these conditions are checked. When they are met, the Rule is triggered.
a. Select whether all conditions must be met for the Rule to trigger or if only a minimum of one must be met.
b. Select a triggering event from the drop-down menu. Options include:
The selection made here determines what options appear in the “Click to select a value…” field (d). Example: If Country/Nation is selected, a list of countries becomes available. If Property Type is selected, a list of a property types becomes available. c. Select an operator from the drop-down menu. d. Enter a value in the field or select from the drop-down menu. e. Click Add Condition to add another condition.
|
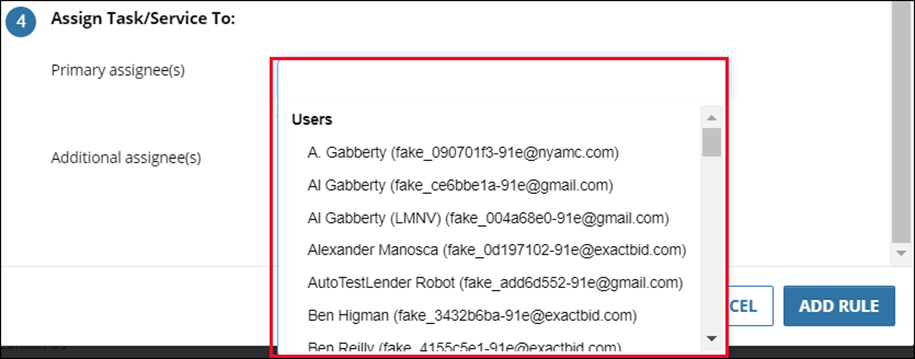
E. Click in the Primary assignee field to expose a menu of users who can be added as Primary Assignees to the Rule. To filter the list, begin typing a user’s name or email address. Click on a name to add that user as a Primary Assignee. One or more Primary Assignees can be added.
Note: When a Rule with multiple Primary Assignees is triggered, only one Primary Assignee will actually be assigned.
Click in the Additional assignee field to expose a menu of users who can be added as Additional Assignees to the Rule. To filter the list, begin typing a user’s name or email address. Click on a name to add that user as an Additional Assignee. One or more Additional Assignees can be added. Unlike Primary Assignees, when the Default Rule is triggered ALL Additional Assignees will be added as Additional Assignees to the Service. |
F. Click Add Rule to create the Rule. |
The new Rule will be added to the end of the list of Rules. It will default to ON.

Note: When Default Rule exists, it will always appear last on the list.
.png)


.png)