- Print
- DarkLight
- PDF
Expertise and Coverage Area
- Print
- DarkLight
- PDF
Purpose
This documentation describes how to manage the Expertise & Coverage Area in Vendor Management.
Audience
Content Administrators.
Expertise and Coverage Area Overview
The Expertise & Coverage page in Vendor Management allows qualified Collateral360 users to manage a vendor’s state coverage areas, areas of expertise, and service types. This allows the lender to manage under what circumstances a vendor will appear in the Filtered Vendors view of an RFP.
Example
A vendor lists the counties of Fairfield and New Haven, Connecticut, as service areas. However, "Lending Institution A" does not wish to send the vendor RFPs for jobs in Fairfield County, so they remove that coverage area on the Expertise & Coverage page of that vendor's profile. That vendor will no longer appear as a potential recipient in the Filtered Vendor’s view for jobs in Fairfield County.
The vendor is not notified of any changes that are made to the Expertise & Coverage page.
Access Expertise and Coverage Area
To access the Expertise & Coverage Area tab, click Vendors.

The Vendor Management page will open.

Vendors are organized by service group. Click on a service group tab, such as Appraisal or Environmental, to view the vendors in that service group.

In the above example, the Appraisal tab is open.
Click the edit (pencil) icon next to a vendor to open that vendor’s profile, then click the Expertise & Coverage Area tab.

The Expertise & Coverage Area page will open, listing the information provided by the vendor. The specific information displayed varies based on company and the service group(s) to which the vendor belongs. The page is divided into several sections:
State Coverage Area
Areas of Expertise
Service Types

In this example, the vendor belongs to the Valuation service group.
Manage Expertise and Coverage Area
State Coverage Area
The State Coverage Area section lists the states and counties in which the vendor provides their services.

Click the On/Off toggle to make a state active/inactive. When a state is marked inactive, the vendor will not appear in the vendor-selection table of an RFP for that state when the Filtered Vendors filter is active.
Click the Edit (Pencil) icon to open the row for editing.

Click the State menu to select a state. Click County to select one or more counties, or click All Counties to select all counties. Click the OK (Check) icon to finalize the changes.
Click the Delete (Trashcan) icon to delete a row. A pop-up will request confirmation. Click OK to confirm.

Click Add State Coverage Area. A new row will appear.

Select a state and one or more counties from the drop-down menus, then click the OK (Check) icon to finalize. A notification will appear in the upper right-hand corner of the screen and confirm the addition.
Areas of Expertise
The Areas of Expertise section lists the property types for which the vendor accepts jobs.

Click the On/Off toggle to make an area of expertise active/inactive. When an area of expertise is deactivated, the vendor will not appear in the vendor-selection table of an RFP for a job involving that property type when the Filtered Vendors filter is active.
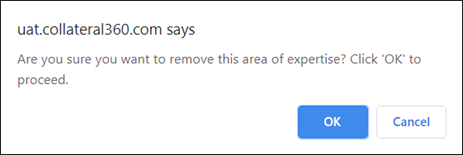
Click the Delete (Trashcan) icon to delete an area of expertise. A pop-up will request confirmation. Click OK to confirm.

Click Add Area of Expertise. A new row will appear.

Select an area of expertise from the drop-down menu, then click the OK (Check) icon to finalize. A notification will appear in the upper right-hand corner of the screen and confirm the addition.
Service Types
The Service Types section lists the service types for which the vendor receives jobs.

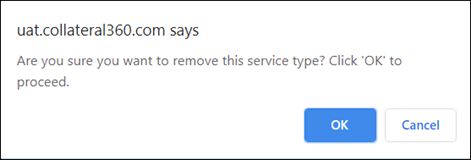
Click the Delete (Trashcan) icon to delete a service type. A pop-up will request confirmation. Click OK to confirm.

Click Add Service Type to add a new service type. A new row will appear.

Select a service type from the drop-down menu, then click the OK (Check) icon to finalize. A notification will appear in the upper right-hand corner of the screen and confirm the addition.
.png)

.png)