Creating RFPs and Selecting Vendors
- Print
- DarkLight
- PDF
Creating RFPs and Selecting Vendors
- Print
- DarkLight
- PDF
Article summary
Did you find this summary helpful?
Thank you for your feedback!
Purpose
This documentation describes how to create an RFP and select the Vendors to whom it should be sent.
Audience
Job Managers, Lender Managers, Content Administrators, and Lender Executives.
RFP Process Overview
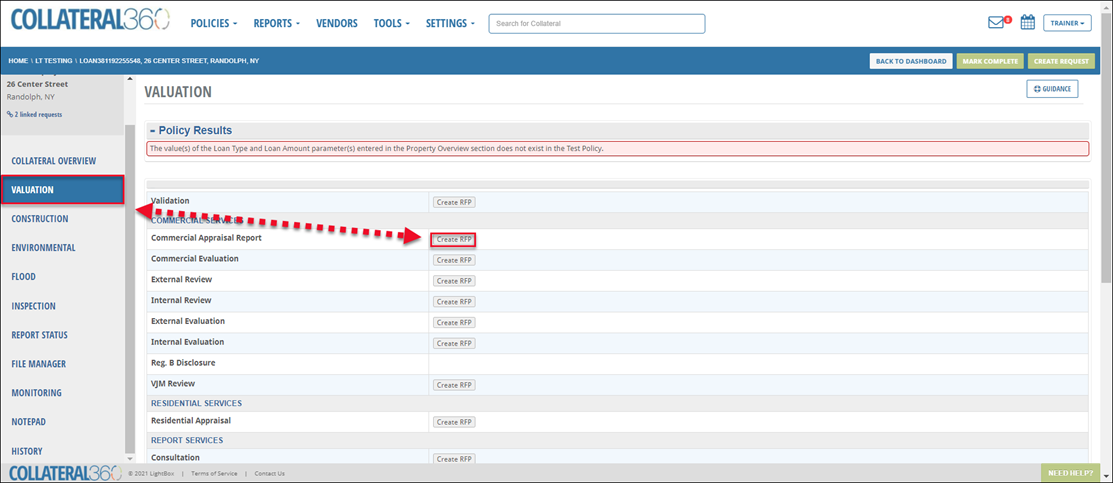
A Request for Proposal (RFP) can be created and sent for numerous Valuation, Construction, and Environmental Services in Collateral360.
To create an RFP, navigate to the relevant Service page. Example: To create an RFP for a Commercial Appraisal Report, navigate to the Valuation page, then click Create RFP for that Service.
The RFP will open in a new page which is divided into several distinct sections. From top to bottom, those sections are:
Import from RFP
Project and Property Information
Scope of Services
Attachments
Valuation Scenarios
Vendor Job Manager
Policy Exception
Vendor Selection
Save and Procure
Import from RFP
If your organization has enabled the Import RFP feature, you may see a blue bar at the top of the RFP that allows you to import the data and selections from another RFP.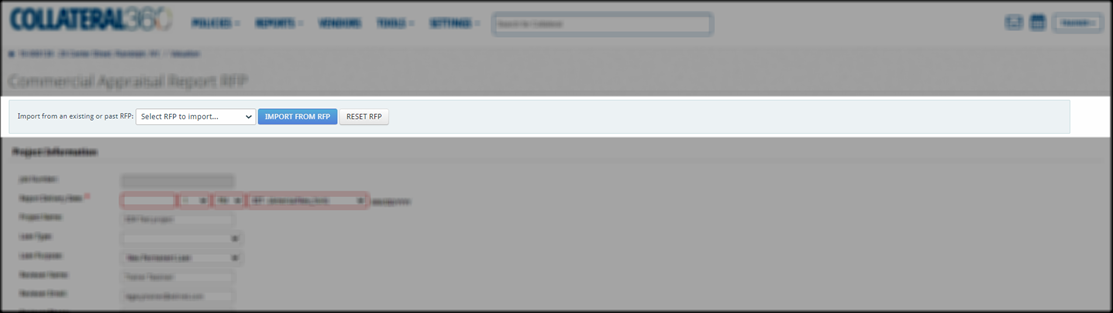
This feature can only be used if the Loan File has a linked request that contains an RFP of the same Service Type.
Using this tool is optional; it is not required to complete the RFP, but rather exists to reduce data entry. To utilize it, click Select RFP to import to expose a drop-down menu containing the RFP(s) you can import. Click an RFP to import.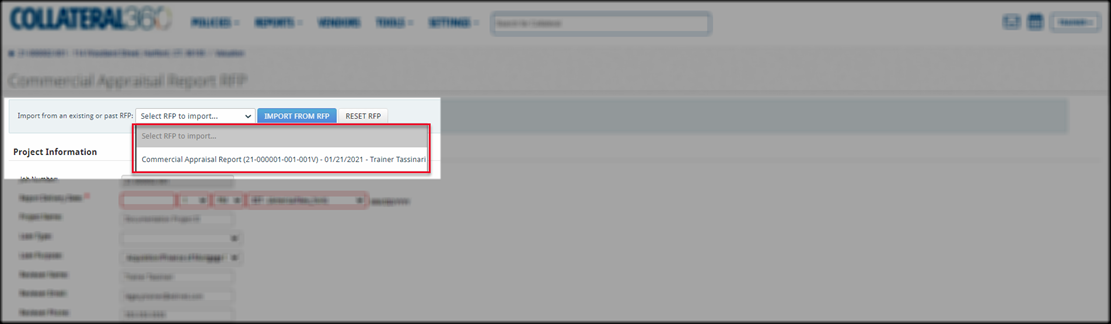
In the example above, one RFP is available.
After making a selection, click Import from RFP to import the information and selections. The RFP screen will refresh and display the imported information and selections. Review to ensure it is accurate. To clear all the data entered from the import, click Reset RFP.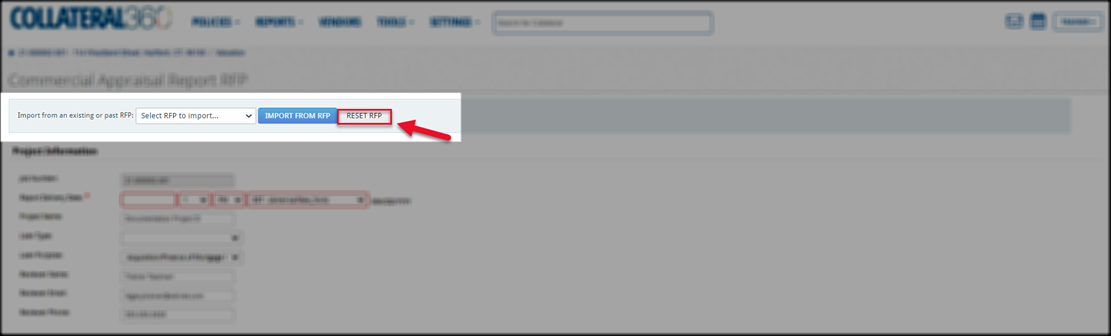
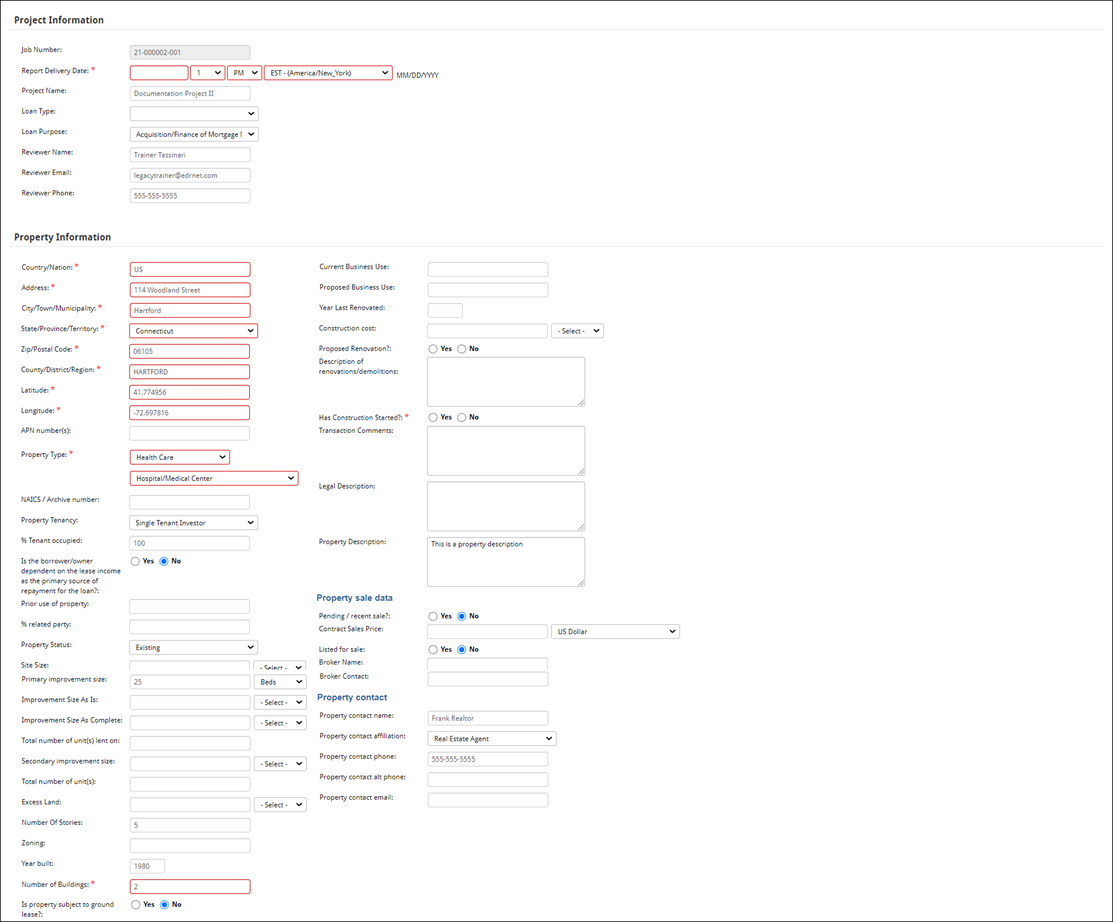
Project Information and Property Information
The Project Information and Property Information sections include fields for the Project and the collateral, such as Report Delivery Date, Loan Type, Property Address, and Property Type. Fields with a red asterisk are required.
Scope of Services
The Scope of Services section collects information about the work product required, such as Report Type, Intended Use, and Approaches to Value.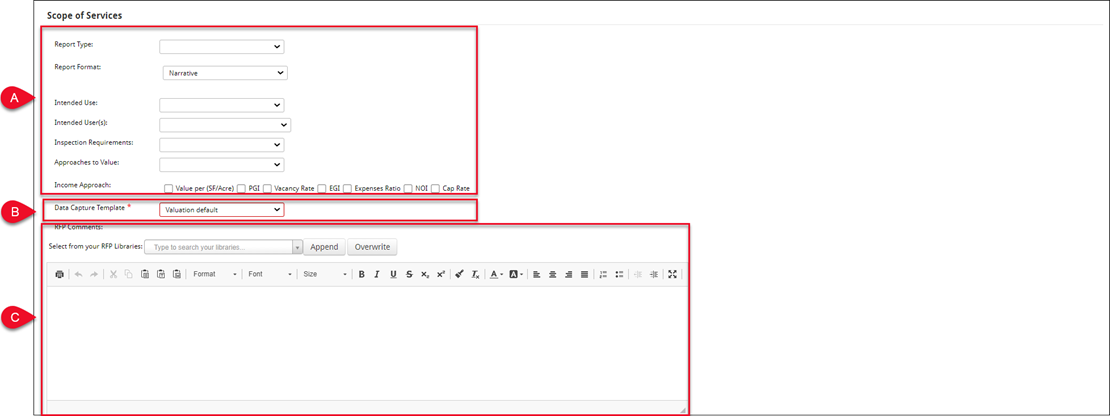
A. Enter information about the Services required.
B. Select a Data Capture Template from the drop-down menu. The Data Capture Template defines what fields are present during the data capture part of the process. For more information, refer to the Data Capture and Review Memo Workflow.
C. Add RFP comments. RFP comments can be entered manually in the comment box. A common use of the RFP comments box is to request a rush bid in addition to the standard bid.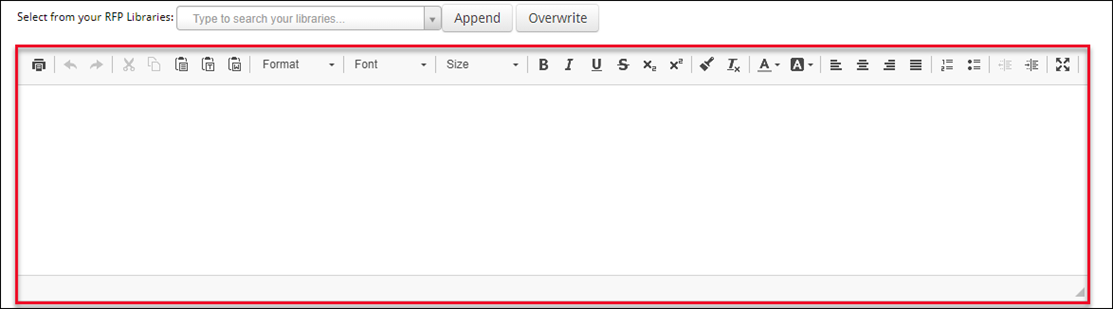
You can also select and add one or more comment blocks using the RFP Libraries tool. Click the menu and manually select an entry or type to filter the menu entries and then select the desired entry.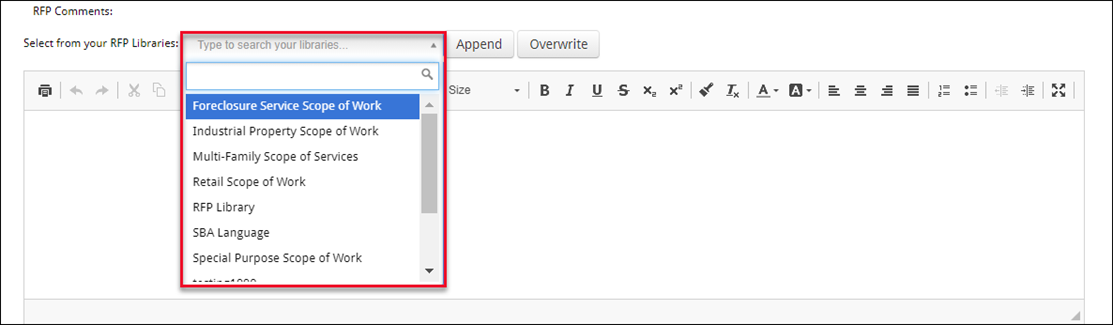
Click Append to add the comment text to the comment box. This will not overwrite any existing text.
Click Overwrite to add the comment text to the comment box and overwrite any existing text.
Attachments
Files can be uploaded to the RFP. Files that were previously uploaded to the Loan file can also be attached. To upload a file, drag and drop it in the file upload box. Alternatively, click Browse to open a new file explorer window and browse to your computer to select a file to upload.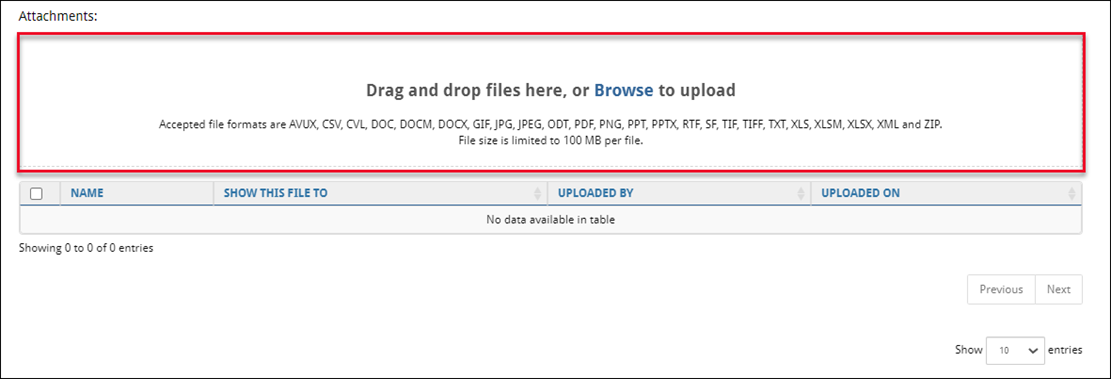
Note the accepted file types and the size limit of 100 MB per file.
Once a file has been uploaded it will be listed in the table below and a green notification message will briefly appear.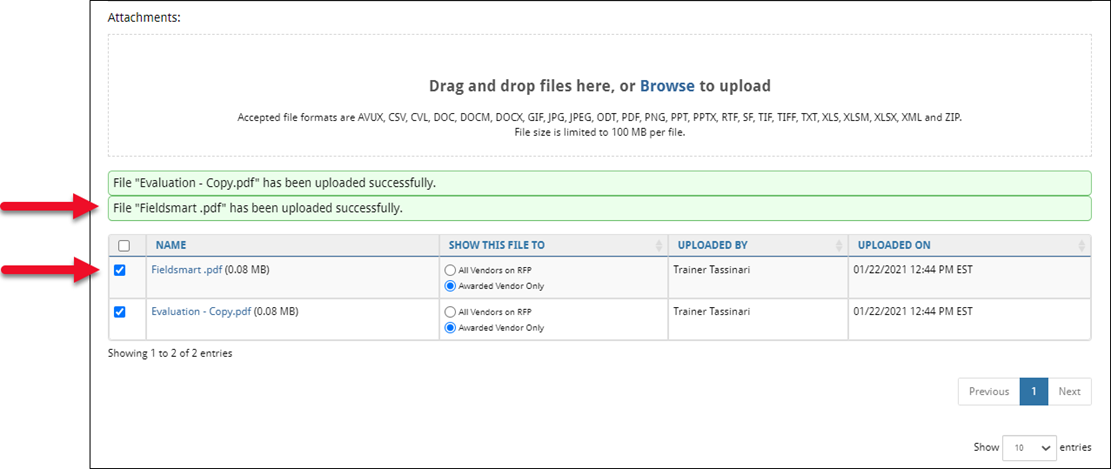
To send a file to vendors, check the box next to the file name. In the Show File To column, select one of the following:
All Vendors on RFP: Provides the file to all vendors when the RFP is sent.
Awarded Vendor Only: Provides the file only to the awarded vendor after the award has been made.
Valuation Scenarios
This page describes how to define the valuation scenarios the awarded vendor should use. Note: This step only applies to Valuation Services.
Valuation Scenarios can be added in one of two ways:
By selecting a Valuation Scenario Library that populates one or more Valuation Scenarios that have been predefined by your organization.
Manually, by clicking the Add Valuation Scenario button.
RFP Libraries Method
Click Select an RFP Library to expose the list of available Valuation Scenario Libraries. Your organization may have more than one Valuation Scenario Library available.
Select the appropriate Library, then click Append.
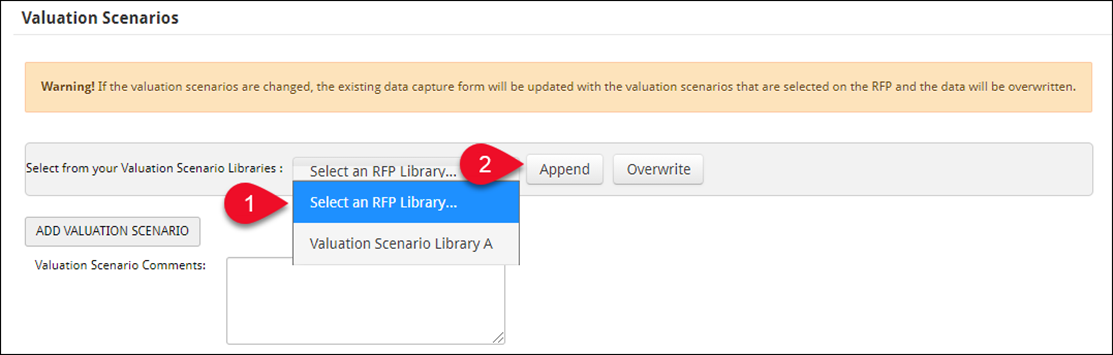
One or more new rows will appear in the table below, indicating the Valuation Scenario(s) added.

You can add or replace the Valuation Scenario(s) by selecting another Valuation Scenario Library, then clicking Append to add the new Valuation Scenario(s) or clicking Overwrite to overwrite the existing Valuation Scenario(s).
Individual Valuation Scenarios can also be added manually by following the steps below.
Click Add Valuation Scenario to add a new Valuation Scenario. Then define the Valuation Premise, Valuation type, and Valuation Interest.
Click Remove valuation scenario to remove a Valuation Scenario.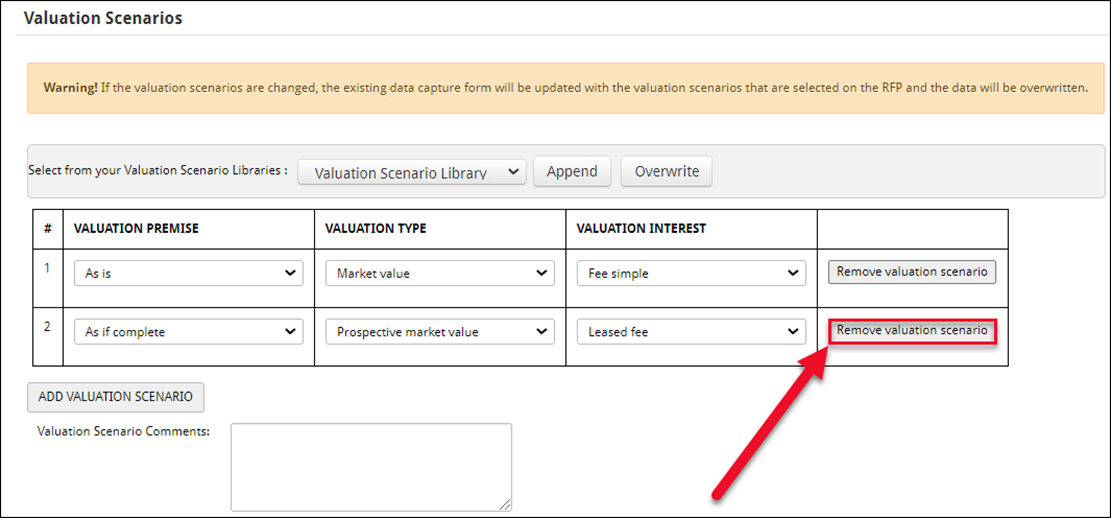
Optionally, enter Valuation Scenario Comments in the text box. These will be visible to the RFP recipients.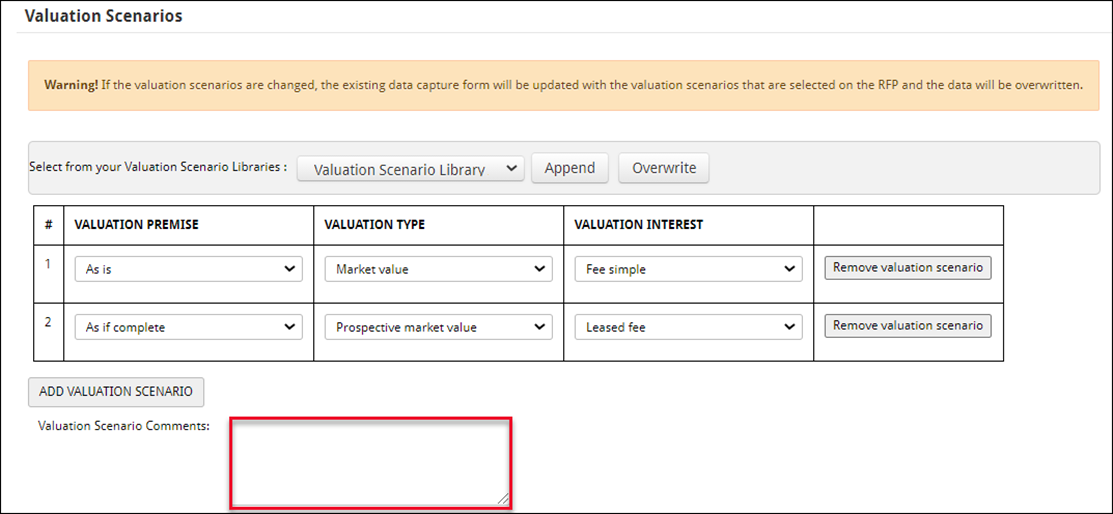
Vendor Job Manager
The Vendor Job Manager section allows you to select whether the Service being procured should be completed by a Vendor Job Manager (VJM). A Vendor Job Manager is a Vendor who completes some of the tasks typically handled by a Job Manager or Lender Manager.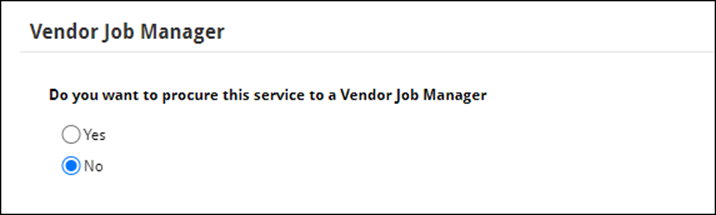
The default selection is No. Click the Yes radio button, and four new options will appear.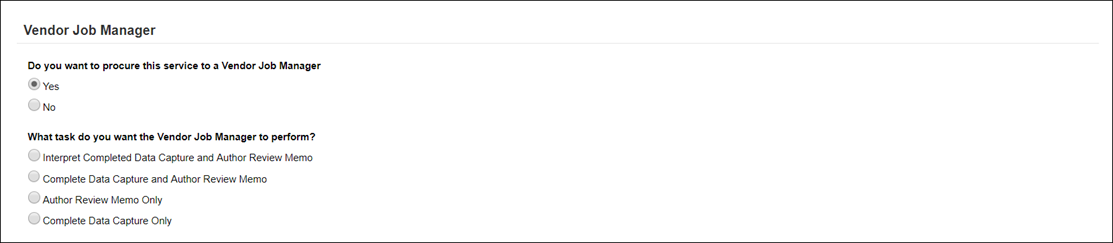
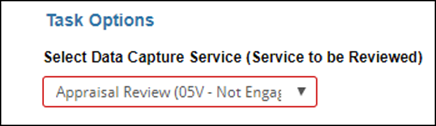
Interpret Completed Data Capture and Author Review Memo: Directs the Vendor Job Manager to interpret the Data Capture and author a Review Memo. When this option is selected, two additional drop-down menus will appear below.

Select the Service to be reviewed and the appropriate Review Memo Template from the drop-down menus. If no Data Capture has been started, an error message will appear in place of the first drop-down menu.

To make a service eligible, save and exit the RFP, start a Data Capture and save it as a draft, then return to complete the RFP.
Complete Data Capture and Author Review Memo: Directs the Vendor Job Manager to complete the Data Capture and author a Review Memo. This option is functionally identical to the option above, granting the same level of access to Collateral360. The only difference is that the VJM is being instructed to complete the Data Capture rather than interpret a completed Data Capture. When this option is selected, two drop-down menus will appear below.
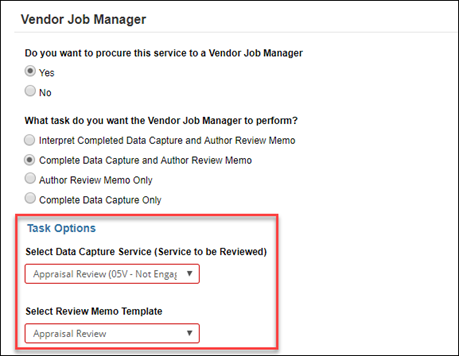
Select the Service to be reviewed and the appropriate Review Memo Template from the drop-down menus. If no Data Capture has been started, an error message will appear in place of the first drop-down menu.

To make a service eligible save and exit the RFP, start a Data Capture, then return to complete the RFP.
Author Review Memo Only: Directs the Vendor Job Manager to complete a Review Memo only. When this option is selected, a drop-down menu appears below.
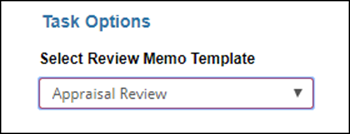
Select the appropriate Review Memo Template to proceed.
Complete Data Capture Only: Directs the Vendor Job Manager to complete a Data Capture only. When this option is selected, a drop-down menu appears below.
Select the appropriate Service to proceed.
Policy Exception
If the Service being procured differs from what is defined in your organization’s Policies settings, a text box will require that you explain why. Example: If your Policy suggests ordering a Commercial Appraisal Report and you order a Commercial Evaluation, an explanation will be required.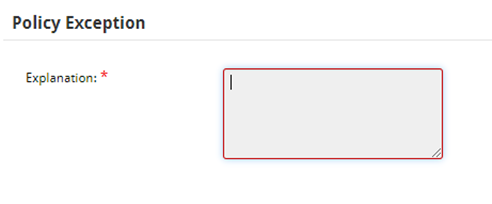
If there is no policy exception, the text field will not be visible, and the section will state “None.”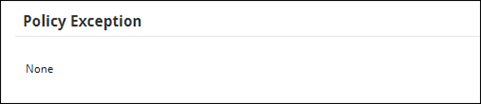
Vendor Selection
The Vendor Selection section allows the user to select the Vendors to whom the RFP is sent. The first selection defines whether an RFP should be sent to multiple Vendors for bidding or submitted to a single Vendor. The latter selection is referred to as making a “Direct Award.”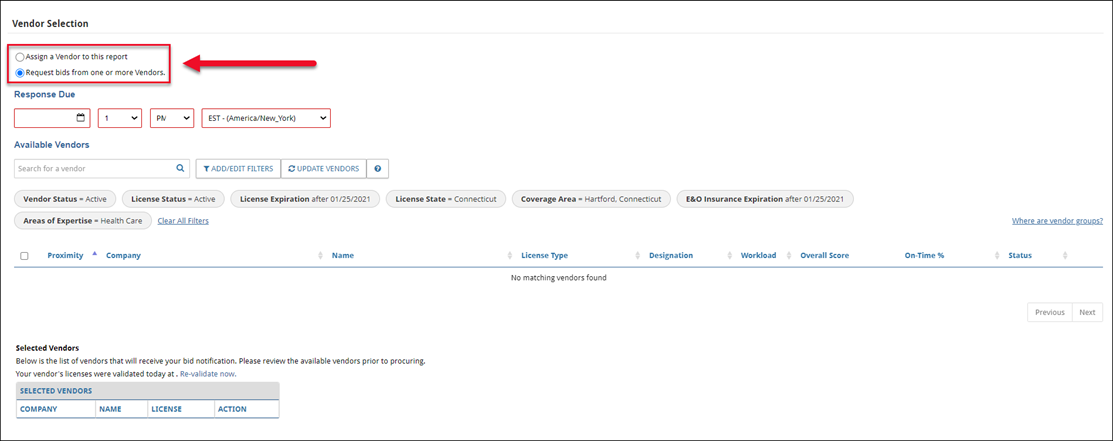
The “Request bids from one or more Vendors” selection is the default. When “Assign a Vendor to this report” is selected, three changes will occur to the Vendor Selection section:
Change One: The Vendor table will no longer allow multiple Vendors to be selected, changing from a checkbox to a radio button selection.

Change Two: A Fee field appears at the bottom of the Vendor Selection section. The Fee field requires the user enter the fee amount, which will be offered to the selected Vendor.
Change Three: Two radio buttons appear and allow you to add an Engagement Letter. If you choose to add an Engagement Letter, it will open in the browser upon submitting the Direct Award.

Click to select an Engagement Letter template from the dropdown menu.

For more information about creating and managing Engagement Letter templates, please refer to the Engagement Letter Builder Job Aid.
The typical procurement process proceeds through the following steps in the Vendor Selection section.
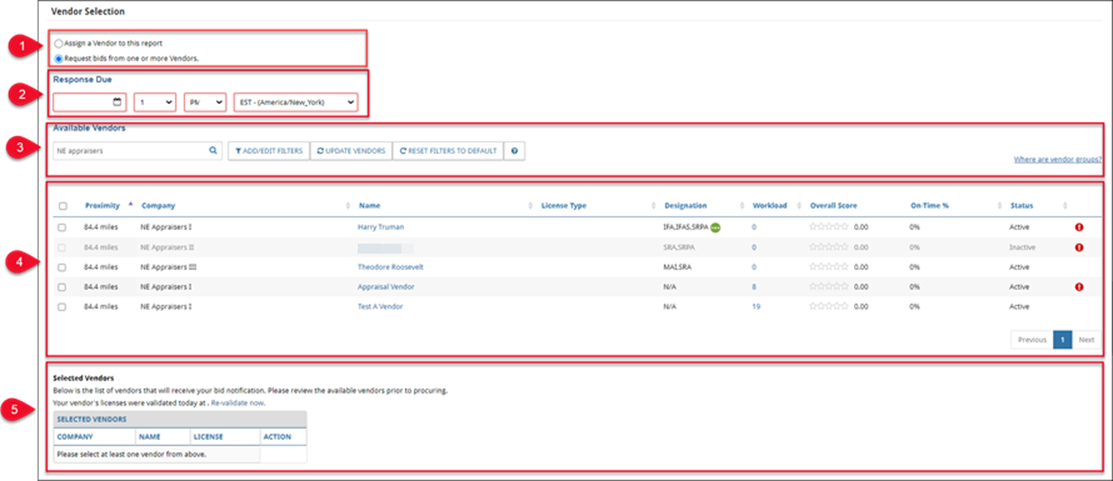
Select Assign a Vendor to this Report OR Request bids from one or more Vendors.
Define a Response Date.
Search for Vendors and Manage filters.
Select one or more Vendors.
Review selected Vendors.
1. Assign a Vendor or Request Bids
Choose whether to make a Direct Award to a single Vendor or send a Request for Proposal to one or more Vendors. Aside from the differences outlined above, the process of completing and sending an RFP or a Direct Award is the same. However, when making a Direct Award, the bid and award process that is required when requesting bids from multiple Vendor is skipped. Instead, the Vendor does not have to bid, they only must accept or reject the Direct Award.
2. Define a Response Date
Set a date by which the Vendor(s) must reply. After this date, the opportunity disappears from the Vendor’s PARCEL dashboard and they are unable to submit a bid.
3. Search for Vendors and Manage Filters
Search for Vendors and manage filters.
Search bar: Enter a search phrase to find a specific Vendor or Company. The search phrase will not override the active filters. Example: Sally Appraiser is licensed only in Connecticut. If a filter that precludes any Vendors not licensed in Connecticut from appearing in the Vendor table is active, Sally Appraiser will not appear upon searching her name. Add/Edit Filters:
This button opens the Filter Vendors modal, which allows the user to add, edit and/or remove filters. These filters determine what Vendors are visible in the Vendor Table below.
Click to open the Filter Vendors modal.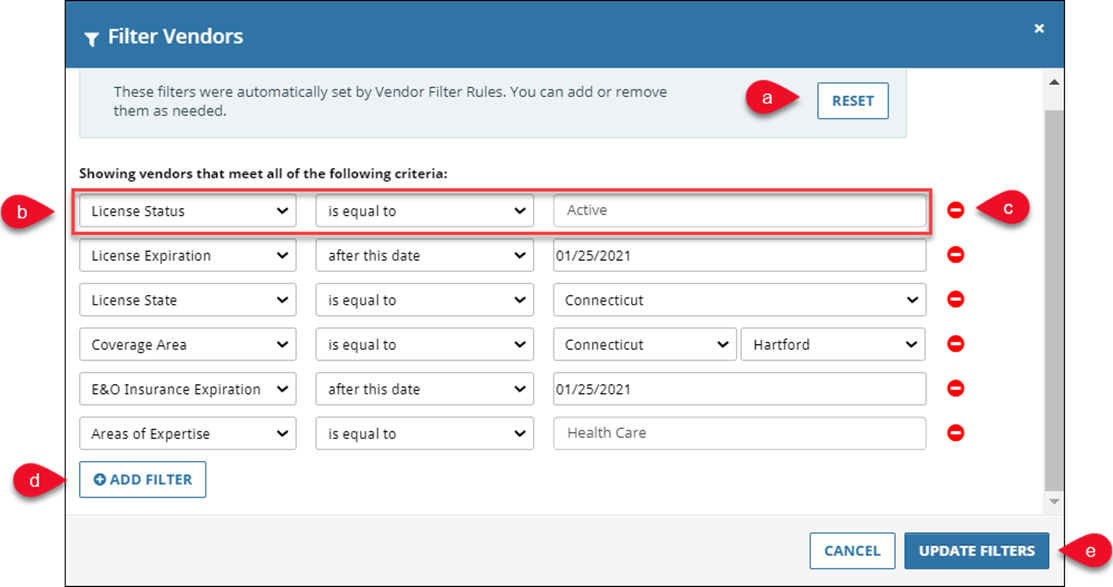
a. Click Reset to reset the filters to the default established by your organization. The Reset button only resets changes made during the current session of the Filter Vendors being open. If you make changes and click Update Filters, close the Filter Vendors modal, then open it again, the Reset button will not reset the changes you made in your previous session.
b. Edit a filter by selecting a new item from the drop-down menu or editing a text field’s values.
c. Click the red circle to the right of a filter to delete that filter.
d. Click Add Filter to add a new filter. A new row with three fields will appear. Begin with the field on the left. As selections are made, the fields to the right will automatically update. Example: If “Coverage Area” is selected, “State” and “City” drop-down menus will appear.
e. Click Update Filters to apply the changes.
Update Vendors: Click Update Vendors to refresh the Vendor Table. This should be done after making any changes to one or more custom filters (only top-level roles can remove a custom filter). In the Filter Vendors modal, when a user clicks Update Filters, it applies them to the table reducing clicks by one (mid-level and top-level roles can do this).
Vendors whose Area of Expertise matches the Property Type defined will appear in the Vendor Table, as long as they also meet other filter criteria that have been defined. 
Reset Filters to Default: This button will only be visible if your organization’s default filter settings have been changed by adding one or more filters, editing one or more filters, or removing one or more filters. Click Reset Filters to Default to reset all filters to your organization’s default filter settings.
Question mark icon: Click the question mark icon to expose a small pop-up explaining the RFP filter tools.
To remove all filters, click Clear All Filters. The filters, visually represented by gray boxes, will be removed. Note: Only top-level roles have this permission.
4. Select One or More Vendors
Click the checkbox next to a Vendor’s name to select that Vendor. Note: If you selected Assign a Vendor to this report above, you will only be able to select a single Vendor.
Click on a Vendor’s name to view more information about that Vendor, such as contact information and Vendor Overall Score. The pop-up also includes a link to the Vendor’s Profile, where additional information can be viewed.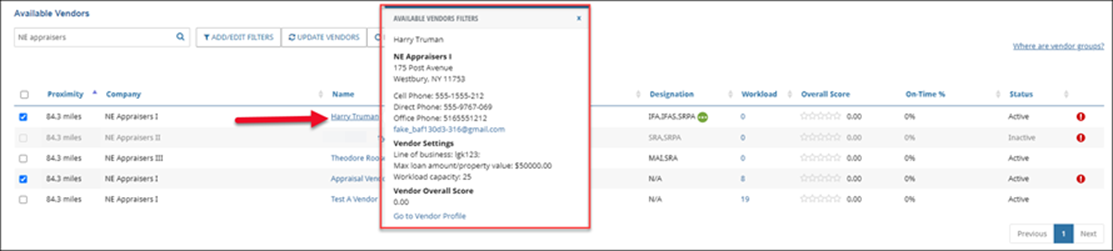
Some Vendors may have a warning icon associated. Alerts can appear for a variety of reasons: If the lender has made a suggested change to the Vendor's profile and the Vendor has not responded, or if a Vendor has made changes to their profile on their own. Alerts can be dismissed from the Alert tab, the Vendor Profile page, or can be set to automatically delete after a period of time. Click the red exclamation point icon to open a pop-up containing the warning information. 
Up to ten Vendors can be displayed at a time. To navigate multiple pages of Vendors, click the numbered buttons or Previous/Next buttons in the bottom right corner of the Vendor Table.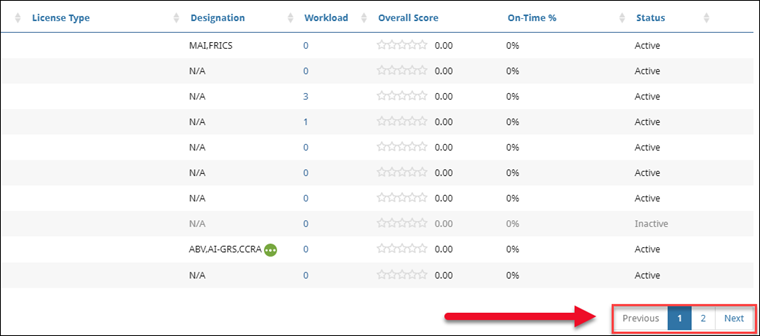
5. Review Selected Vendors
Review the selected Vendors. To deselect a Vendor, click Remove.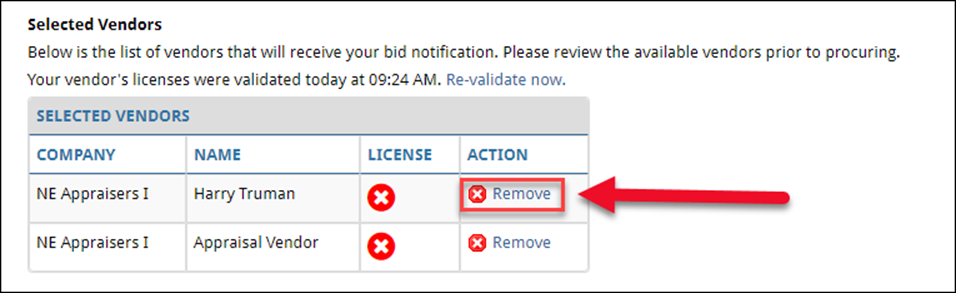
On Valuation Services, if one or more of the selected Vendors has an expired license, a message requesting an explanation of why the Vendor(s) was selected may appear. This message and the associated fields are set at the company level and may not be utilized by your organization.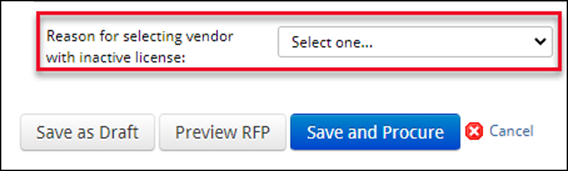
Select a reason from the drop-down menu. Note: The list of reasons is set at the company level and may vary from what is displayed in the image below. Additionally, depending on your organization’s configuration, you may be required to make a selection. 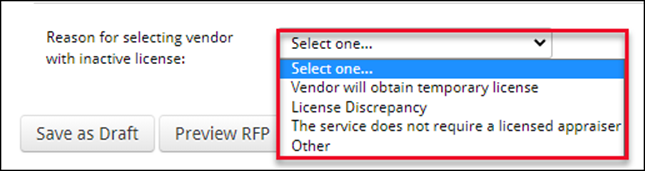
After selecting a reason from the drop-down menu, a comments field may appear. Enter comments and then proceed with the procurement process.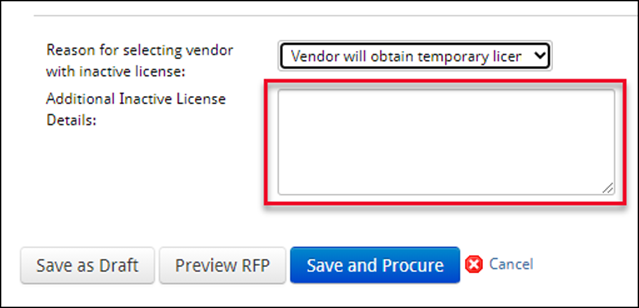
Engagement Letter
Organizations have two options for utilizing Engagement Letters at the company level:
Auto-attach
Non-auto-attach
When auto-attach is enabled, the Engagement Letter is automatically included with every direct-award RFP, and every award made to a Vendor during the typical bidding and RFP process. The user does not see any Engagement Letter functionality on the RFP.
For non-auto-attach, the Job Manager or Lender Manager decides whether or not to attach the Engagement Letter. When making a Direct Award, the user determines that during the RFP process.

Select No to forgo attaching an Engagement Letter.
Click Yes, open the Engagement Letter editor after I click ‘Save and Procure’ to attach an Engagement Letter. Select an Engagement Letter template from the dropdown menu.
Save and Procure
There are four buttons at the bottom of the RFP page.
Save as Draft: Click to save the RFP in its current state and return to the relevant Service page. The Create RFP button on the Service page will now be Update RFP, and it will list the date and time the RFP was last saved.
Preview RFP: Click to open the RFP as a PDF in a new browser tab.
Save and Procure: Click to send the RFP or Direct Award to the Vendor(s) selected. If any required fields have not been completed, the page will refresh and list the errors at the top.
Save and Procure
Click Save and Procure to proceed. If any required fields have not been completed, the page will refresh and list the errors at the top.

Engagement Letter Modal
If a Direct Award has been made, auto-attach is not enabled at the company level, and the Job Manager or Lender Manager has elected to attach an Engagement Letter, the Engagement Letter modal will open.
Some organizations utilize a feature that locks the Engagement Letter editor for specific Collateral360 roles. This feature cannot be used if the organization uses auto-attach. When this feature is enabled and your role is restricted, you will be allowed to view the Engagement Letter before submitting it with the RFP, but you will be prohibited from making edits.
If your organization utilizes this feature but your role is not prohibited from editing the Engagement Letter, an Unlock to Edit button is visible at the bottom of the page. Click Unlock to Edit. 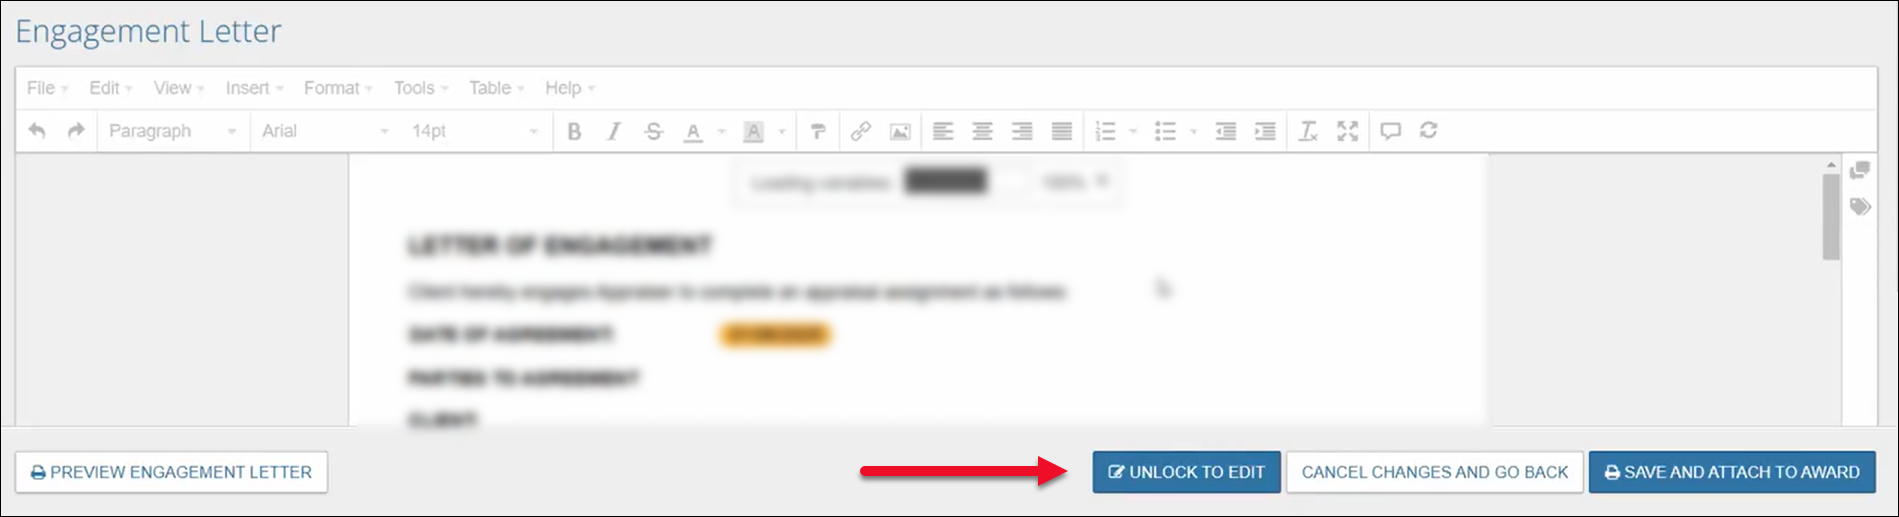
If you have unlocked the Engagement Letter, or if your organization does not utilize this feature, proceed with any changes.
The Engagement Letter page includes the content defined in the Engagement Letter template used. Orange fields are variables. Variables are defined in the template, then populated with the data specific to that loan file and the Service being procured.

The Engagement Letter can be modified by typing directly in the Engagement Letter or using the commands in the toolbar.

Variables which do not have data from the loan file will display ‘N/A.’
Additionally, if the RFP is for a Portfolio Project, sites-specific values will also state ‘N/A,’ rather than displaying the values for the Primary site.
If there are valuation scenarios on the RFP, ‘N/A’ will be automatically input under the valuation scenarios.

Variables can be deleted by clicking on the Variable to select it and then clicking the delete key on your keyboard.
A new Variable can be inserted by clicking the location in the Engagement Letter in which you would like to place the Variable, then clicking the Variables icon on the right side of the editor panel.

Click the arrow next to a section to expose the Variables nested beneath it.

Click a Variable to insert it in the Engagement Letter at the location of the cursor.
In the example below, the Award Comments Variable has been inserted. When the Vendor views the Engagement Letter, this Variable will populate any Award Comments entered on the Direct-Award RFP.

For more information about editing Engagement Letter, please refer to the Engagement Letter Builder documentation.
Engagement Letter templates can be configured to require no signature, Lender signature only, Vendor signature only, or both Lender and Vendor signatures. If a Lender Signature is required, click Sign Engagement Letter. Note: If no signature is required the Sign Engagement Letter button will not appear.

The Signatures tool will expand.

By default, the logged in user will sign as themselves. To sign on behalf of another user, click Edit Signature and then select a user from the dropdown menu.

You can enter a user’s name, or part of a user’s name, in the Signatures dropdown to narrow the list of users presented in the dropdown menu and make it easier to find the desired user.
Then click Update Signature.

On the Engagement Letter, both names will appear: the current signer and the user for whom they are signing.
Click the Wet Sign checkbox to leave the digital signature off the Engagement Letter. In its place, a line will appear, allowing the user to print and sign a physical copy. Note: This option is not available when Sign on Behalf has been selected.

Click Update Signature to apply the Wet Sign setting.
To remove a signature, such as when an incorrect Sign on Behalf user was selected, click Remove Signature. The Signatures tool will reset.

Note: If another user removes your signature, you will receive an email notification.
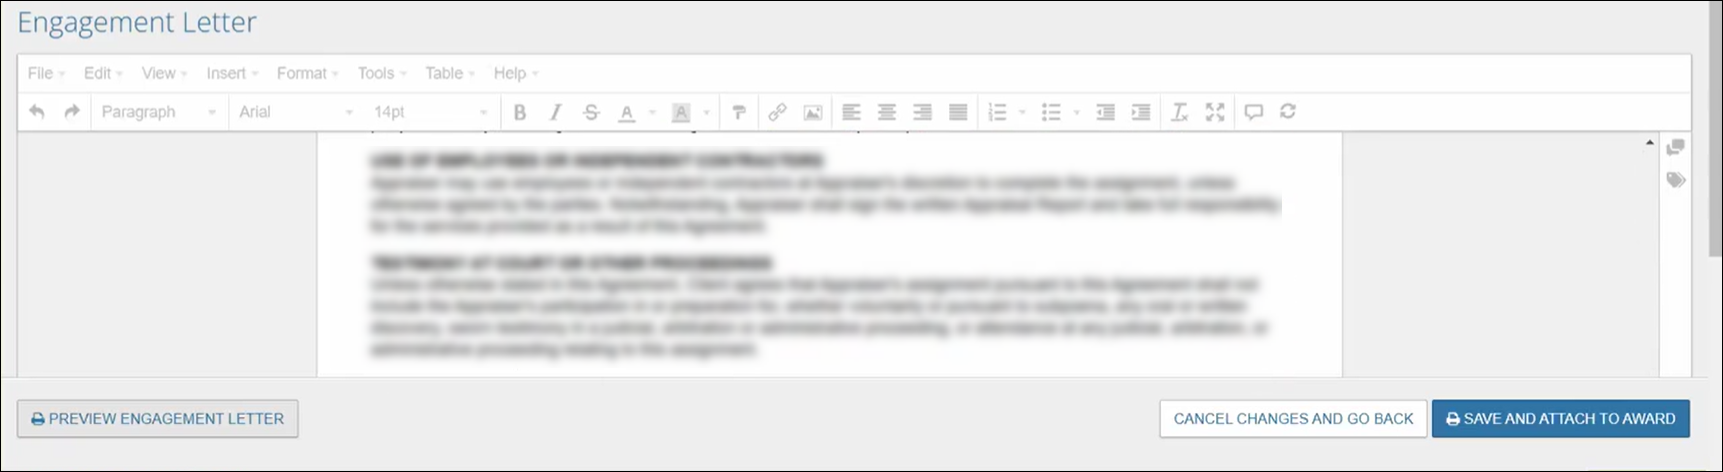
Once any desired changes have been made, click Preview Engagement Letter in the bottom left corner of the screen to view the Engagement Letter as a PDF.

Note: The margins and other print formatting settings applied to the Engagement Letter are defined in Settings>Templates>Print Formatting Templates.
Click Cancel Changes and Go Back in the bottom right corner to discard any changes made to the Engagement Letter and close the RFP. The RFP will not be sent and the status will not change.
Or click Save and Attach to Award to submit the RFP, including the Engagement Letter with any modifications, to the Vendor.

If the Engagement Letter template specifies that a lender signature is required and one has not be set a popup will warn the user. Click OK to send the RFP anyway or Cancel to close the popup and return to the Engagement Letter screen.

Upon submitting, a notification will appear in the upper right corner of the page, stating the following:

Note: For information about the Vendor experience viewing and signing the Engagement Letter, please refer to the Bid Authorization and Award Process Job Aid.
The RFP page will close and the relevant Service page will open. The Create RFP button will now be Update RFP. The date and time of last procurement will be listed, along with the user who submitted the RFP/Direct Award. Additionally, a green banner will state “Successfully saved and procured.”

The status of the underlying Service (Commercial Appraisal Report in this example) will change to Out to Bid. If a Direct Award was made, the Status of the underlying Service will be Awarded (Phase I ESA in this example).

The Engagement Letter will become available to view in the File Manager upon submitting the RFP if a Direct Award was made. Otherwise, it will appear in the File Manager once an award has been made. A new version of the Engagement Letter will appear every time a signature has been applied from a Lender or Vendor.
Create a Portfolio RFP
To create a Portfolio RFP, click the Tools button in the menu bar at the top of the page, then click Portfolio Management.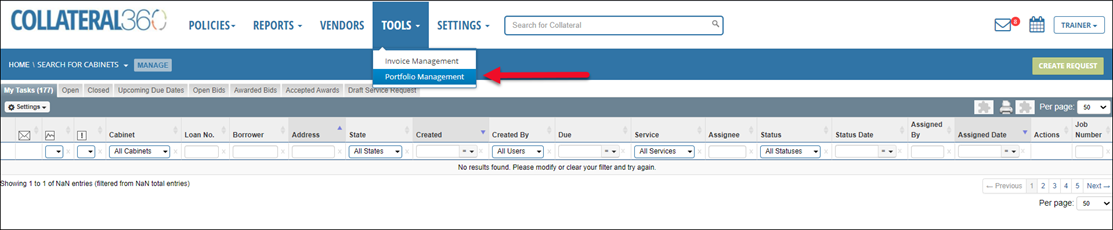
On the Portfolio management page, click on the desired Portfolio.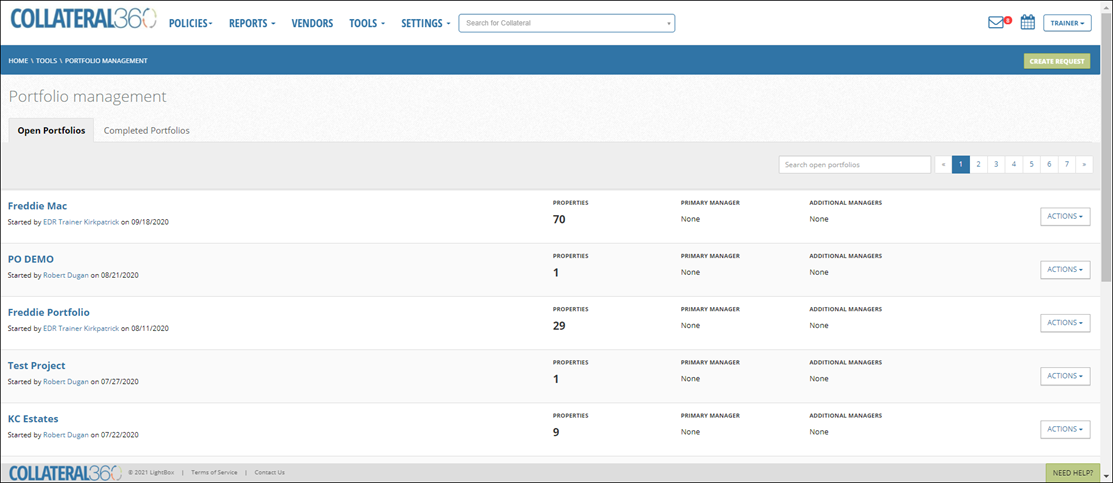
Click on the RFPs tab.
The RFPs tab will open, displaying any RFPs that have been sent. In the example below, two Awards have been made and amended for Commercial Appraisal Reports, an RFP is Out to Bid, and a fourth RFP has a status of Draft.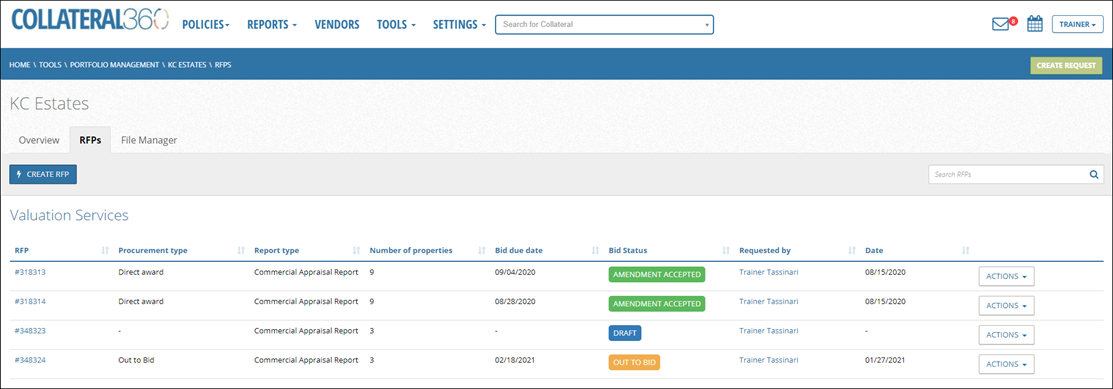
Click the RFP number to open the primary site associated with that RFP.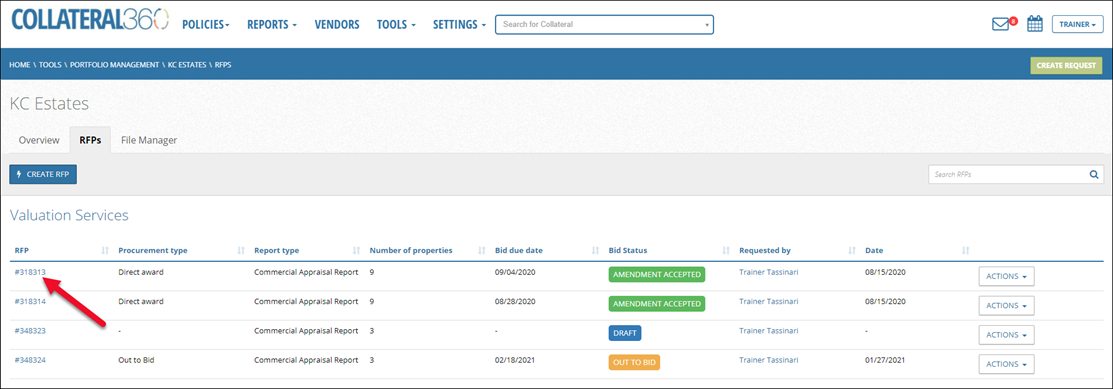
Click Actions to expose a drop-down menu for an RFP. The commands the menu contains will vary based on the status of the RFP.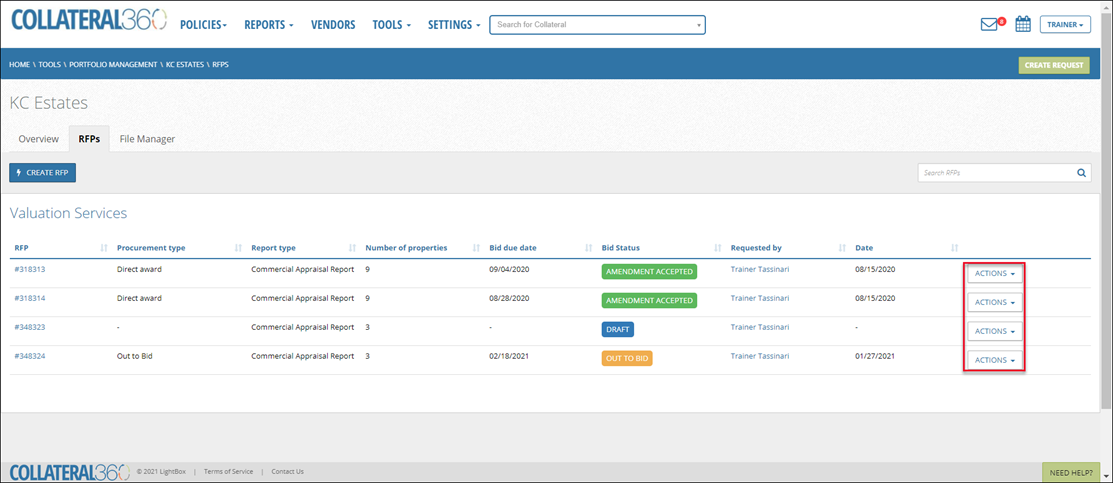
RFPs with a Status of “Draft” will have the following commands in the Actions menu:
Continue RFP: Continue an RFP that has been started.
Delete RFP: Delete the RFP. A pop-up message will request confirmation.
RFPs with a Status of “Accepted” will have the following commands in the Actions menu:
View RFP Details: Opens a pop-up containing information about the RFP.
Amend Award: Open the Amend Award modal.
RFPs in any other Status will have the View RFP Details command in the Actions menu.
Click Create RFP to create a new RFP.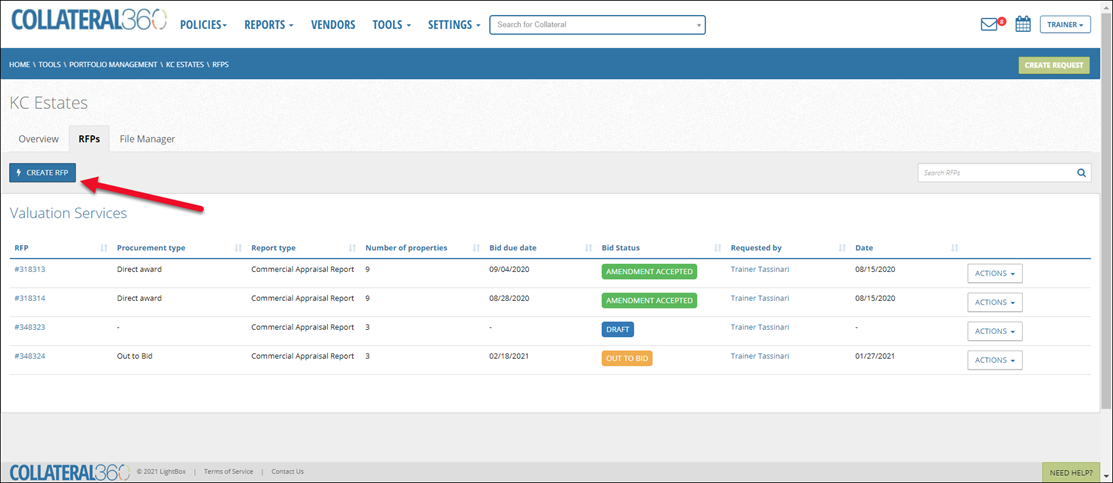
The Create RFP page will open. First, select a Service Type from the drop-down menu. When creating an RFP, only one Service Type per RFP can be selected; Service Types cannot be mixed. Additionally, when an RFP is created, the first property generated within the RFP is designated as the “Primary” and an RFP number will be assigned to that specific bulk RFP.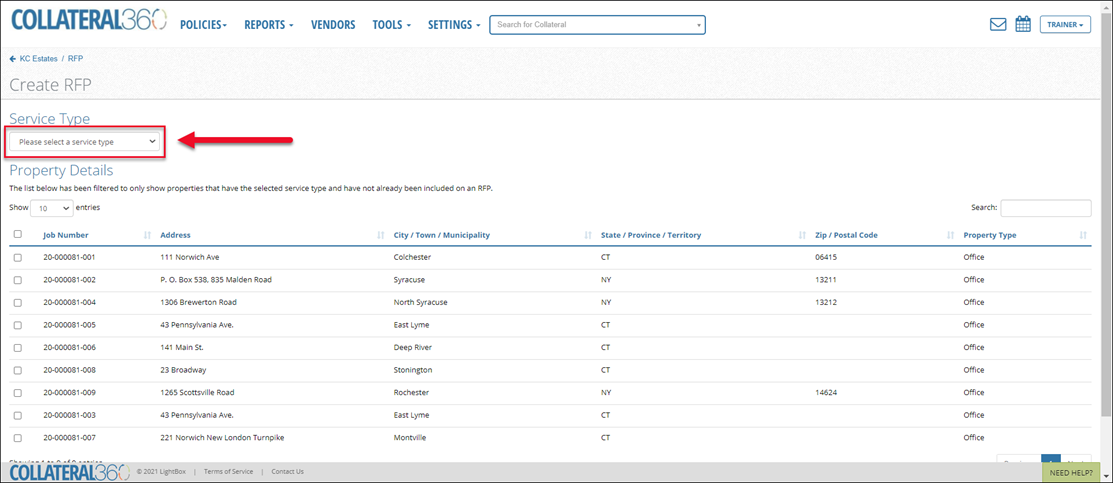
Select one or more properties to include in the RFP.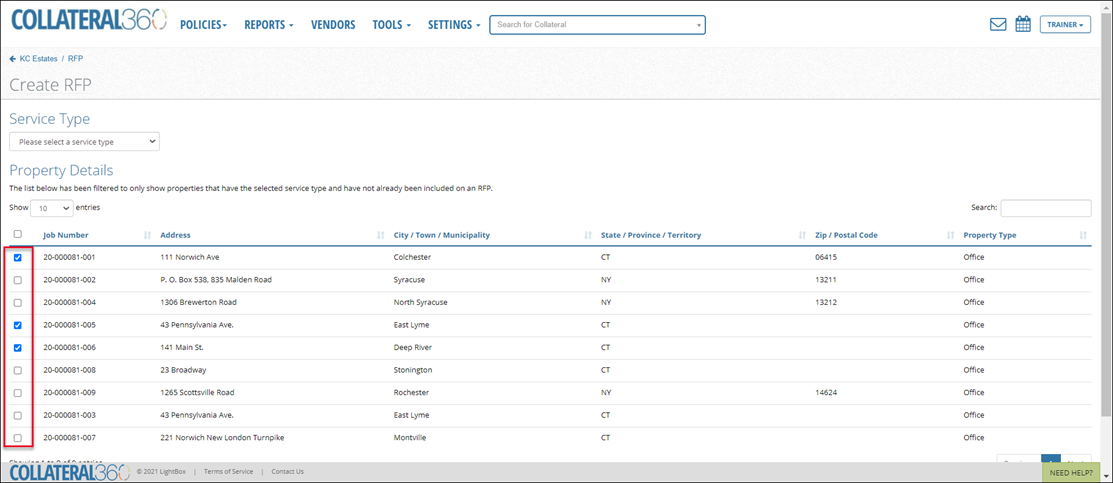
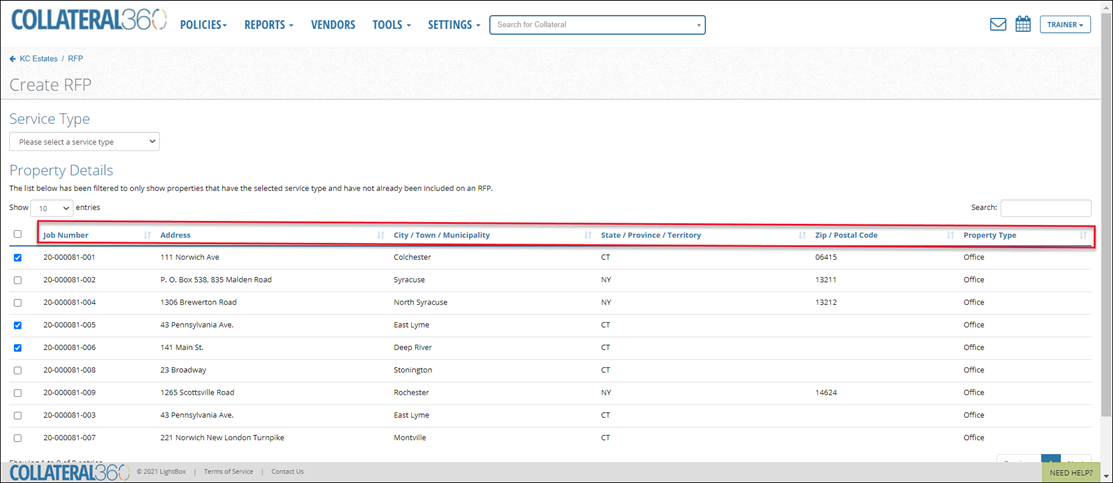
The Property Details table can be sorted by clicking on a column header.
Enter a search phrase to search for a specific property or set of properties in the Property Details table.
By default, ten properties are shown at a time in the Property Details table. That can be increased to 25, 50, 100, or All.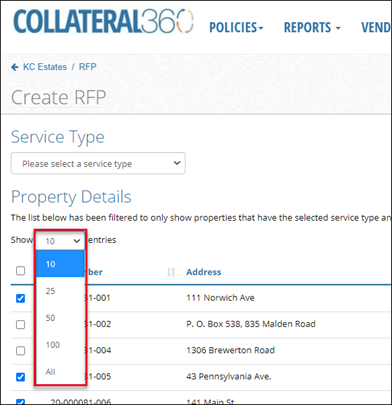
Click the Previous, Next, and numbered buttons in the lower right corner to navigate between pages.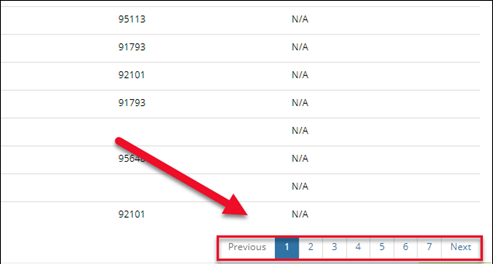
There are three buttons in the lower right corner of the page: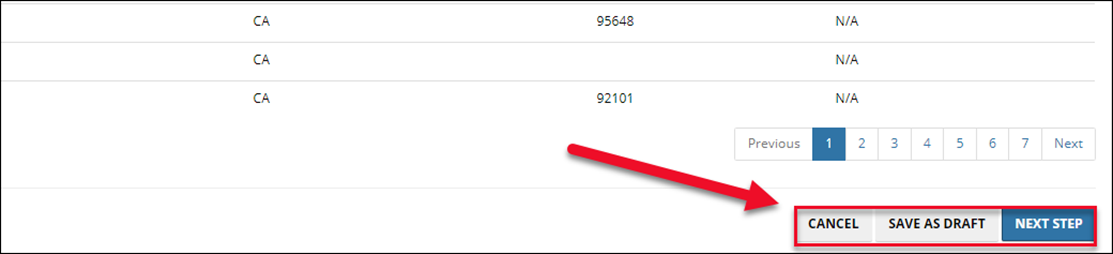
Cancel: Click to cancel all changes made to the RFP and return to the RFPs page.
Save as Draft: Click to save the changes made to the RFP and return to the RFPs page.
Next Step: Click to proceed. The RFP page will load, displaying the same fields as the single-site RFP, with one exception: the Property Information section is absent. Instead, the Property Information is provided to the Vendor(s) in a spreadsheet titled “RFP Locations,” which is automatically attached to the RFP or Direct Award.
Once the RFP or Direct Award has been sent, you will be sent back to the RFP Tab of the Portfolio. A success message will appear at the top of page.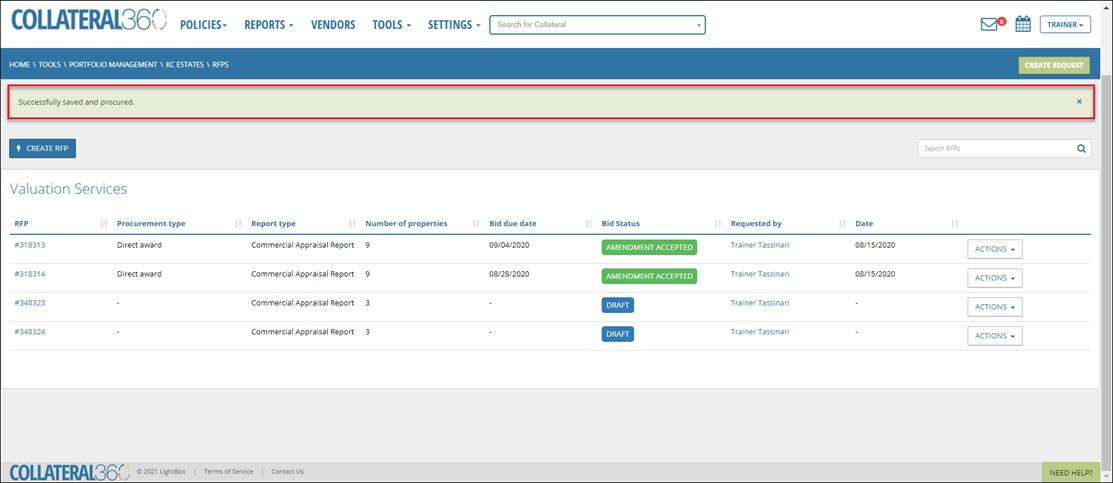
Was this article helpful?