Cancellation Processes
- Print
- DarkLight
- PDF
Cancellation Processes
- Print
- DarkLight
- PDF
Article summary
Did you find this summary helpful?
Thank you for your feedback!
Purpose
The purpose of this documentation is to describe how to correctly update and cancel RFPs at various stages in the procurement process.
Audience
Job Managers, Lender Managers, Content Administrators, and Lender Executives.
Cancellation Overview
The process for cancelling or updating an RFP, or cancelling an award, varies based on the status:
- Retracting an RFP Prior to Award
- Updating an RFP
- Cancelling an Awarded Job Prior to Acceptance
- Cancelling an Awarded Job After It Has Been Accepted
Retracting an RFP Prior to Award
Before the Award has been made, an RFP can be retracted or updated. A retracted RFP is withdrawn completely, while an updated RFP is one in which the RFP contents have been changed or Vendors have been added or removed.
To retract an RFP, navigate to the Report Status tab, click on Actions next to the Service for which you wish to retract the RFP (Commercial Appraisal Report in this example) and then click View RFP Details in the dropdown menu.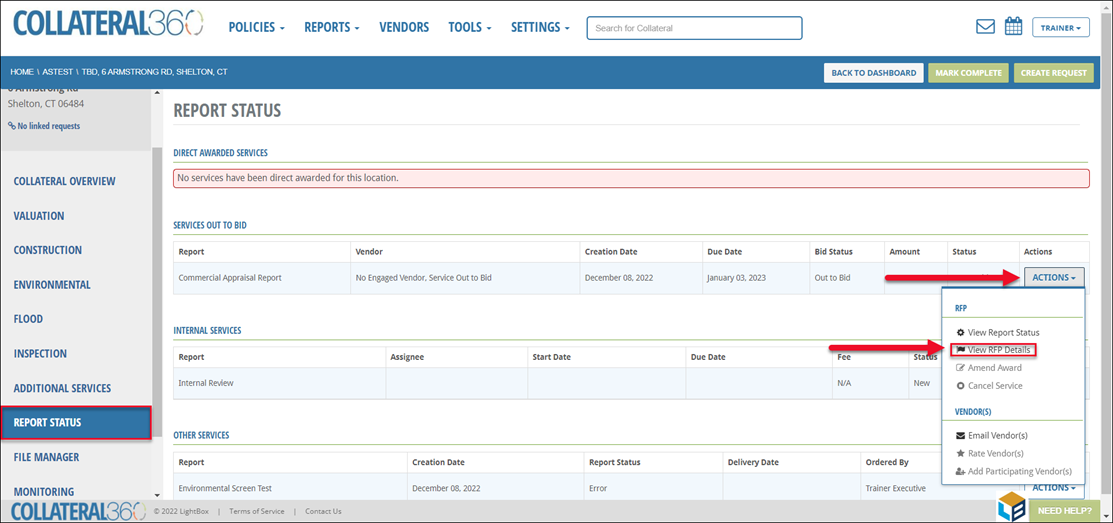
In the modal, click the red Retract Request button.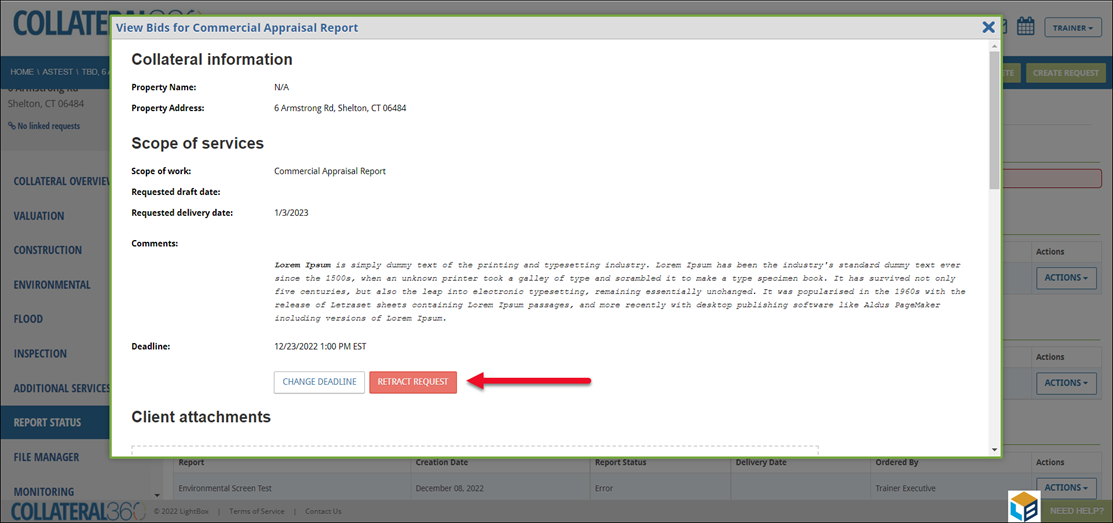
Make a selection in the Reason for retraction dropdown menu. Optionally, enter comments in the Comments text field. If the Reason for retraction is “Other,” the Comments field becomes required. Click Retract Request to submit the retraction.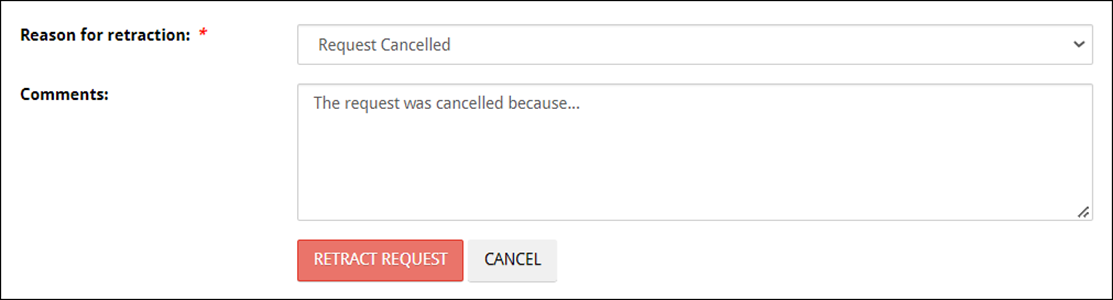
No notification is sent to Vendors who originally received the bidding opportunity.
The Service’s status will change to “Retracted.”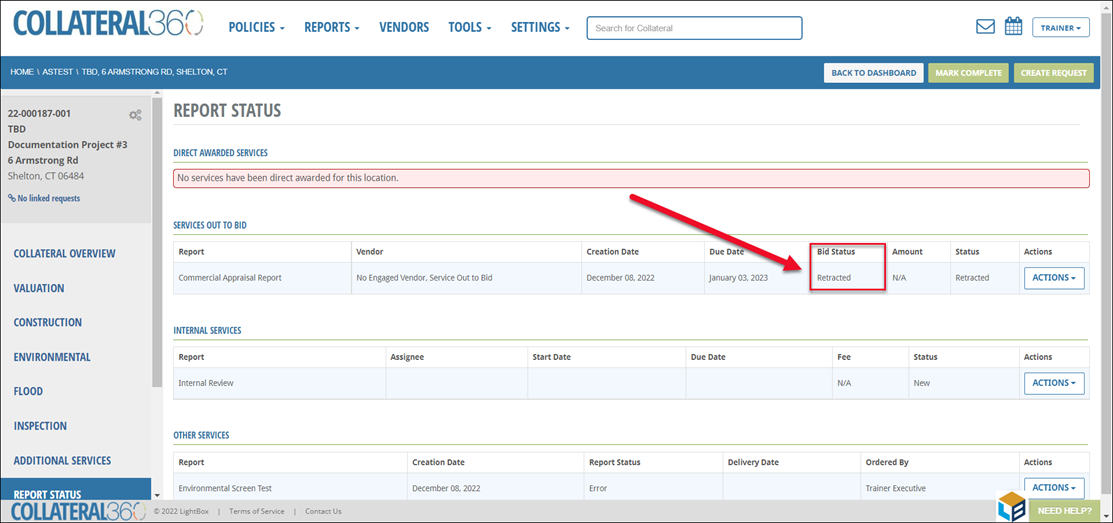
If a new RFP is required, a new Service and RFP must be created.
NOTE: If your organization uses the Trigger on Status feature to automatically create an Internal Review Service and group the Commercial Appraisal Report and Internal Review Services together when the Commercial Appraisal Report Status is “New,” the Internal Review Service should be removed. Then, add the new Commercial Appraisal Report Service in the Task Pipeline BEFORE sending out a new RFP.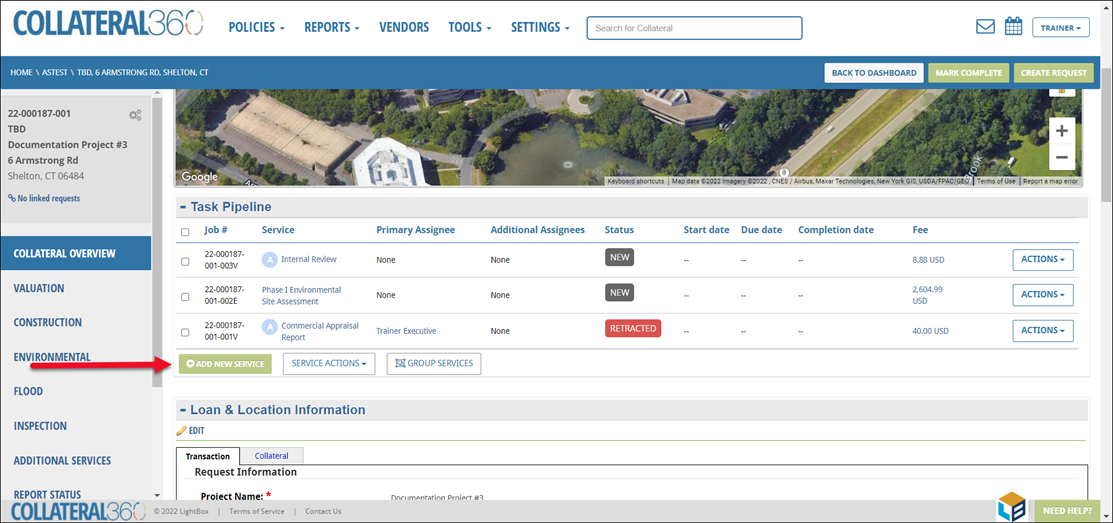
This order of operations is necessary for the Trigger on Status feature to create and group the Commercial Appraisal Report and Internal Review Services and include the Fees during the bid authorization process.
When creating the new RFP, the Import From RFP button will be available for Services which have RFP’s previously associated: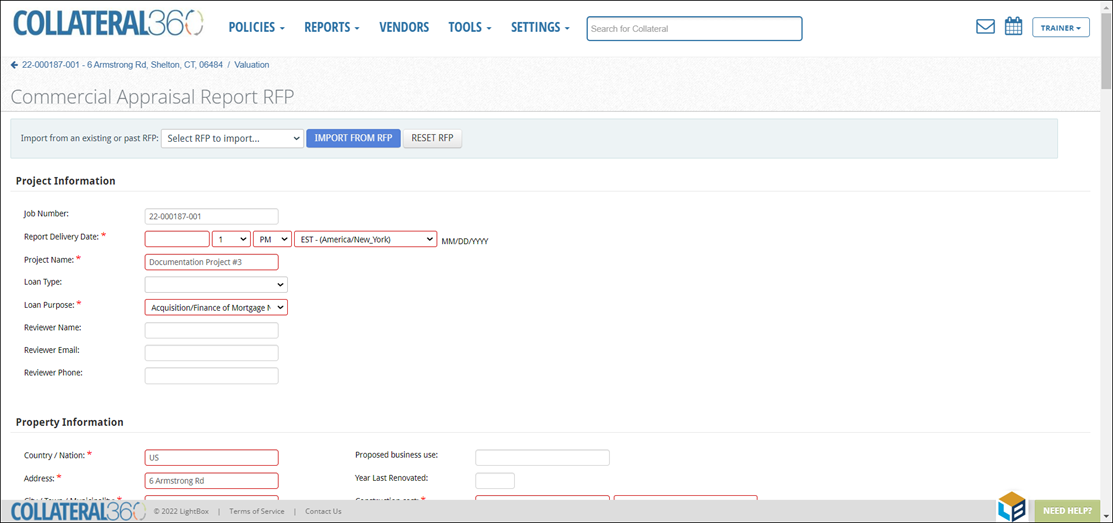
Note: Report Delivery Date and Response Due will not be imported and must be manually entered again.
Updating an RFP
To modify the contents of an RFP or add/remove, navigate to the Service tab (Valuation in this example) and click the Update RFP button.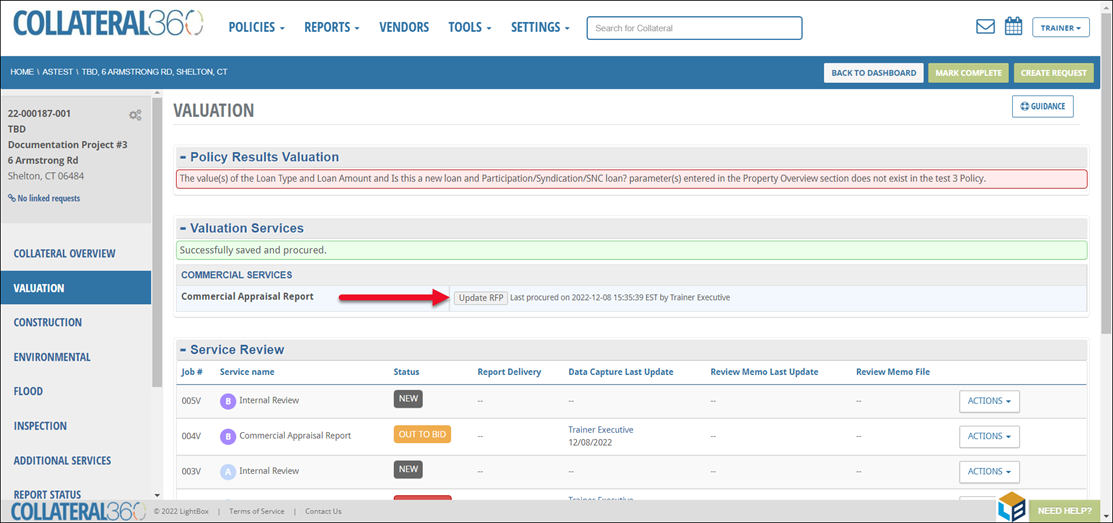
Make the desired changes, modifying fields and adding or removing Vendors. Once the desired changes have been made, click Save and Procure at the bottom of the RFP page to send the updated RFP.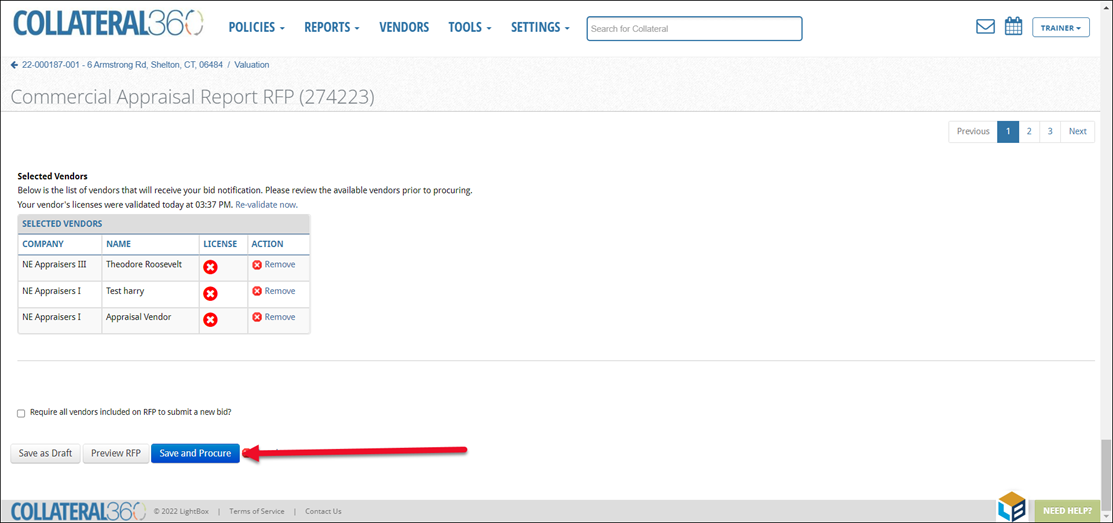
NOTE: If you have changed the RFP (e.g., a new Valuation Scenario has been added) and you have not checked the Require all vendors included on RFP to submit a new bid checkbox, all Vendors who have placed bids will receive a notification of the change. Existing bids will not be cleared out.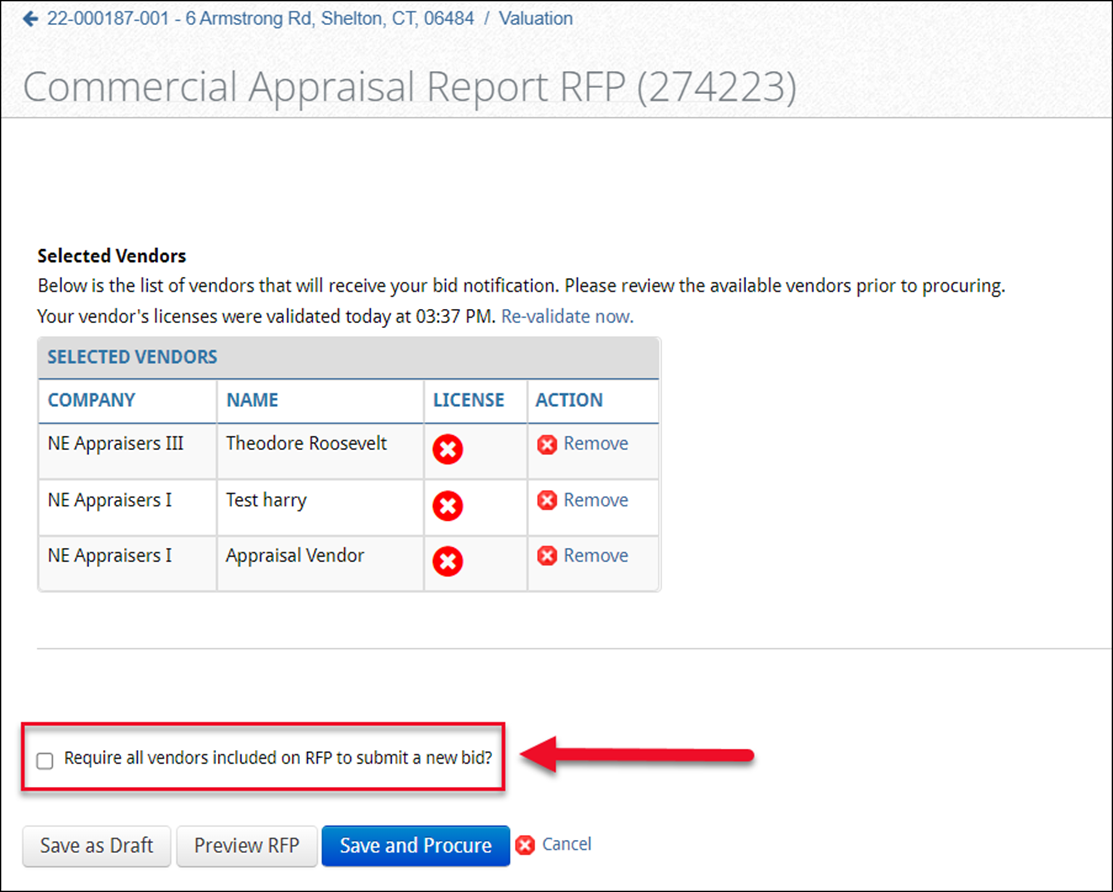
- If Vendors are added or removed without any changes to the RFP, the existing selected Vendors are not notified.
- If there is a change to the RFP (e.g., a new Valuation Scenario has been added) and you have checked the Require all vendors included on RFP to submit a new bid checkbox, any existing bids will be cleared out and the Vendors will be notified that they must review the new scope and resubmit their bids.
The bidding opportunity will move from Submitted bids to New Requests in PARCEL.
To extend the bidding window on an existing RFP, navigate to the Report Status Tab, click on Actions next to the Service for which you wish to modify the bidding window, then click View RFP Details. 
Click the Change Deadline button at the bottom of the modal.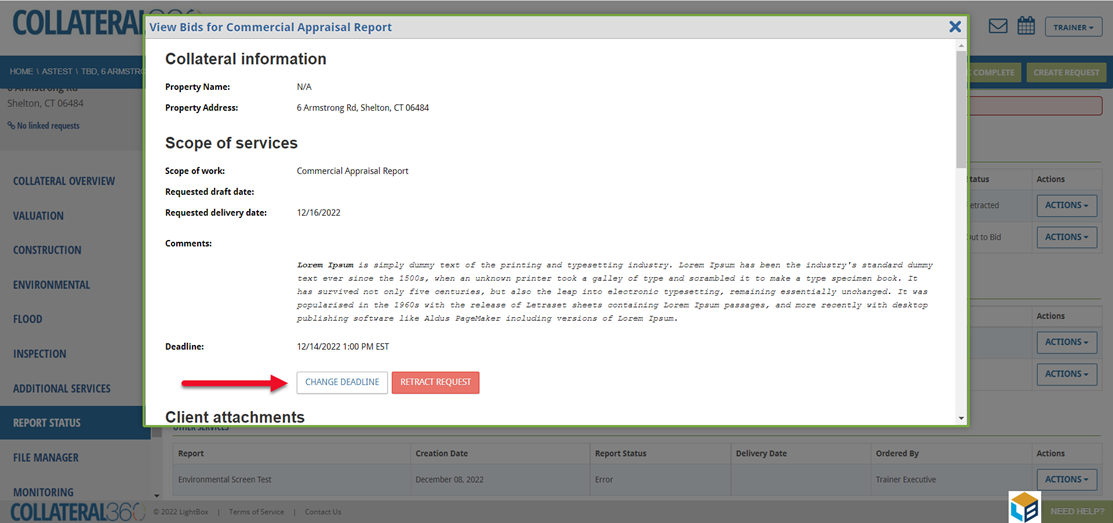
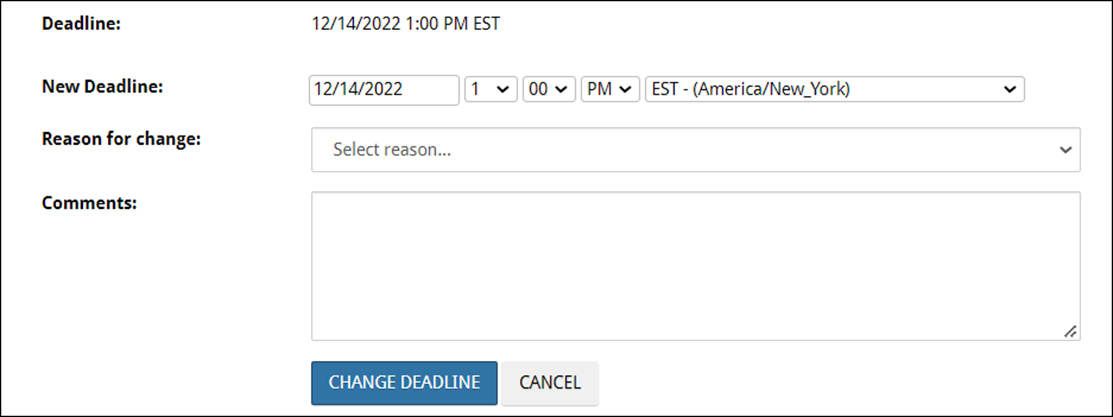
Enter the new deadline, select the reason for change, and enter any comments. Then click Change Deadline.
No notifications are sent out to Vendors who have already placed their bids.
Cancelling an Awarded Job Prior to Acceptance
After a Job has been awarded, but before the Vendor has accepted the award, the Update RFP button remains available. Making a change and procuring the RFP again will remove the Job from pending acceptance. Follow the steps in Updating an RFP to make the desired changes.
On the View RFP Details screen, the Select button will no longer be visible. The Vendor’s bid will appear, but no award can be made.
The awarded Vendor will receive a notification to update their bid. For the Vendor, the Job will be under the Submitted Bids tab in PARCEL. Even if the Vendor modifies their bid and attempts to resend it, the status is stuck; the Vendor cannot accept, and the Job Manager cannot re-award. If the Vendor retracts their bid, that will set the status back to “Out to Bid” and the Job Manager can start over.
Note: When the Job is awarded, pending acceptance, the Cancel and Amend options will not be available. These become available after the Vendor accepts the award.
If the Job has been awarded but the Vendor cannot or will not accept or reject the award, navigate to the appropriate Services page (Valuation, in this example) and click Update RFP.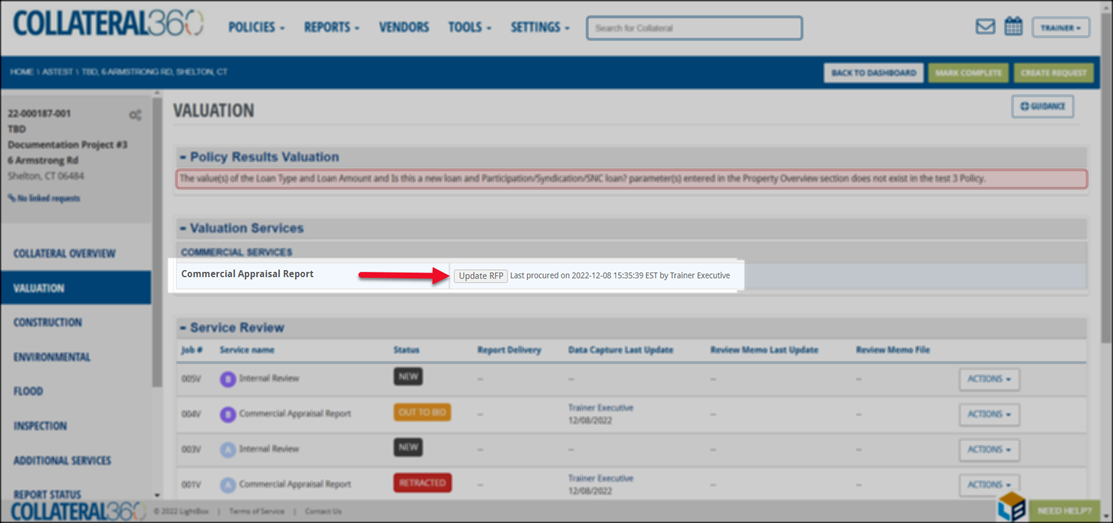
Scroll to the bottom of the modal and click Save and Procure.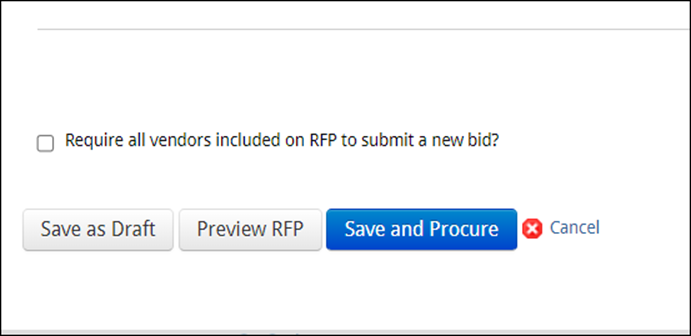
That will update the status from “Awarded” to “Out to Bid” and clear the Fees. You can then retract the RFP or send it to other bidders.
Do not cancel the award in the Task Pipeline, as that will leave the Fees in place.
Cancelling an Awarded Job After It Has Been Accepted
Once an award has been made, the Start date, Due date and Fee will be reflected in the Task Pipeline.
In some cases, it is necessary to cancel a Job, and adjust the Fee to reflect the cancellation. In this scenario, the Fee cannot be modified using the Edit service fees feature in the Task Pipeline. 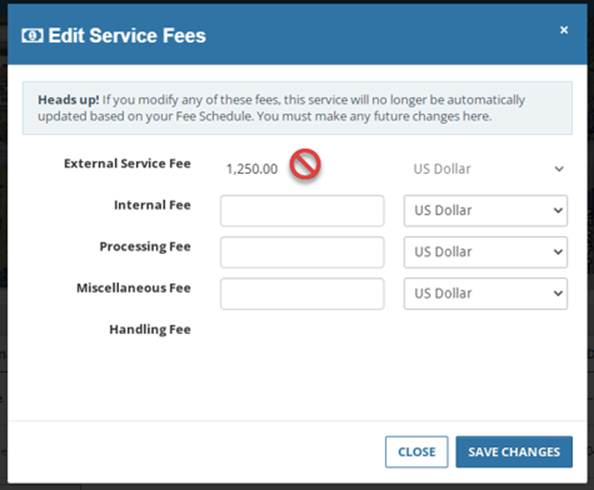
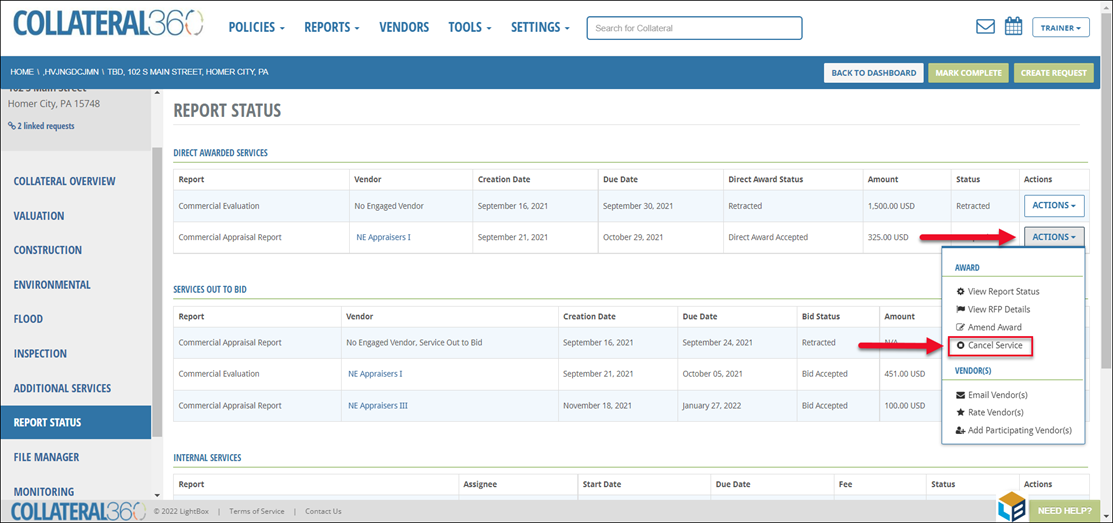
To adjust the Fee, navigate to the Report Status tab, click Actions for the Service, then click Cancel Service.
Make a selection in the Why is the request being cancelled dropdown menu. Optionally, enter comments in the Comments text field. If the reason selected is “Other,” the Comments field becomes required. Click Yes, Cancel.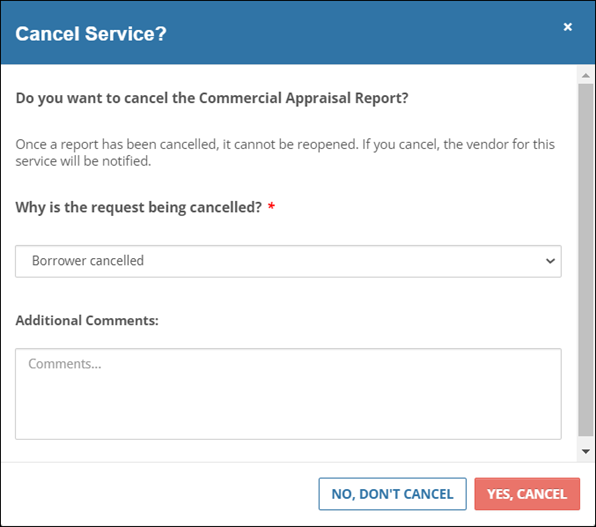
That will place the Job in a “Request Cancelled” status in the Task Pipeline.
While the Service is in this status, the Fee will be editable. The Fee should be adjusted to reflect the actual amount billed by the Vendor for work-to-date.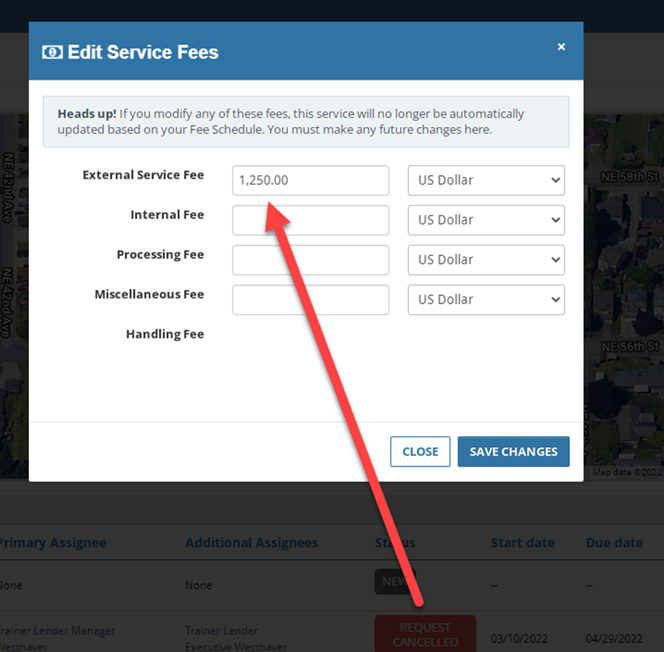
Once the Fee has been adjusted, click Actions in the Task Pipeline and then click Change Status in the dropdown menu.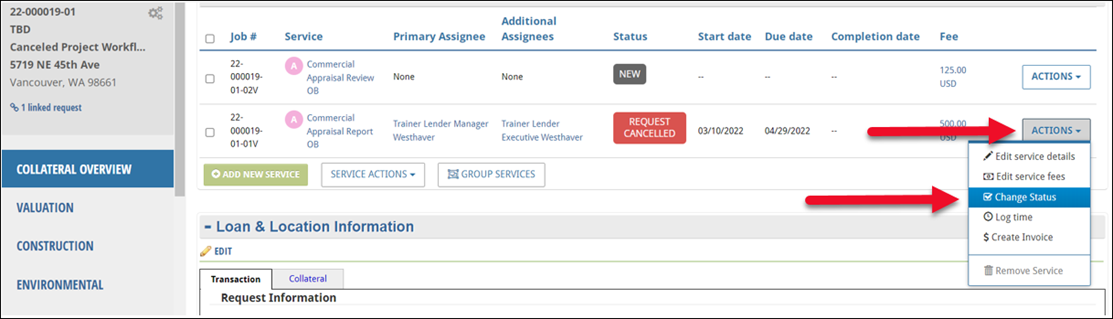
Set the status to “Cancelled.”
IMPORTANT: If your organization’s Handling Fee is calculated as a percentage of the Vendor’s Fee, this calculation is not made until the status is changed to “Cancelled” or “Completed,” or 90 days have passed, so it is important that this final step of setting the status to “Cancelled” is completed.
Was this article helpful?